Connecting the Imager for USB
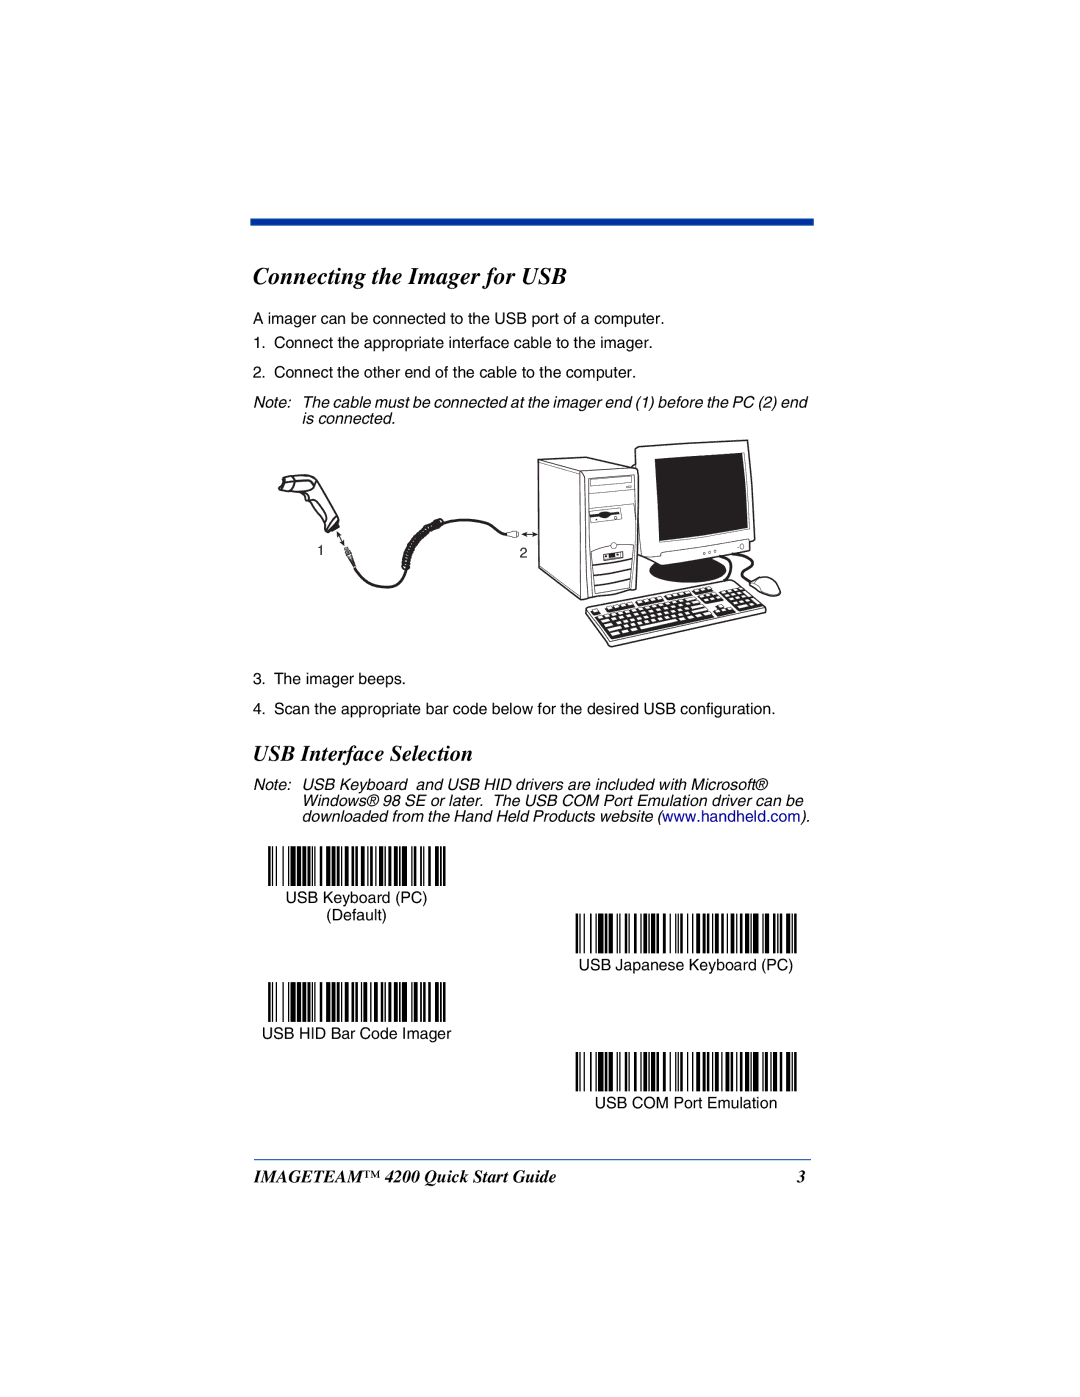
A imager can be connected to the USB port of a computer.
1.Connect the appropriate interface cable to the imager.
2.Connect the other end of the cable to the computer.
Note: The cable must be connected at the imager end (1) before the PC (2) end is connected.
1 | 2 |
3.The imager beeps.
4.Scan the appropriate bar code below for the desired USB configuration.
USB Interface Selection
Note: USB Keyboard and USB HID drivers are included with Microsoft® Windows® 98 SE or later. The USB COM Port Emulation driver can be downloaded from the Hand Held Products website (www.handheld.com).
USB Keyboard (PC)
(Default)
USB Japanese Keyboard (PC)
USB HID Bar Code Imager
USB COM Port Emulation
IMAGETEAM™ 4200 Quick Start Guide | 3 |