AVR 4500 will not appear unless a digital source is selected and playing the correct bitstream.
Note: When a Dolby Digital or DTS source is selected and playing, the AVR 4500 will select the appropriate surround mode automatically, no matter which surround mode was selected for that input as default. Then no other surround modes will be available, except VMAx with Dolby Digital recordings and all Pro Logic II modes with Dolby Digital 2 channel (2.0) recordings (see page 34).
To select the mode that will be used as the initial default for an input, first press the ⁄/¤ buttons Duntil the on-screen cursor is next to the desired mode’s master category name. Next, press the Set Button Fto view the sub- menu. Press the ‹/› Buttons E to scroll through the available choices, and then press the
¤Button Dso that the cursor is next to
BACK TO MASTER MENU to continue the setup process.
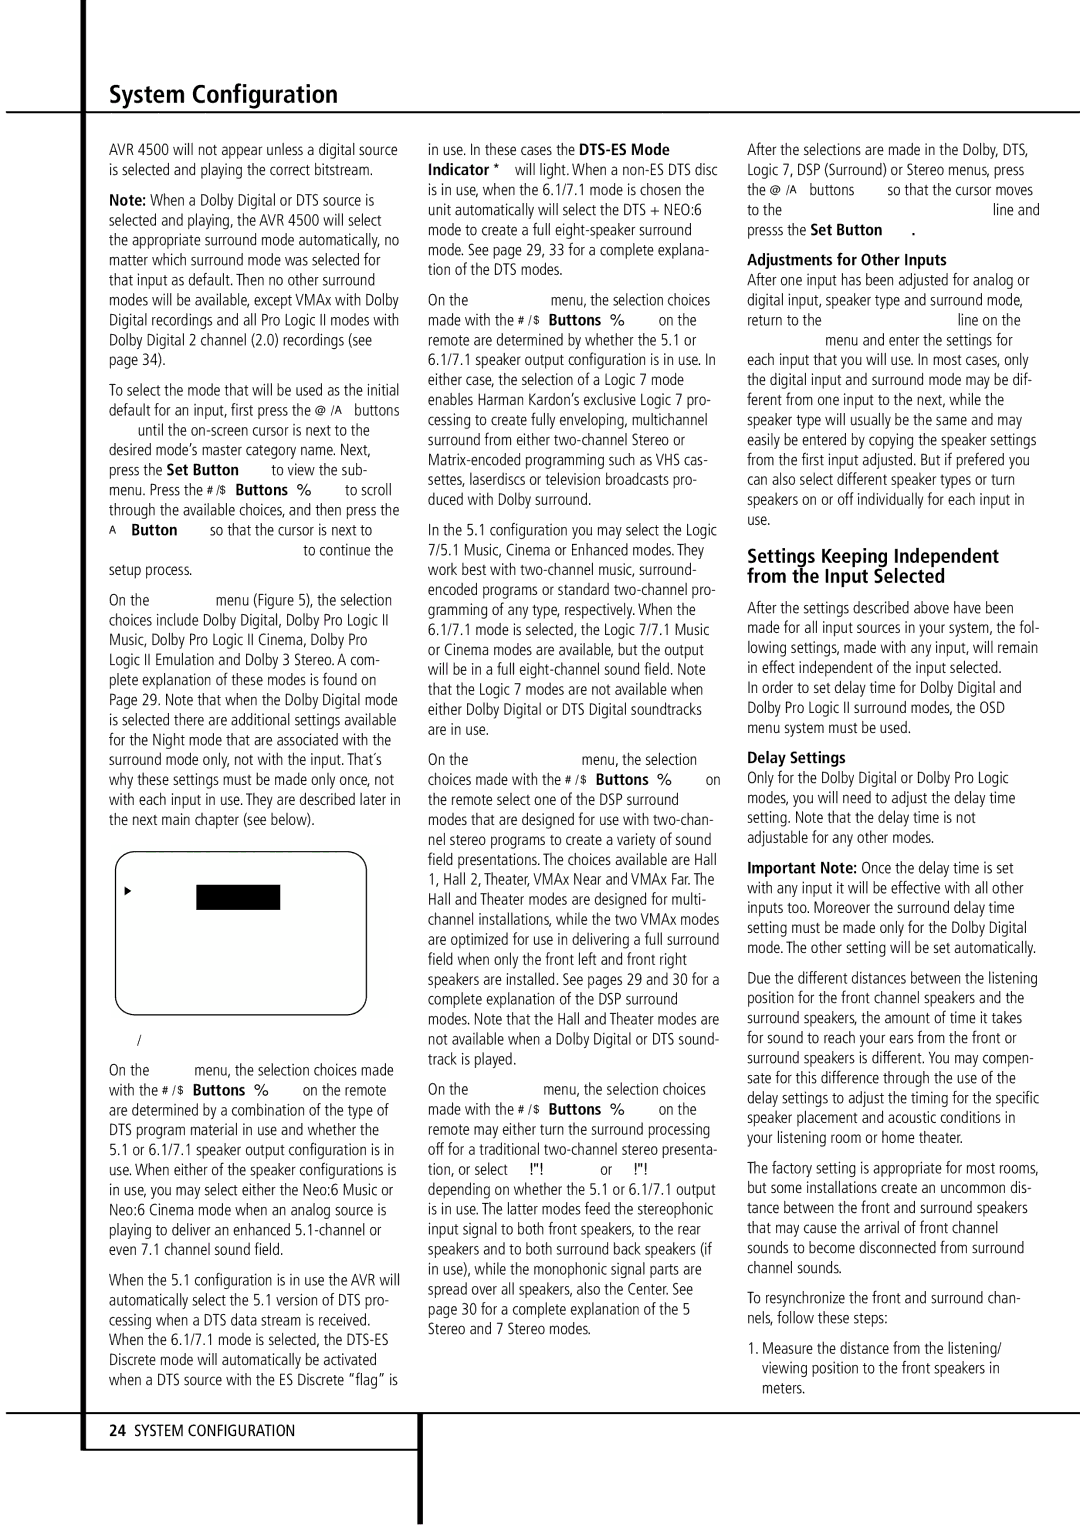
On the Dolby menu (Figure 5), the selection choices include Dolby Digital, Dolby Pro Logic II Music, Dolby Pro Logic II Cinema, Dolby Pro Logic II Emulation and Dolby 3 Stereo. A com- plete explanation of these modes is found on Page 29. Note that when the Dolby Digital mode is selected there are additional settings available for the Night mode that are associated with the surround mode only, not with the input. That´s why these settings must be made only once, not with each input in use. They are described later in the next main chapter (see below).
* | * | D O L | B Y | * * |
| | | | | | |
M O D E : | | D | O L B | Y | | |
| | D | I G I | T A L | | |
N I G H T : | O F F M I D M A X |
B A C K T O S U R R | S E L E C T |
| | | | | | |
Figure 5
On the DTS menu, the selection choices made with the ‹/ › Buttons E on the remote are determined by a combination of the type of DTS program material in use and whether the
5.1or 6.1/7.1 speaker output configuration is in use. When either of the speaker configurations is in use, you may select either the Neo:6 Music or Neo:6 Cinema mode when an analog source is playing to deliver an enhanced 5.1-channel or even 7.1 channel sound field.
When the 5.1 configuration is in use the AVR will automatically select the 5.1 version of DTS pro- cessing when a DTS data stream is received. When the 6.1/7.1 mode is selected, the DTS-ES Discrete mode will automatically be activated when a DTS source with the ES Discrete “flag” is
in use. In these cases the DTS-ES Mode Indicator D will light. When a non-ES DTS disc is in use, when the 6.1/7.1 mode is chosen the unit automatically will select the DTS + NEO:6 mode to create a full eight-speaker surround mode. See page 29, 33 for a complete explana- tion of the DTS modes.
On the Logic 7 menu, the selection choices made with the ‹/ › Buttons E on the remote are determined by whether the 5.1 or 6.1/7.1 speaker output configuration is in use. In either case, the selection of a Logic 7 mode enables Harman Kardon’s exclusive Logic 7 pro- cessing to create fully enveloping, multichannel surround from either two-channel Stereo or Matrix-encoded programming such as VHS cas- settes, laserdiscs or television broadcasts pro- duced with Dolby surround.
In the 5.1 configuration you may select the Logic 7/5.1 Music, Cinema or Enhanced modes. They work best with two-channel music, surround- encoded programs or standard two-channel pro- gramming of any type, respectively. When the 6.1/7.1 mode is selected, the Logic 7/7.1 Music or Cinema modes are available, but the output will be in a full eight-channel sound field. Note that the Logic 7 modes are not available when either Dolby Digital or DTS Digital soundtracks are in use.
On the DSP (SURR) menu, the selection choices made with the ‹/ › Buttons E on the remote select one of the DSP surround modes that are designed for use with two-chan- nel stereo programs to create a variety of sound field presentations. The choices available are Hall 1, Hall 2, Theater, VMAx Near and VMAx Far. The Hall and Theater modes are designed for multi- channel installations, while the two VMAx modes are optimized for use in delivering a full surround field when only the front left and front right speakers are installed. See pages 29 and 30 for a complete explanation of the DSP surround modes. Note that the Hall and Theater modes are not available when a Dolby Digital or DTS sound- track is played.
On the STEREO menu, the selection choices made with the ‹/ › Buttons E on the remote may either turn the surround processing off for a traditional two-channel stereo presenta- tion, or select 5 Stereo or 7 Stereo depending on whether the 5.1 or 6.1/7.1 output is in use. The latter modes feed the stereophonic input signal to both front speakers, to the rear speakers and to both surround back speakers (if in use), while the monophonic signal parts are spread over all speakers, also the Center. See page 30 for a complete explanation of the 5 Stereo and 7 Stereo modes.
After the selections are made in the Dolby, DTS, Logic 7, DSP (Surround) or Stereo menus, press the ⁄/¤ buttons Dso that the cursor moves to the BACK TO SURR SELECT line and presss the Set Button F.
Adjustments for Other Inputs
After one input has been adjusted for analog or digital input, speaker type and surround mode, return to the INPUT SETUP line on the MASTER menu and enter the settings for each input that you will use. In most cases, only the digital input and surround mode may be dif- ferent from one input to the next, while the speaker type will usually be the same and may easily be entered by copying the speaker settings from the first input adjusted. But if prefered you can also select different speaker types or turn speakers on or off individually for each input in use.
Settings Keeping Independent from the Input Selected
After the settings described above have been made for all input sources in your system, the fol- lowing settings, made with any input, will remain in effect independent of the input selected.
In order to set delay time for Dolby Digital and Dolby Pro Logic II surround modes, the OSD menu system must be used.
Delay Settings
Only for the Dolby Digital or Dolby Pro Logic modes, you will need to adjust the delay time setting. Note that the delay time is not adjustable for any other modes.
Important Note: Once the delay time is set with any input it will be effective with all other inputs too. Moreover the surround delay time setting must be made only for the Dolby Digital mode. The other setting will be set automatically.
Due the different distances between the listening position for the front channel speakers and the surround speakers, the amount of time it takes for sound to reach your ears from the front or surround speakers is different. You may compen- sate for this difference through the use of the delay settings to adjust the timing for the specific speaker placement and acoustic conditions in your listening room or home theater.
The factory setting is appropriate for most rooms, but some installations create an uncommon dis- tance between the front and surround speakers that may cause the arrival of front channel sounds to become disconnected from surround channel sounds.
To resynchronize the front and surround chan- nels, follow these steps:
1.Measure the distance from the listening/ viewing position to the front speakers in meters.