System Configuration
20
To adjust and calibrate the output levels, follow these steps. For accurate calibration, it is a good idea to make these adjustments from the location in your room that is your favorite listening position:
1.Put the AVR65 in the Dolby Pro Logic mode by pressing the Dolby Pro
Logic Selector î on the front panel or by pressing the Surround Mode Selector yon the remote, followed by the Ú/ Û buttons g until PRO LOGIC appears in the Main Information Display U and the PRO LOGIC indicator F lights.
2.Press the Test Tone button eon the remote. The words
T
U, and the letters FLwill flash once each second.
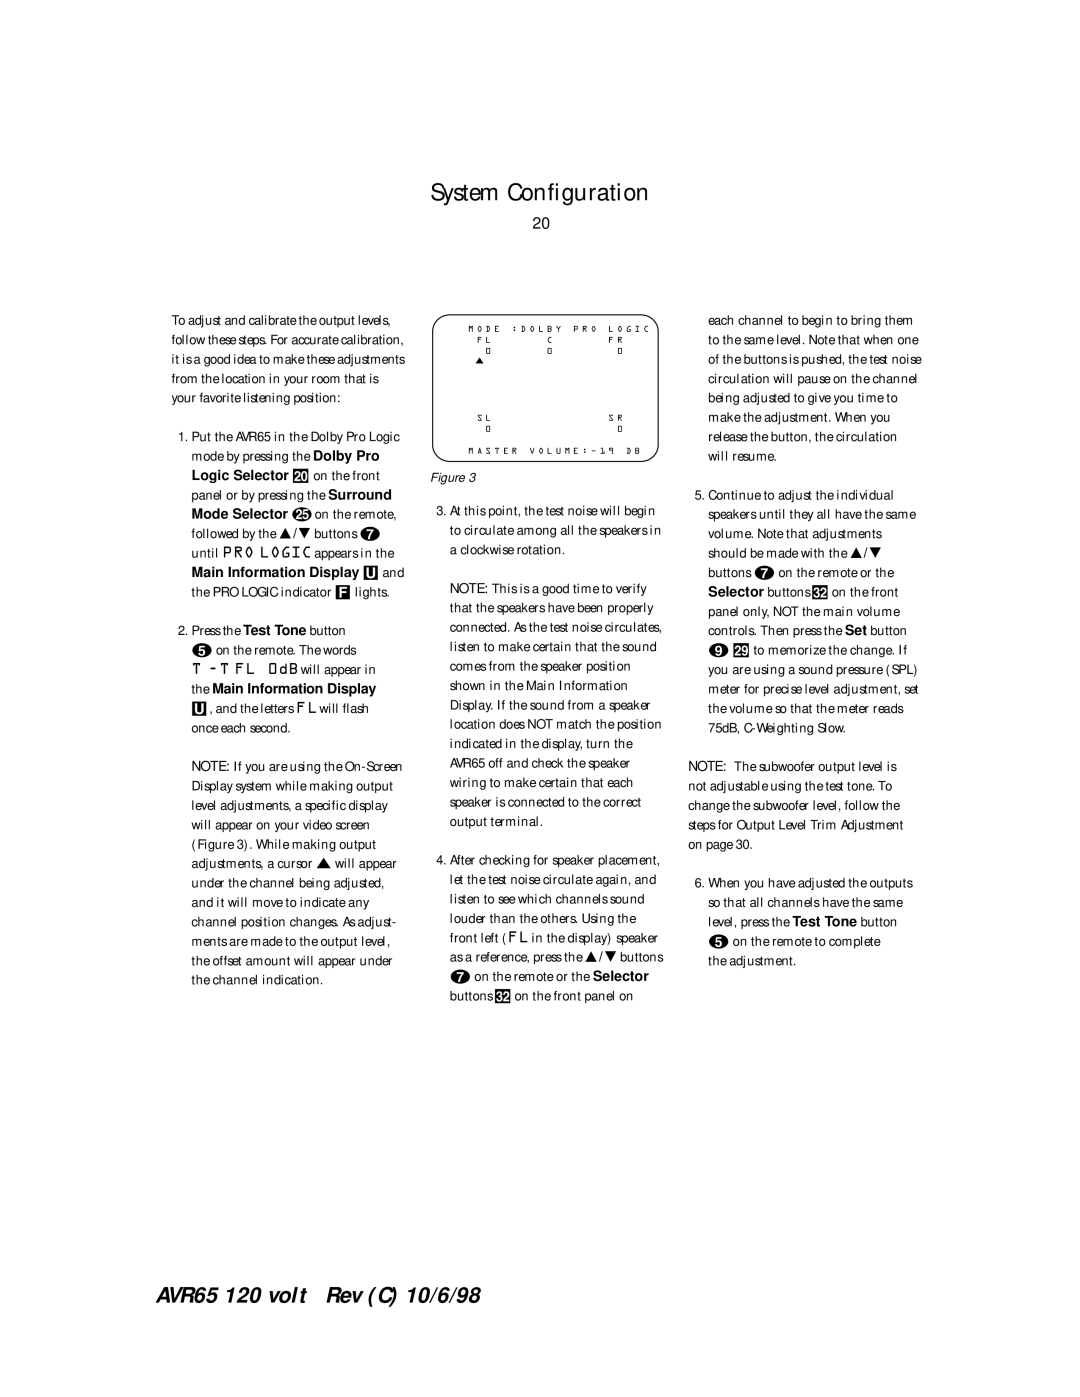
NOTE: If you are using the
M O D E : D O L B Y P R O L O G I C
F L | C | F R |
0 | 0 | 0 |
S L |
| S R |
0 |
| 0 |
M A S T E R V O L U M E : Ð 1 9 D B
Figure 3
3.At this point, the test noise will begin to circulate among all the speakers in a clockwise rotation.
NOTE: This is a good time to verify that the speakers have been properly connected. As the test noise circulates, listen to make certain that the sound comes from the speaker position shown in the Main Information Display. If the sound from a speaker location does NOT match the position indicated in the display, turn the AVR65 off and check the speaker wiring to make certain that each speaker is connected to the correct output terminal.
4.After checking for speaker placement, let the test noise circulate again, and listen to see which channels sound louder than the others. Using the front left (FL in the display) speaker as a reference, press the Ú/ Û buttons gon the remote or the Selector buttons üon the front panel on
each channel to begin to bring them to the same level. Note that when one of the buttons is pushed, the test noise circulation will pause on the channel being adjusted to give you time to make the adjustment. When you release the button, the circulation will resume.
5.Continue to adjust the individual speakers until they all have the same volume. Note that adjustments should be made with the Ú/ Û buttons gon the remote or the Selector buttons üon the front panel only, NOT the main volume controls. Then press the Set button i÷to memorize the change. If you are using a sound pressure (SPL) meter for precise level adjustment, set the volume so that the meter reads 75dB,
NOTE: The subwoofer output level is not adjustable using the test tone. To change the subwoofer level, follow the steps for Output Level Trim Adjustment on page 30.
6.When you have adjusted the outputs so that all channels have the same level, press the Test Tone button eon the remote to complete
the adjustment.
AVR65 120 volt Rev (C) 10/6/98
