| rival those achieved with expensive test equip- | If you do not wish to continue with the EzSet+ | | | |
| ment and time-consuming procedures. The end | process, press the ‹/› Navigation Buttons | | | |
| result is a system calibration profile that enables | E | for the arrow to point to NO and then | | | |
| your new receiver to deliver the best possible | press the OK Button F to return to the | | | |
| sound, no matter what type of speakers you have | MASTER MENU. Note that if you attempt to | | | |
| or what the dimensions of your listening room | move to the next menu without plugging in the | | | |
| are. | microphone, a reminder message will flash at the | | | |
| We recommend that you take advantage of the | bottom of the screen. | | | |
| | | | | |
| precision of EzSet/EQ to calibrate your system, | | | | | |
| but if desired you may also make any of the | | | Figure 5c | | |
| configuration settings manually, or trim the | | | While this screen is visible, you may start and |
| settings provided by EzSet/EQ by following the | | |
| | | stop the calibration process, or monitor the |
| instructions on pages 23 through 27. | | |
| | | progress of the measurements and view the |
| | | |
| If you wish to configure your AVR manually, or if | | | results. When the screen first appears, you will |
| for some reason your EzSet/EQ microphone is | | | see MEASUREMENT: STOP on the first line |
| unavailable, you may still do so by following the | | | of the menu list. To start the EzSet/EQ test |
| instructions on pages 23 through 27. | | | process, you must first tell the system how many |
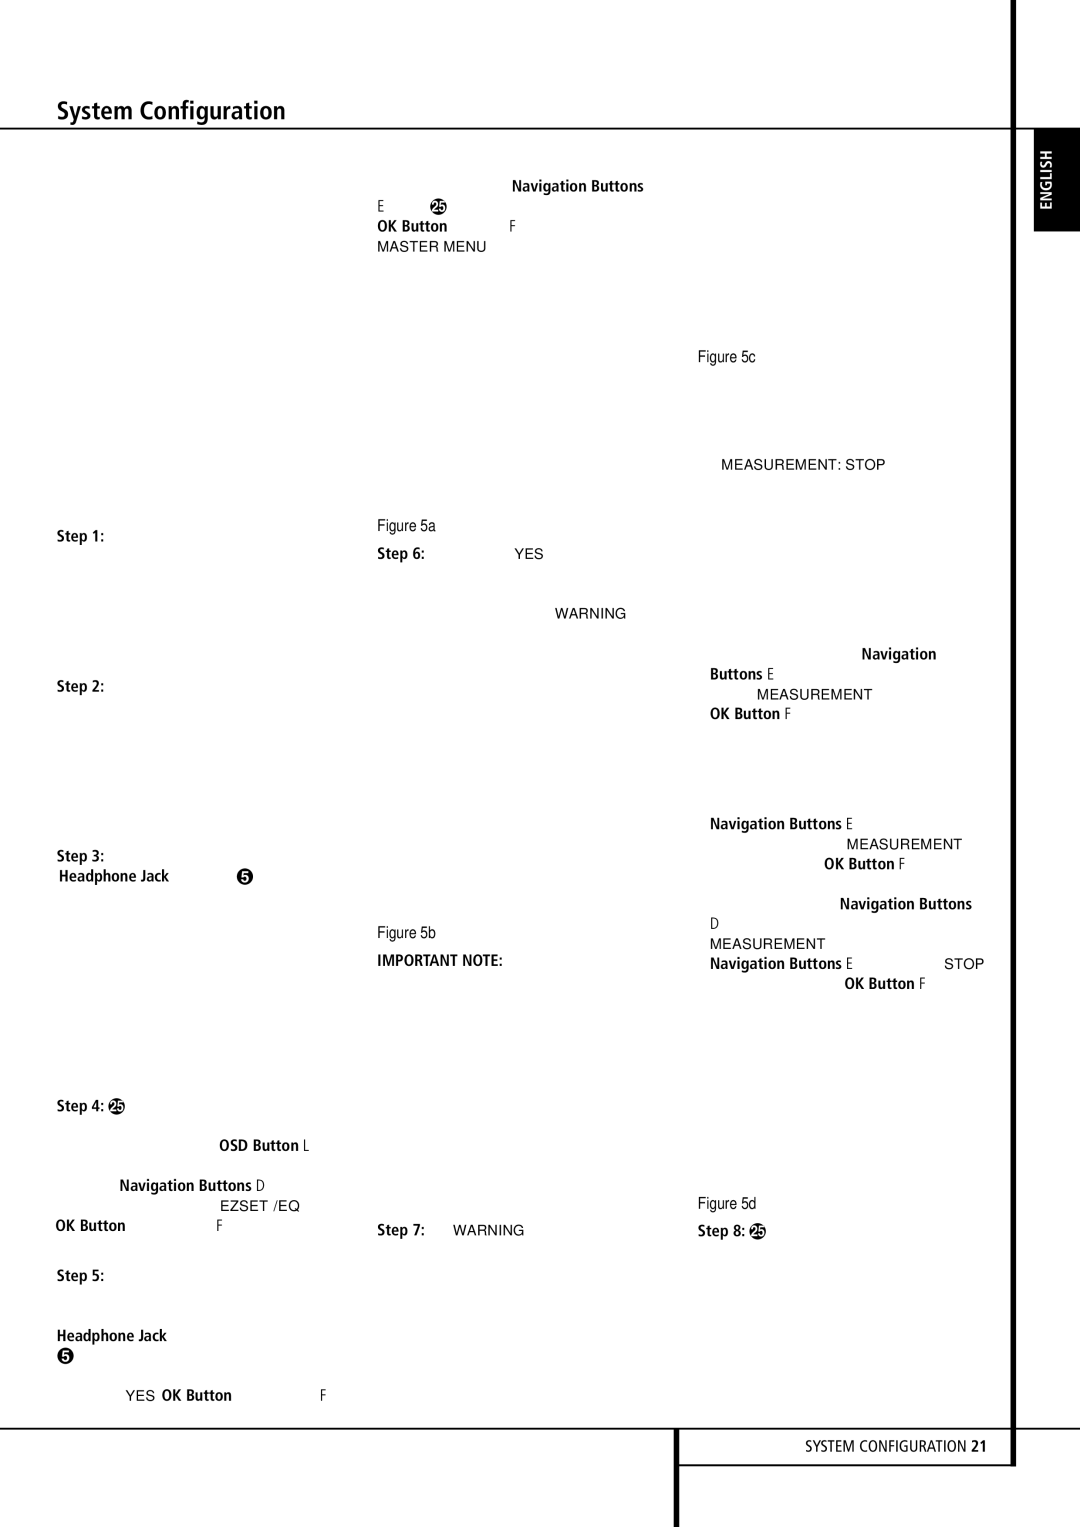
| Step 1: EzSet/EQ requires that your listening | Figure 5a | speakers are in your system. To do that, choose |
| Step 6: After entering YES to start the | one of these two options: | |
| room have as little background noise as possible | |
| | | |
| to avoid interfering with the measurement of | EzSet/EQ system, you will next see a brief warn- | • If your system includes a full complement of |
| tones produced by your AVR during the setup | ing message, and the screen will then change to | seven main speakers (front left/center/front |
| procedure. Turn off all loud fans, air conditioners | the main EzSet/EQ menu. The WARNING screen | right/surround right/surround back |
| and other equipment, and try to avoid making | is a reminder that in order for the system to per- | right/surround back left/surround left) and a |
| any noise during the process. | form accurate measurements, it is important that | subwoofer, press the ‹/› Navigation |
| Step 2: The EzSet/EQ microphone should be | the listening room be as quiet as possible. | Buttons E | so that 7.1 appears to the |
| After 5 seconds, the screen will change again to | right of MEASUREMENT, and then press the |
| placed in either your usual listening position or, if |
| display the main EzSet/EQ menu (Figure 5b). | OK Button F to start EzSet/EQ. |
| there is a large seating area, the center of the |
| | | • If your system includes a traditional surround |
| room, at the listeners’ ear level. You may find it | | |
| convenient to use a camera tripod for stable | | | speaker complement of five main speakers |
| placement of the EzSet/EQ microphone at the | | | (front left/center/ front right/surround right/ |
| correct height. The microphone includes a thread- | | | surround left) and a subwoofer, press the ‹/› |
| ed insert on the bottom for tripod mounting. | | | Navigation Buttons E | so that 5.1 |
| Step 3: Plug the EzSet/EQ microphone into the | | | appears to the right of MEASUREMENT, |
| | | and then press the OK Button F to start |
| AVR 147’s Headphone Jack 4, making certain | | |
| | | EzSet/EQ. To stop the calibration process at any |
| that the mini-plug to 1/4" phone plug adaptor | | |
| | | time, press the ⁄/¤ Navigation Buttons |
| supplied with the microphone is firmly connected. | | |
| Figure 5b | D to move the on-screen cursors to the |
| The microphone cable is approximately 7 meter |
| MEASUREMENT line; press the ‹/› |
| long, which should accommodate most listening | IMPORTANT NOTE: Anyone with hearing that is |
| Navigation Buttons E | so that STOP |
| room situations. If required, you may use an | sensitive to loud noises should leave the room at | appears and press the OK Button F. |
| optional extension cable, available at most elec- | this point, or use ear protection sufficient to | | | |
| tronics stores, for use in larger rooms. However, | reduce the noise level. Inexpensive foam-style ear | | | |
| we recommend that you avoid using extension | plugs, available at most drug stores, may be used | | | |
| cords for the microphone cable, as they may | to reduce the sound level to a tolerable level. If | | | |
| adversely affect the test results. | you are uncomfortable with, or cannot tolerate, | | | |
| Step 4: Once the microphone is properly posi- | loud sounds and do not use some sort of ear pro- | | | |
| tection, we strongly recommend that you leave | | | |
| tioned and plugged in, proceed to the EzSet/EQ | | | |
| the room and ask someone else to run the | | | |
| menus by first pressing the OSD Button L to | | | |
| EzSet/EQ process, or that you do not use | | | |
| bring the Master Menu to the screen. Next, press | | | |
| EzSet/EQ and enter the configuration settings | | | |
| the ⁄/¤ Navigation Buttons D to move | | | |
| manually, as described on pages 23 through 27. | Figure 5d | | |
| the on-screen cursor to the EZSET/EQ menu | | |
| line. Press the OK Button F to move to the | Step 7: The WARNING screen will automati- | Step 8: Once EzSet/EQ has been started, you will |
| next screen (Figure 5a). | cally be replaced by the main EzSet/EQ menu | hear test signals circulate among all of the |
| Step 5: The first screen of the EzSet/EQ system | (Figure 5c). | speakers as the system sets the master level, |
| | | checks to see where there are speakers, sets the |
| will now appear to remind you to plug in the | | |
| | | distance measurement and calculates delay time |
| microphone. If you have not already done so, | | |
| | | settings, sets the speaker “size”, and sets the |
| plug the microphone into the Headphone Jack | | |
| 4 as described in steps 2 and 3. When you are | | | speaker crossover point. During the measurement |
| | | and calibration process, you may observe the |
| ready to proceed, make certain that the cursor is | | |
| | | progress of the testing by reading the messages |
| pointing to YES and press the OK Button F. | | |
| | | | that appear in the second line of the menu |