AVR 1650/AVR 165
Advanced Functions, continued
Audio (7.1),
When the AVR receives a digital bitstream, it detects the encoding method and the number of channels, which is displayed briefly as three numbers, separated by slashes (e.g., “3/2/.1”).
The first number indicates the number of front channels in the signal: “1” represents a monophonic recording (usually an older program that has been digitally remastered or, more rarely, a modern program for which the director has chosen mono as a special effect). “2” indicates the presence of the left and right channels but no center channel. “3” indicates that all three front channels (left, right and center) are present.
The second number indicates whether any surround channels are present: “0” indicates that no surround information is present. “1” indicates that a matrixed surround signal is present. “2” indicates discrete surround left and right channels. (Bitstreams with discrete surround back left and right channel signals will be indicated by a “4,” although the AVR downmixes the surround
The third number is used for the LFE channel: “0” indicates no LFE channel. “.1” indicates that an LFE channel is present.
Dolby Digital 2.0 signals may include a Dolby Surround flag indicating
When a PCM signal is received, the PCM message and the sampling rate (32kHz, 44.1kHz, 48kHz or 96kHz) will appear.
When only two channels – left and right – are present, the analog surround modes may be used to decode the signal into multiple channels. If you would prefer a different surround format than the native signal’s digital encoding, press the Surround Modes button to display the Surround Modes menu (see Selecting a Surround Mode, on page 20).
The Auto Select option sets the surround mode to the native signal’s digital encoding, e.g., Dolby Digital, DTS, Dolby TrueHD or
Each
•Virtual Surround: HARMAN virtual speaker.
•Stereo:
•Movie: Logic 7 Movie.
•Music: Logic 7 Music.
•Video Game: Logic 7 Game.
You may select a different mode for each category. Below is a complete list of available surround modes. (The actual surround modes available will depend on the number of speakers in your system.)
•Virtual Surround: HARMAN virtual speaker.
•Stereo:
•Movie: Logic 7 Movie, Dolby Pro Logic II Movie.
•Music: Logic 7 Music, Dolby Pro Logic II Music.
•Video Game: Logic 7 Game, Dolby Pro Logic II Game.
Once you have programmed the surround mode for each type of audio, select the line from the Surround Modes menu to override the AVR’s automatic
Please refer to Table A9 in the Appendix for more information on which surround modes are available with different bitstreams.
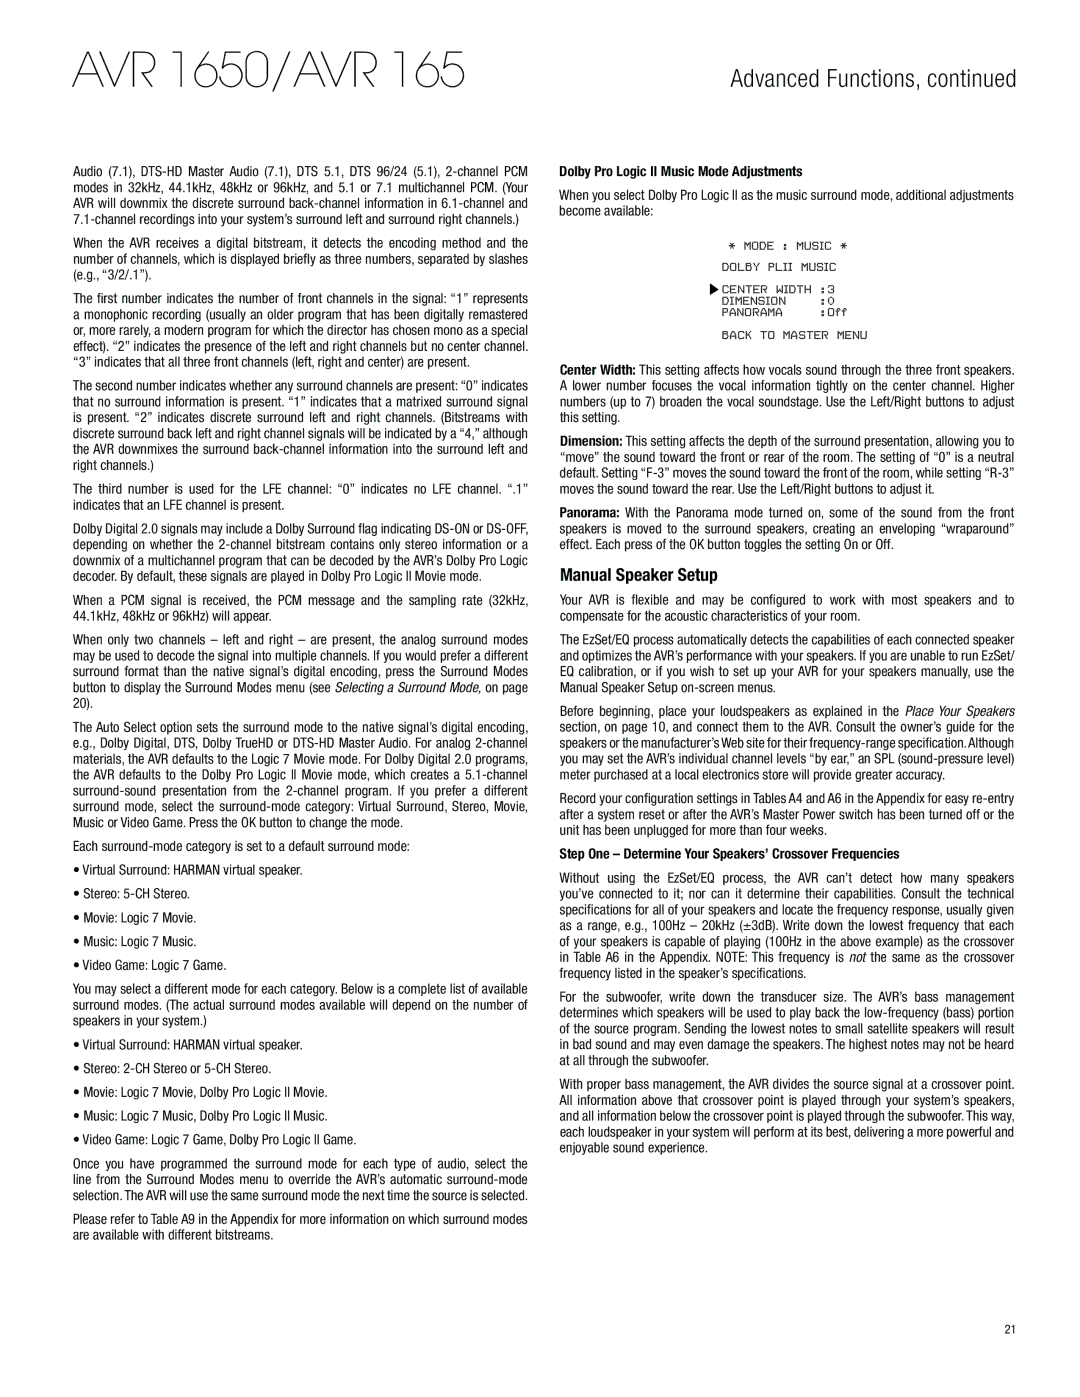
Dolby Pro Logic II Music Mode Adjustments
When you select Dolby Pro Logic II as the music surround mode, additional adjustments become available:
* MODE : MUSIC *
DOLBY PLII MUSIC
![]() CENTER WIDTH :3
CENTER WIDTH :3
DIMENSION :0
PANORAMA :Off
BACK TO MASTER MENU
Center Width: This setting affects how vocals sound through the three front speakers. A lower number focuses the vocal information tightly on the center channel. Higher numbers (up to 7) broaden the vocal soundstage. Use the Left/Right buttons to adjust this setting.
Dimension: This setting affects the depth of the surround presentation, allowing you to “move” the sound toward the front or rear of the room. The setting of “0” is a neutral default. Setting
Panorama: With the Panorama mode turned on, some of the sound from the front speakers is moved to the surround speakers, creating an enveloping “wraparound” effect. Each press of the OK button toggles the setting On or Off.
Manual Speaker Setup
Your AVR is flexible and may be configured to work with most speakers and to compensate for the acoustic characteristics of your room.
The EzSet/EQ process automatically detects the capabilities of each connected speaker and optimizes the AVR’s performance with your speakers. If you are unable to run EzSet/ EQ calibration, or if you wish to set up your AVR for your speakers manually, use the Manual Speaker Setup
Before beginning, place your loudspeakers as explained in the Place Your Speakers section, on page 10, and connect them to the AVR. Consult the owner’s guide for the speakers or the manufacturer’s Web site for their
Record your configuration settings in Tables A4 and A6 in the Appendix for easy
Step One – Determine Your Speakers’ Crossover Frequencies
Without using the EzSet/EQ process, the AVR can’t detect how many speakers you’ve connected to it; nor can it determine their capabilities. Consult the technical specifications for all of your speakers and locate the frequency response, usually given as a range, e.g., 100Hz – 20kHz (±3dB). Write down the lowest frequency that each of your speakers is capable of playing (100Hz in the above example) as the crossover in Table A6 in the Appendix. NOTE: This frequency is not the same as the crossover frequency listed in the speaker’s specifications.
For the subwoofer, write down the transducer size. The AVR’s bass management determines which speakers will be used to play back the
With proper bass management, the AVR divides the source signal at a crossover point. All information above that crossover point is played through your system’s speakers, and all information below the crossover point is played through the subwoofer. This way, each loudspeaker in your system will perform at its best, delivering a more powerful and enjoyable sound experience.
21