Audio and Video Input Selection
Please see TableA1 in the appendix for the fac- tory default input assignments for each source. You may assign any available input to any source using the Source Info menu, accessible either by pressing the AVR Settings Button Y and selecting the Setup Source line, or by press- ing the Info Settings Button Y for direct access.
When a source is selected, the AVR will check the assigned digital audio input for a signal. If one is present, the digital input will be selected. If not, the AVR will select the analog audio input specified at the Audio Auto Polling line of the Setup Source menu. If you don’t want the AVR to select an analog audio input for the source, change this setting to Off.
The AVR will also select the assigned video source. There are no “Audio Only” sources on the AVR, other than the Radio, which uses a spe- cial on-screen menu. If no video signal is pres- ent, the display will remain black. You may pair an audio device with an A/V device’s video sig- nal using the Source Info menu as explained in the Initial Setup section. Sources may share audio or video inputs to suit your application.
Set Up Sources
The Source Info menu is used to assign the correct physical audio and video connections to each source. It also provides access to a variety of other settings, many of which may be adjusted later as you become more familiar with the AVR.
The following settings are not optional and must be adjusted now to enable playback of each source: Video Input from source, Audio Input from Source and Resolution to Display.
The other settings may be adjusted at any time to improve performance.
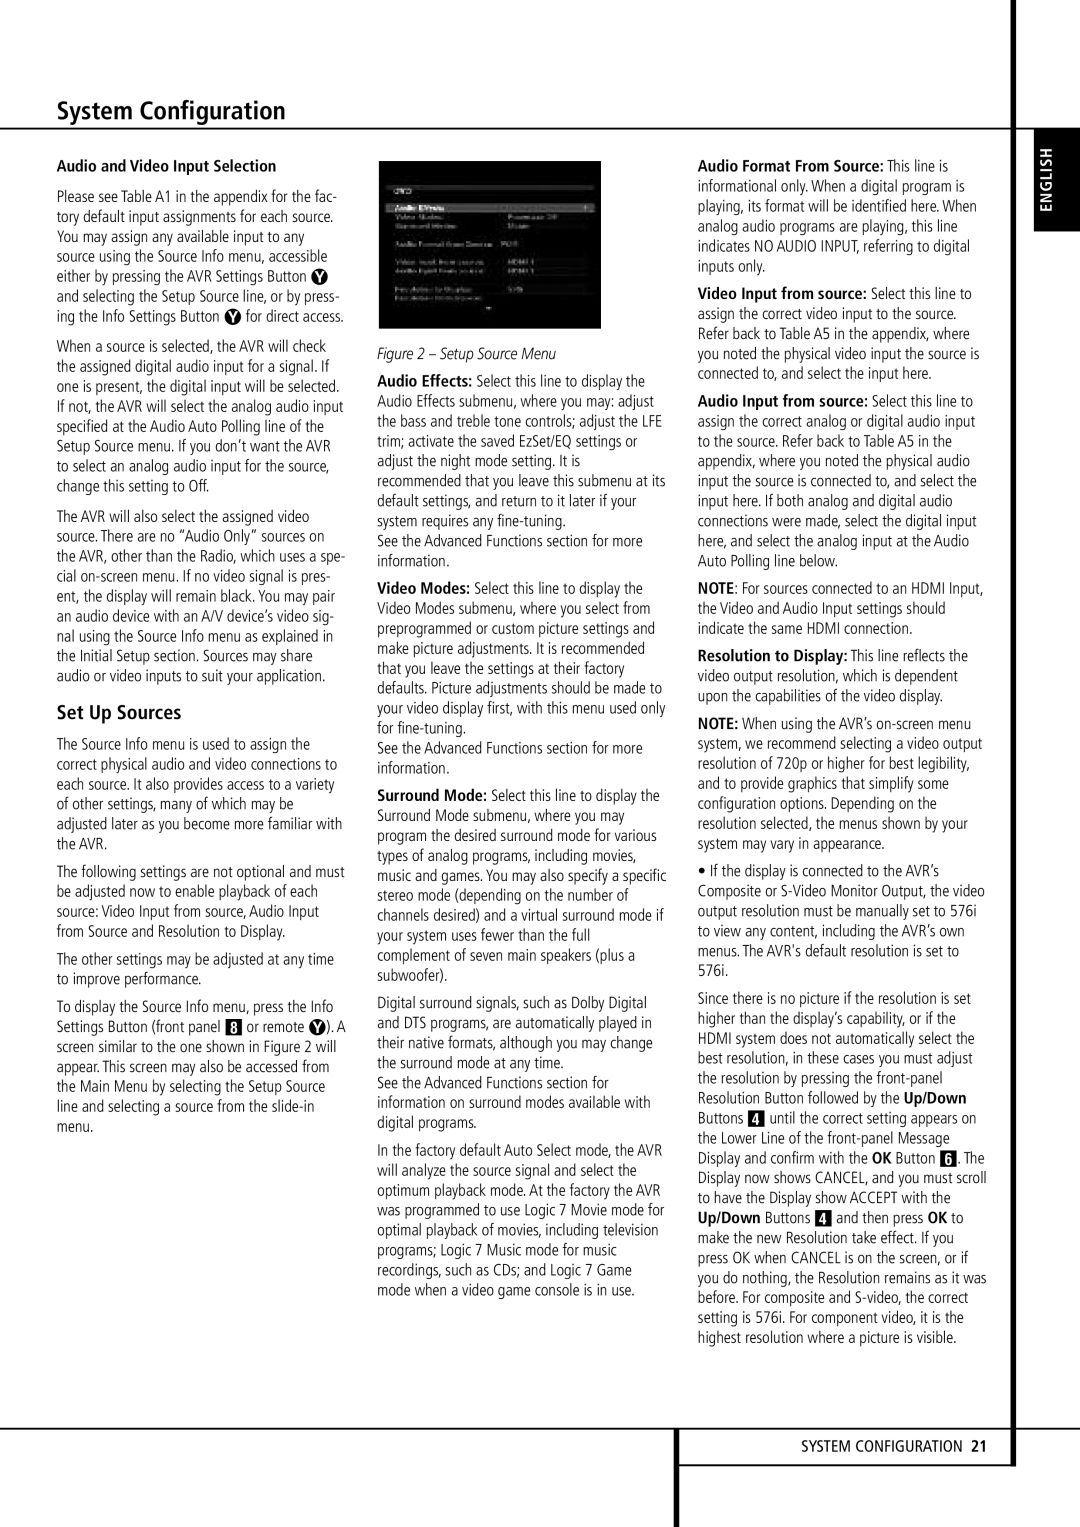
To display the Source Info menu, press the Info Settings Button (front panel 7 or remote Y). A screen similar to the one shown in Figure 2 will appear.This screen may also be accessed from the Main Menu by selecting the Setup Source line and selecting a source from the slide-in menu.
Figure 2 – Setup Source Menu
Audio Effects: Select this line to display the
Audio Effects submenu, where you may: adjust the bass and treble tone controls; adjust the LFE trim; activate the saved EzSet/EQ settings or adjust the night mode setting. It is recommended that you leave this submenu at its default settings, and return to it later if your system requires any fine-tuning.
See the Advanced Functions section for more information.
Video Modes: Select this line to display the Video Modes submenu, where you select from preprogrammed or custom picture settings and make picture adjustments. It is recommended that you leave the settings at their factory defaults. Picture adjustments should be made to your video display first, with this menu used only for fine-tuning.
See the Advanced Functions section for more information.
Surround Mode: Select this line to display the Surround Mode submenu, where you may program the desired surround mode for various types of analog programs, including movies, music and games. You may also specify a specific stereo mode (depending on the number of channels desired) and a virtual surround mode if your system uses fewer than the full complement of seven main speakers (plus a subwoofer).
Digital surround signals, such as Dolby Digital and DTS programs, are automatically played in their native formats, although you may change the surround mode at any time.
See the Advanced Functions section for information on surround modes available with digital programs.
In the factory default Auto Select mode, the AVR will analyze the source signal and select the optimum playback mode. At the factory the AVR was programmed to use Logic 7 Movie mode for optimal playback of movies, including television programs; Logic 7 Music mode for music recordings, such as CDs; and Logic 7 Game mode when a video game console is in use.
Audio Format From Source: This line is informational only. When a digital program is playing, its format will be identified here. When analog audio programs are playing, this line indicates NO AUDIO INPUT,referring to digital inputs only.
Video Input from source: Select this line to assign the correct video input to the source. Refer back to Table A5 in the appendix, where you noted the physical video input the source is connected to, and select the input here.
Audio Input from source: Select this line to assign the correct analog or digital audio input to the source. Refer back to TableA5 in the appendix, where you noted the physical audio input the source is connected to, and select the input here. If both analog and digital audio connections were made, select the digital input here, and select the analog input at the Audio Auto Polling line below.
NOTE: For sources connected to an HDMI Input, the Video and Audio Input settings should indicate the same HDMI connection.
Resolution to Display: This line reflects the video output resolution, which is dependent upon the capabilities of the video display.
NOTE: When using the AVR’s on-screen menu system, we recommend selecting a video output resolution of 720p or higher for best legibility, and to provide graphics that simplify some configuration options. Depending on the resolution selected, the menus shown by your system may vary in appearance.
•If the display is connected to the AVR’s Composite or S-Video Monitor Output, the video output resolution must be manually set to 576i to view any content, including the AVR’s own menus. The AVR's default resolution is set to 576i.
Since there is no picture if the resolution is set higher than the display’s capability, or if the HDMI system does not automatically select the best resolution, in these cases you must adjust the resolution by pressing the front-panel Resolution Button followed by the Up/Down Buttons 3 until the correct setting appears on the Lower Line of the front-panel Message Display and confirm with the OK Button 5. The Display now shows CANCEL, and you must scroll to have the Display show ACCEPT with the Up/Down Buttons 3 and then press OK to make the new Resolution take effect. If you press OK when CANCEL is on the screen, or if you do nothing, the Resolution remains as it was before. For composite and S-video, the correct setting is 576i. For component video, it is the highest resolution where a picture is visible.