System Setup
The final step in the installation of the DVD 47 is to establish the system’s configuration. Before proceeding further to make any adjustments, make certain that the DVD 47 is properly connected to a video display and an AC power source. Turn on the DVD 47 by pressing the Power On/Off Switch 2 and the Power Indicator 1 will change from amber to blue. You do not need to play a CD or DVD in the unit to make system setup adjustments.
In many cases, you will be able to accept the default settings. Of course, these settings may be changed at any time to reflect changes to the other equipment in your home theater system or to adjust the DVD 47’s output or operation to your needs and preferences.
Menus and Navigation
The DVD 47 uses an elegant but simple on-screen menu system for all setup and control functions. There are two main menus that are navigated in a similar fashion:
•The SETUP menu is used to establish the basic configuration settings for all aspects of the DVD player’s operation, including language and display settings, audio settings, video settings and adjust- ments, speaker bass management settings, parental control and other settings that you may customize. The SETUP menu is accessed by pressing the Setup Button j.
•The PLAYER INFORMATION menu displays information about the current disc, allowing you to set the playback mode and create a playlist if desired. The PLAYER INFORMATION menu will appear on screen automatically for audio- only and JPEG discs, and for VCDs without PBC. For DVDs and VCDs with PBC, it may be accessed by pressing the Info Button i.
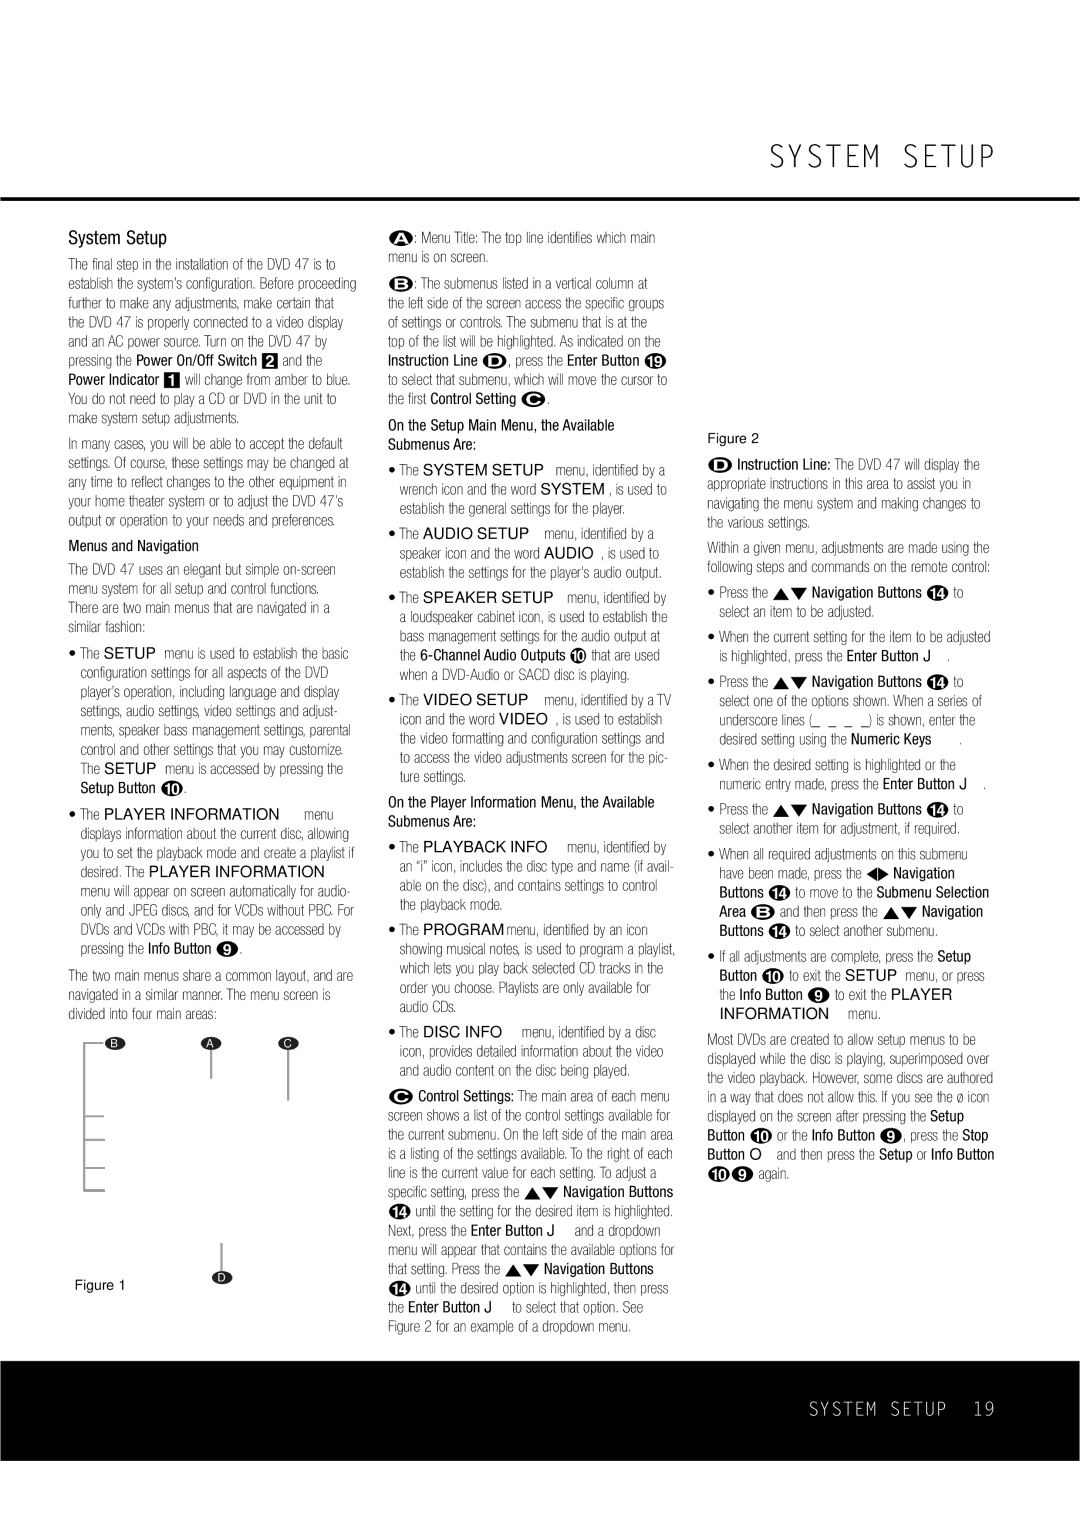
The two main menus share a common layout, and are navigated in a similar manner. The menu screen is divided into four main areas:
B A C
å: Menu Title: The top line identifies which main menu is on screen.
∫: The submenus listed in a vertical column at the left side of the screen access the specific groups of settings or controls. The submenu that is at the top of the list will be highlighted. As indicated on the Instruction Line ∂, press the Enter Button s to select that submenu, which will move the cursor to the first Control Setting ç.
On the Setup Main Menu, the Available Submenus Are:
•The SYSTEM SETUP menu, identified by a wrench icon and the word SYSTEM, is used to establish the general settings for the player.
•The AUDIO SETUP menu, identified by a speaker icon and the word AUDIO, is used to establish the settings for the player’s audio output.
•The SPEAKER SETUP menu, identified by a loudspeaker cabinet icon, is used to establish the
bass management settings for the audio output at
the 6-Channel Audio Outputs that are used when a DVD-Audio or SACD disc is playing.
•The VIDEO SETUP menu, identified by a TV icon and the word VIDEO, is used to establish the video formatting and configuration settings and to access the video adjustments screen for the pic- ture settings.
On the Player Information Menu, the Available Submenus Are:
•The PLAYBACK INFO menu, identified by an “i” icon, includes the disc type and name (if avail- able on the disc), and contains settings to control the playback mode.
•The PROGRAM menu, identified by an icon showing musical notes, is used to program a playlist, which lets you play back selected CD tracks in the order you choose. Playlists are only available for audio CDs.
•The DISC INFO menu, identified by a disc icon, provides detailed information about the video and audio content on the disc being played.
ç Control Settings: The main area of each menu |
screen shows a list of the control settings available for |
the current submenu. On the left side of the main area |
is a listing of the settings available. To the right of each |
line is the current value for each setting. To adjust a |
specific setting, press the ⁄¤ Navigation Buttons |
n until the setting for the desired item is highlighted. |
Next, press the Enter Button J and a dropdown |
menu will appear that contains the available options for |
that setting. Press the ⁄¤ Navigation Buttons |
SYSTEM SETUP
Figure 2
∂Instruction Line: The DVD 47 will display the appropriate instructions in this area to assist you in navigating the menu system and making changes to the various settings.
Within a given menu, adjustments are made using the following steps and commands on the remote control:
•Press the ⁄¤ Navigation Buttons n to select an item to be adjusted.
•When the current setting for the item to be adjusted is highlighted, press the Enter Button J.
•Press the ⁄¤ Navigation Buttons n to select one of the options shown. When a series of
underscore lines (_ _ _ _) is shown, enter the
desired setting using the Numeric Keys | . |
•When the desired setting is highlighted or the numeric entry made, press the Enter Button J.
•Press the ⁄¤ Navigation Buttons n to select another item for adjustment, if required.
•When all required adjustments on this submenu have been made, press the ‹› Navigation Buttons n to move to the Submenu Selection Area ∫ and then press the ⁄¤ Navigation Buttons n to select another submenu.
•If all adjustments are complete, press the Setup Button j to exit the SETUP menu, or press the Info Button i to exit the PLAYER INFORMATION menu.
Most DVDs are created to allow setup menus to be displayed while the disc is playing, superimposed over the video playback. However, some discs are authored in a way that does not allow this. If you see the ø icon displayed on the screen after pressing the Setup Button j or the Info Button i, press the Stop Button O and then press the Setup or Info Button ji again.