System Setup
Output level adjustment
Figure 4c
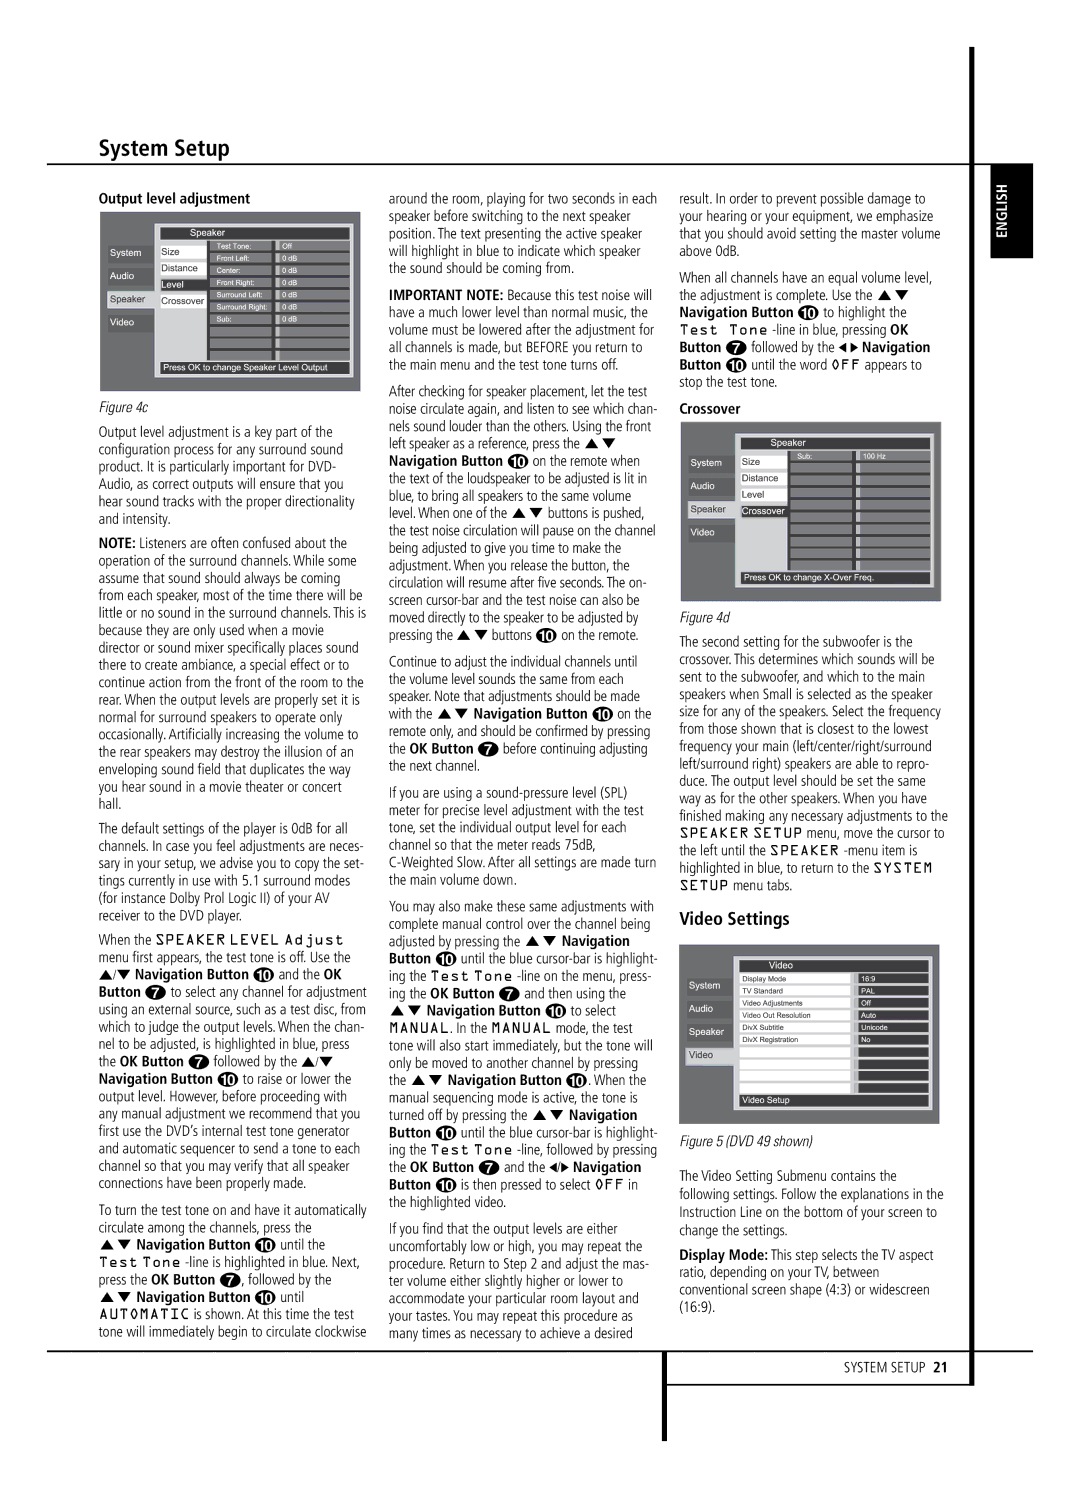
Output level adjustment is a key part of the configuration process for any surround sound product. It is particularly important for DVD- Audio, as correct outputs will ensure that you hear sound tracks with the proper directionality and intensity.
NOTE: Listeners are often confused about the operation of the surround channels. While some assume that sound should always be coming from each speaker, most of the time there will be little or no sound in the surround channels. This is because they are only used when a movie director or sound mixer specifically places sound there to create ambiance, a special effect or to continue action from the front of the room to the rear. When the output levels are properly set it is normal for surround speakers to operate only occasionally. Artificially increasing the volume to the rear speakers may destroy the illusion of an enveloping sound field that duplicates the way you hear sound in a movie theater or concert hall.
The default settings of the player is 0dB for all channels. In case you feel adjustments are neces- sary in your setup, we advise you to copy the set- tings currently in use with 5.1 surround modes (for instance Dolby Prol Logic II) of your AV receiver to the DVD player.
When the SPEAKER LEVEL Adjust menu first appears, the test tone is off. Use the ⁄/¤ Navigation Button 9 and the OK Button 6 to select any channel for adjustment using an external source, such as a test disc, from which to judge the output levels. When the chan- nel to be adjusted, is highlighted in blue, press the OK Button 6 followed by the ⁄/¤ Navigation Button 9 to raise or lower the output level. However, before proceeding with any manual adjustment we recommend that you first use the DVD’s internal test tone generator and automatic sequencer to send a tone to each channel so that you may verify that all speaker connections have been properly made.
To turn the test tone on and have it automatically circulate among the channels, press the
KL Navigation Button 9 until the Test Tone
around the room, playing for two seconds in each speaker before switching to the next speaker position. The text presenting the active speaker will highlight in blue to indicate which speaker the sound should be coming from.
IMPORTANT NOTE: Because this test noise will have a much lower level than normal music, the volume must be lowered after the adjustment for all channels is made, but BEFORE you return to the main menu and the test tone turns off.
After checking for speaker placement, let the test noise circulate again, and listen to see which chan- nels sound louder than the others. Using the front left speaker as a reference, press the KL Navigation Button 9 on the remote when the text of the loudspeaker to be adjusted is lit in blue, to bring all speakers to the same volume level. When one of the KL buttons is pushed, the test noise circulation will pause on the channel being adjusted to give you time to make the adjustment. When you release the button, the circulation will resume after five seconds. The on- screen
Continue to adjust the individual channels until the volume level sounds the same from each speaker. Note that adjustments should be made with the KL Navigation Button 9 on the remote only, and should be confirmed by pressing the OK Button 6 before continuing adjusting the next channel.
If you are using a
You may also make these same adjustments with complete manual control over the channel being adjusted by pressing the KL Navigation Button 9 until the blue
If you find that the output levels are either uncomfortably low or high, you may repeat the procedure. Return to Step 2 and adjust the mas- ter volume either slightly higher or lower to accommodate your particular room layout and your tastes. You may repeat this procedure as many times as necessary to achieve a desired
result. In order to prevent possible damage to your hearing or your equipment, we emphasize that you should avoid setting the master volume above 0dB.
When all channels have an equal volume level, the adjustment is complete. Use the KL Navigation Button 9 to highlight the Test Tone
Crossover
Figure 4d
The second setting for the subwoofer is the crossover. This determines which sounds will be sent to the subwoofer, and which to the main speakers when Small is selected as the speaker size for any of the speakers. Select the frequency from those shown that is closest to the lowest frequency your main (left/center/right/surround left/surround right) speakers are able to repro- duce. The output level should be set the same way as for the other speakers. When you have finished making any necessary adjustments to the SPEAKER SETUP menu, move the cursor to the left until the SPEAKER
Video Settings
Figure 5 (DVD 49 shown)
The Video Setting Submenu contains the following settings. Follow the explanations in the Instruction Line on the bottom of your screen to change the settings.
Display Mode: This step selects the TV aspect ratio, depending on your TV, between conventional screen shape (4:3) or widescreen (16:9).
ENGLISH
