System Setup
While
Bass Management: This setting activates the SPEAKER menu’s bass management settings, to optimize playback of
•Bypass: This is the default setting. If your receiver or processor is equipped with
•On: If your receiver or processor is equipped with “direct”
AUDIO ADJUSTMENTS menu to program the bass management settings.
•STEREO: If your system consists of just a pair of stereo loudspeakers, or a stereo system with a subwoofer and a pair of satellite loudspeakers, then change this setting to
STEREO.
Speaker Settings
This menu allows you to adjust bass manage- ment settings that control the audio output of the
Important Note: In order to avoid audio problems, when the player is connected to a receiver or processor that does have the capability to adjust bass management parameters for its multichannel inputs, you have the option to either use that capability or adjust the settings in the player. The preferred method of operation is to use the receiver for these adjustments. In that case, remember to set the Bass Management setting in the AUDIO SETUP menu to Bypass. If you make the adjustments using the player's settings, it is important that the receiver's settings for the multichannel direct inputs be disabled, or set to “Large” for the speaker sizes and “0” for the level adjustments and delay times, unless these settings are also used for the receiver’s other source inputs, in which case they should be left the way you set them when you configured your receiver. If you have any questions about the capabilities of your receiver or processor, we recommend that you consult its owner’s manual or the manufacturer’s Web site for further information.
If your receiver or processor does not have
Before proceeding with the audio setup adjust- ments, we recommend that you first use the menu system in your receiver or processor to ascertain the settings already established for “Speaker Size,” “Output Level” and “Delay Time,” which may be set as a distance. Write these settings down to refer to during the configuration process.
Press the Setup Button 8 to activate the Setup menu; then use the KL Navigation Buttons 9 until the SPEAKER submenu is highlighted within a blue outline box, and press the OK Button 6.
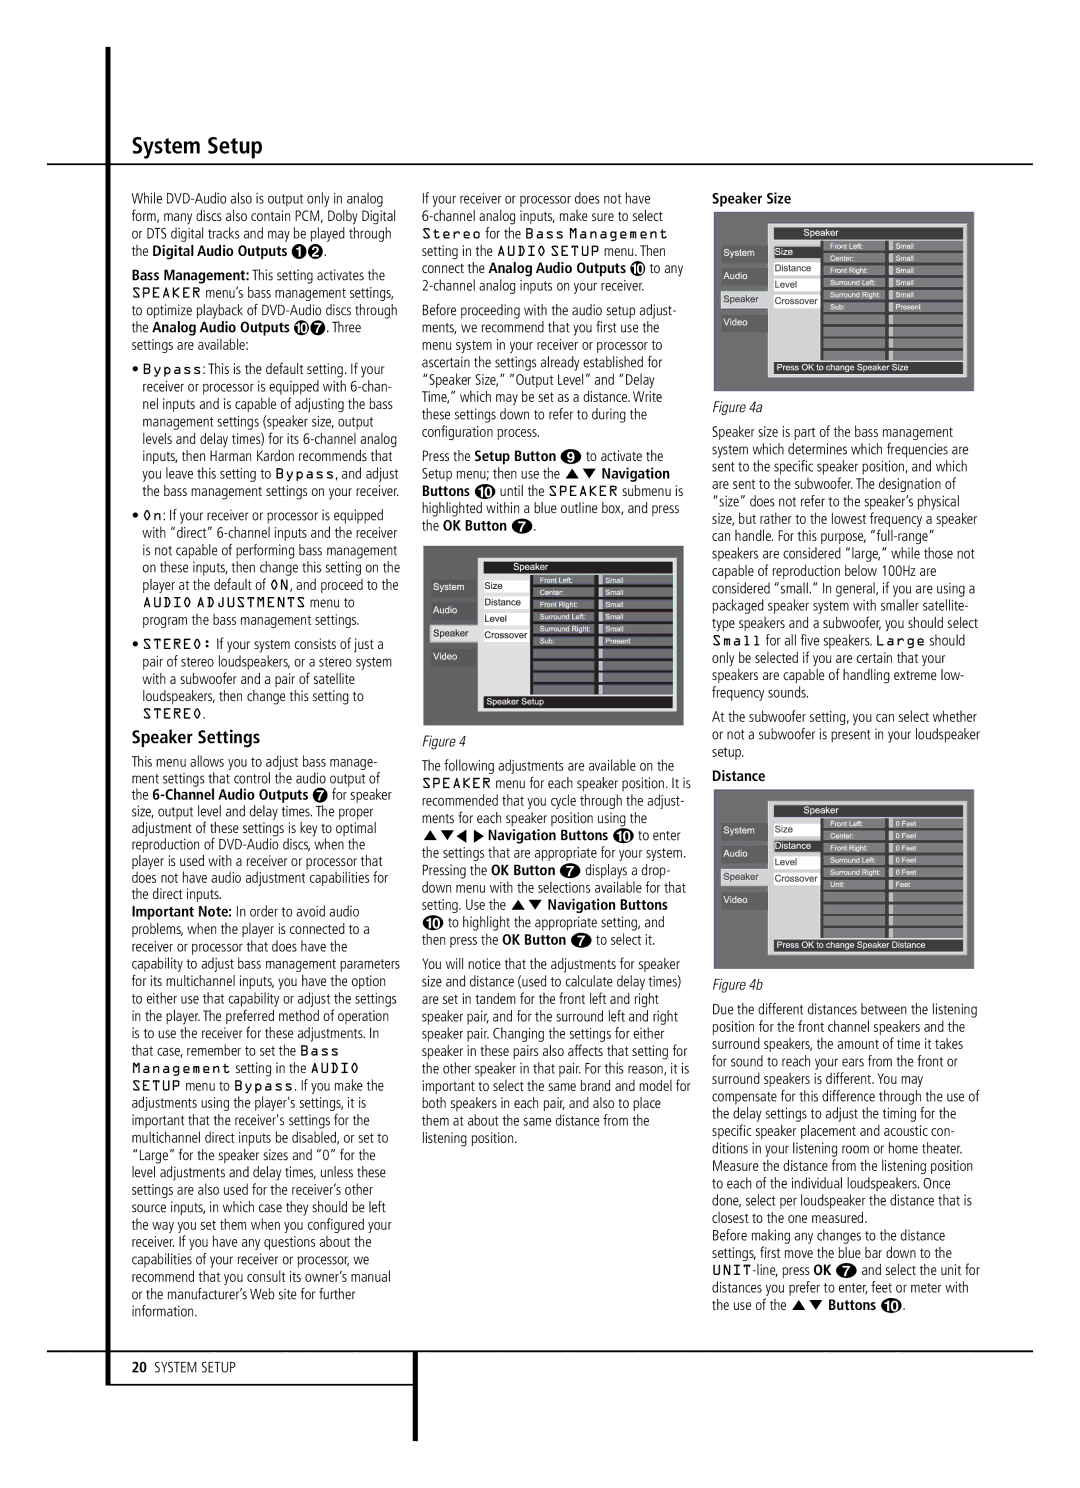
Figure 4
The following adjustments are available on the SPEAKER menu for each speaker position. It is recommended that you cycle through the adjust- ments for each speaker position using the KLM N Navigation Buttons 9 to enter the settings that are appropriate for your system. Pressing the OK Button 6 displays a drop- down menu with the selections available for that setting. Use the KL Navigation Buttons
9to highlight the appropriate setting, and then press the OK Button 6 to select it.
You will notice that the adjustments for speaker size and distance (used to calculate delay times) are set in tandem for the front left and right speaker pair, and for the surround left and right speaker pair. Changing the settings for either speaker in these pairs also affects that setting for the other speaker in that pair. For this reason, it is important to select the same brand and model for both speakers in each pair, and also to place them at about the same distance from the listening position.
Speaker Size
Figure 4a
Speaker size is part of the bass management system which determines which frequencies are sent to the specific speaker position, and which are sent to the subwoofer. The designation of “size” does not refer to the speaker’s physical size, but rather to the lowest frequency a speaker can handle. For this purpose,
At the subwoofer setting, you can select whether or not a subwoofer is present in your loudspeaker setup.
Distance
Figure 4b
Due the different distances between the listening position for the front channel speakers and the surround speakers, the amount of time it takes for sound to reach your ears from the front or surround speakers is different. You may compensate for this difference through the use of the delay settings to adjust the timing for the specific speaker placement and acoustic con- ditions in your listening room or home theater. Measure the distance from the listening position to each of the individual loudspeakers. Once done, select per loudspeaker the distance that is closest to the one measured.
Before making any changes to the distance settings, first move the blue bar down to the