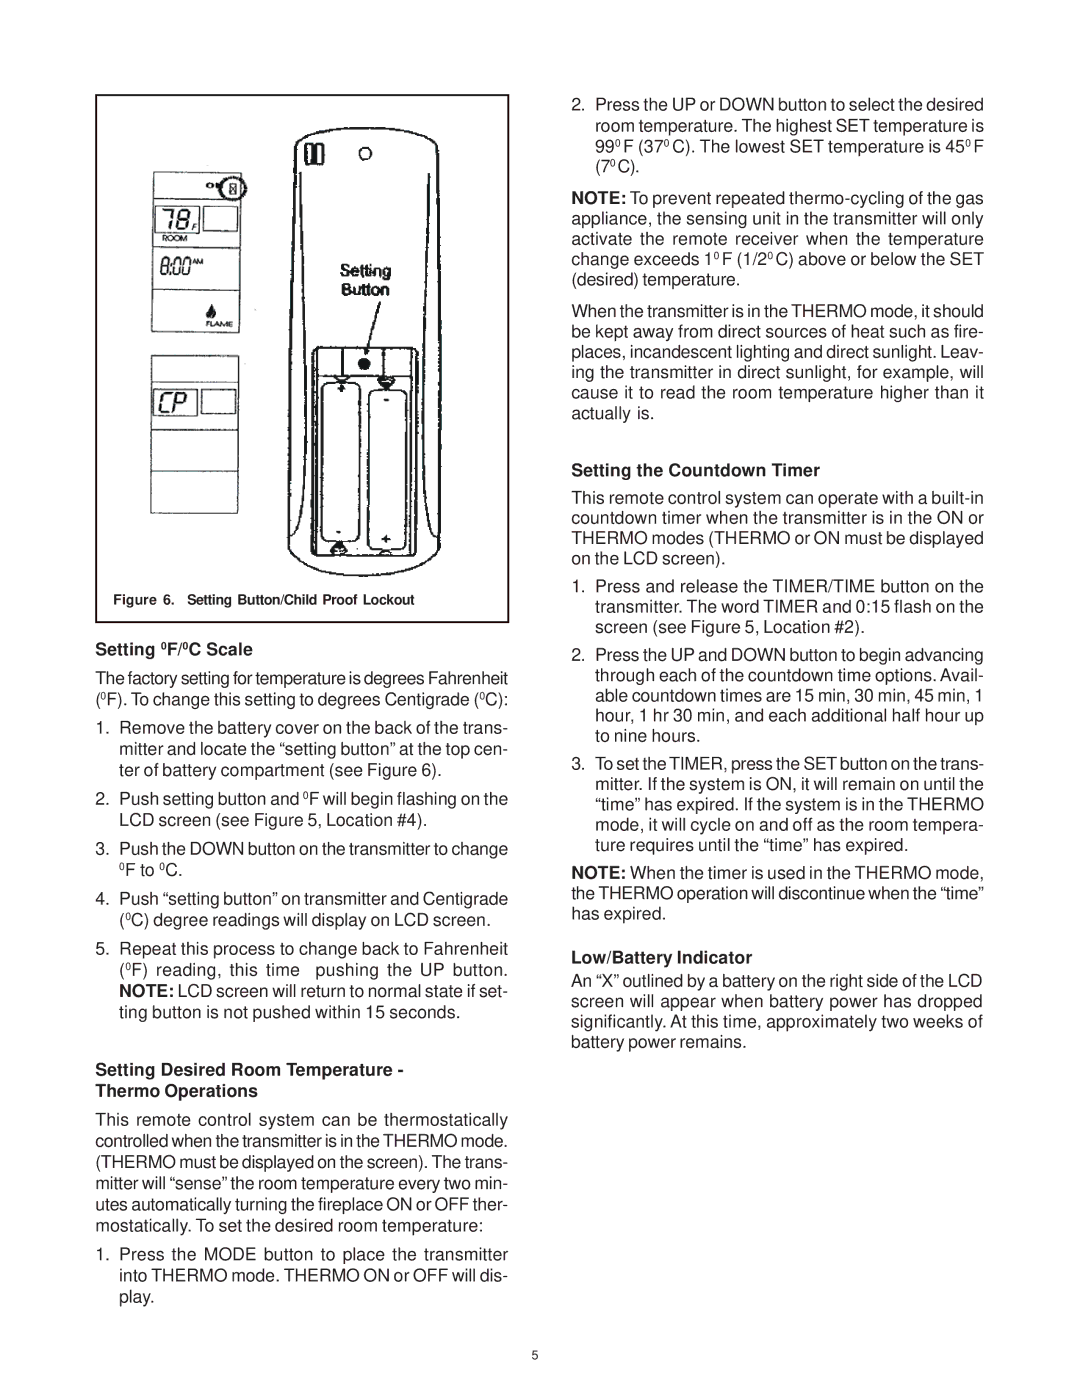
Figure 6. Setting Button/Child Proof Lockout
Setting 0F/0C Scale
The factory setting for temperature is degrees Fahrenheit (0F). To change this setting to degrees Centigrade (0C):
1.Remove the battery cover on the back of the trans- mitter and locate the “setting button” at the top cen- ter of battery compartment (see Figure 6).
2.Push setting button and 0F will begin flashing on the LCD screen (see Figure 5, Location #4).
3.Push the DOWN button on the transmitter to change 0F to 0C.
4.Push “setting button” on transmitter and Centigrade (0C) degree readings will display on LCD screen.
5.Repeat this process to change back to Fahrenheit (0F) reading, this time pushing the UP button. NOTE: LCD screen will return to normal state if set- ting button is not pushed within 15 seconds.
Setting Desired Room Temperature -
Thermo Operations
This remote control system can be thermostatically controlled when the transmitter is in the THERMO mode. (THERMO must be displayed on the screen). The trans- mitter will “sense” the room temperature every two min- utes automatically turning the fireplace ON or OFF ther- mostatically. To set the desired room temperature:
1.Press the MODE button to place the transmitter into THERMO mode. THERMO ON or OFF will dis- play.
2.Press the UP or DOWN button to select the desired room temperature. The highest SET temperature is 990 F (370 C). The lowest SET temperature is 450 F (70 C).
NOTE: To prevent repeated
When the transmitter is in the THERMO mode, it should be kept away from direct sources of heat such as fire- places, incandescent lighting and direct sunlight. Leav- ing the transmitter in direct sunlight, for example, will cause it to read the room temperature higher than it actually is.
Setting the Countdown Timer
This remote control system can operate with a
1.Press and release the TIMER/TIME button on the transmitter. The word TIMER and 0:15 flash on the screen (see Figure 5, Location #2).
2.Press the UP and DOWN button to begin advancing through each of the countdown time options. Avail- able countdown times are 15 min, 30 min, 45 min, 1 hour, 1 hr 30 min, and each additional half hour up to nine hours.
3.To set the TIMER, press the SET button on the trans- mitter. If the system is ON, it will remain on until the “time” has expired. If the system is in the THERMO mode, it will cycle on and off as the room tempera- ture requires until the “time” has expired.
NOTE: When the timer is used in the THERMO mode, the THERMO operation will discontinue when the “time” has expired.
Low/Battery Indicator
An “X” outlined by a battery on the right side of the LCD screen will appear when battery power has dropped significantly. At this time, approximately two weeks of battery power remains.
5