Model 7200
APPLIANCES
How to Steps
Appliance Clearances (see Page 15 for additional details):
•Sides of stove to adjacent surfaces: 1/2” (1.5 cm) min
•Nickel trim to adjacent surfaces: 0” right and 1” (2.5 cm)left
•Rear clearance: 0”
•Closet right side to cabinetry: 0”
•Top of counter to underside adjacent cabinetry: 18” (46 cm)
•Cooktop to underside overhead cabinets:
•Edge of range to combustible wall on either side: 6” (15 cm)
•Cut out width for range’s main body:
•Max. countertop depth: 24” (61 cm); height: 36” (91 cm)
•Max. overhead cabinet depth: 13” (33 cm)
Note: If unit is installed beside a refrigerator it is important that there be at least 5" (13 cm) between the refrigerator and range for proper air circulation.
Gas
•Gas
•Natural Gas/Propane Conversion kits available from dealer or factory and must be performed by a licensed gas fitter.
•Pressure requirements: Nat Gas: 5” W.C. (min);
LP gas: 11” W.C. (min)
•5/8” minimum diameter flex line.
•Connection: 1/2” NPT
•An accessible manual shut off valve must be installed at the appliance.
Stove must be installed in compliance with local codes. In the absence of local codes, with the National Electrical code ANSI Z223.1 in the US or in Canada with the CSA Standard B149.1.
Appliances installed in the state of Massachusetts:
•This appliance can only be installed in the state of Massachusetts by a Massachusetts licensed plumber or gas fitter.
•This appliance must be installed with a three (3) foot / 36 inch long flexible gas connector.
•A “T” handle type manual gas valve must be installed in the gas supply line to this appliance in an accesible location.
Electrical
•Electrical hookup must be performed by a licenced electri- cian
•120 Volts 60Hz .375 Kw.
•5 ft (1.5 m) power cord included with 3 prong plug.
•Stove must be electrically grounded in compliance with local codes. In the absence of local codes, with the National Electrical code ANSI/NFPA 70 “Latest Edition” in the US or in Canada with the Canadian Electrical Code, Part I, CSA Standard C22, or the Local National Electrical Code.
VENTING
How to Steps
Option 1 - Ventless installation:
• Requires no fur- ther set up (cooking fumes are drawn through
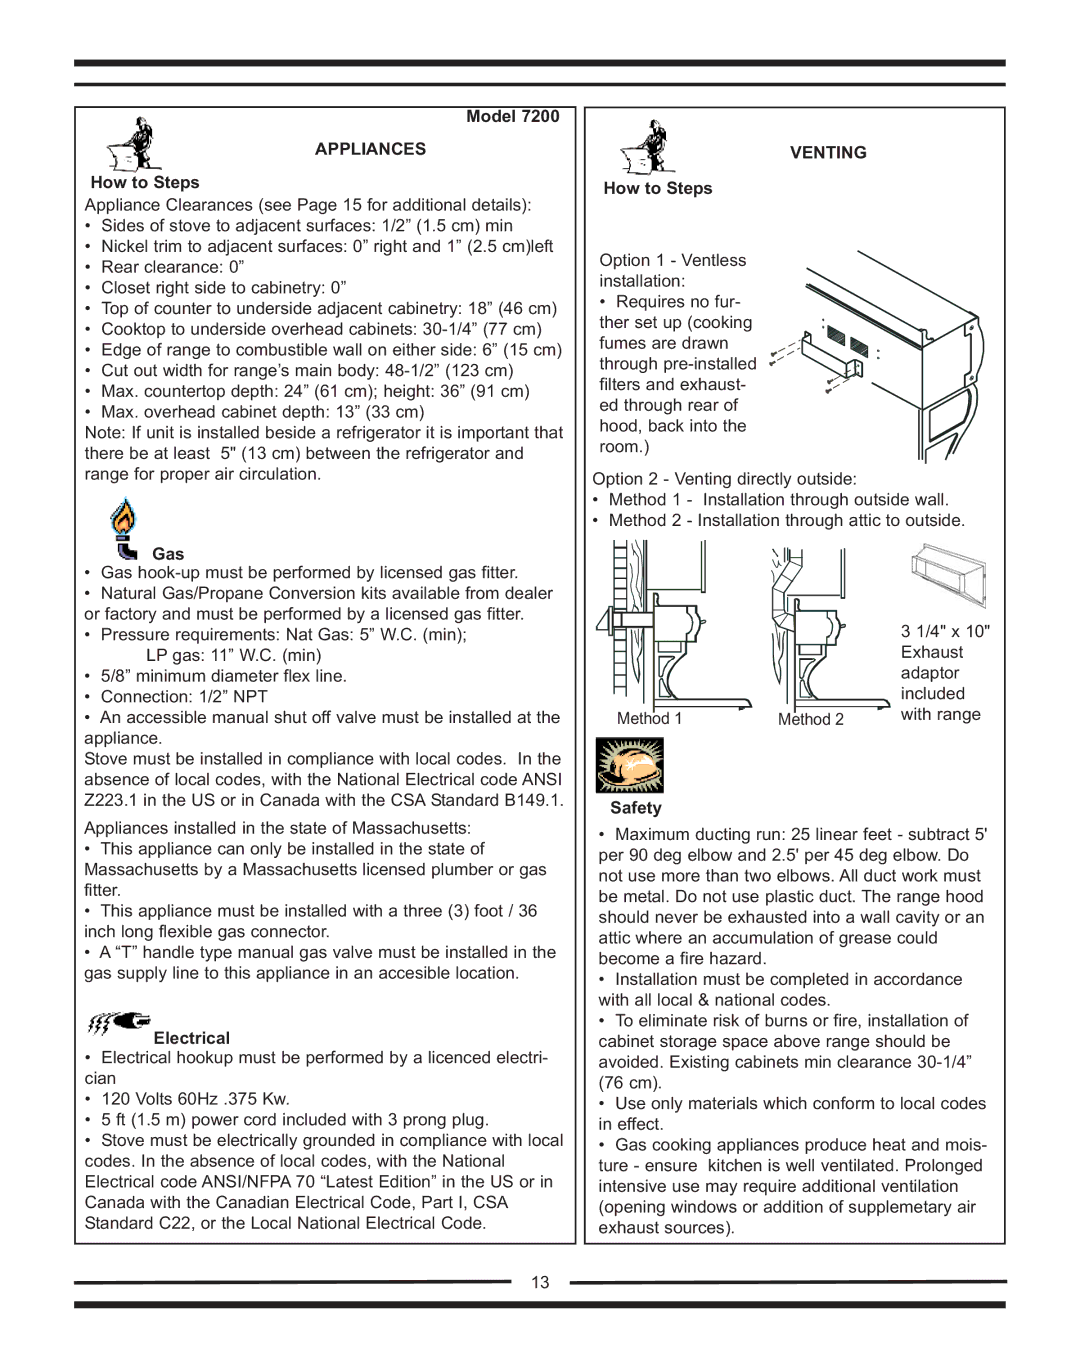
Option 2 - Venting directly outside:
•Method 1 - Installation through outside wall.
•Method 2 - Installation through attic to outside.
|
| 3 1/4" x 10" |
|
| Exhaust |
|
| adaptor |
|
| included |
Method 1 | Method 2 | with range |
|
Safety
•Maximum ducting run: 25 linear feet - subtract 5' per 90 deg elbow and 2.5' per 45 deg elbow. Do not use more than two elbows. All duct work must be metal. Do not use plastic duct. The range hood should never be exhausted into a wall cavity or an attic where an accumulation of grease could become a fire hazard.
•Installation must be completed in accordance with all local & national codes.
•To eliminate risk of burns or fire, installation of cabinet storage space above range should be avoided. Existing cabinets min clearance
•Use only materials which conform to local codes in effect.
•Gas cooking appliances produce heat and mois- ture - ensure kitchen is well ventilated. Prolonged intensive use may require additional ventilation (opening windows or addition of supplemetary air exhaust sources).
13
