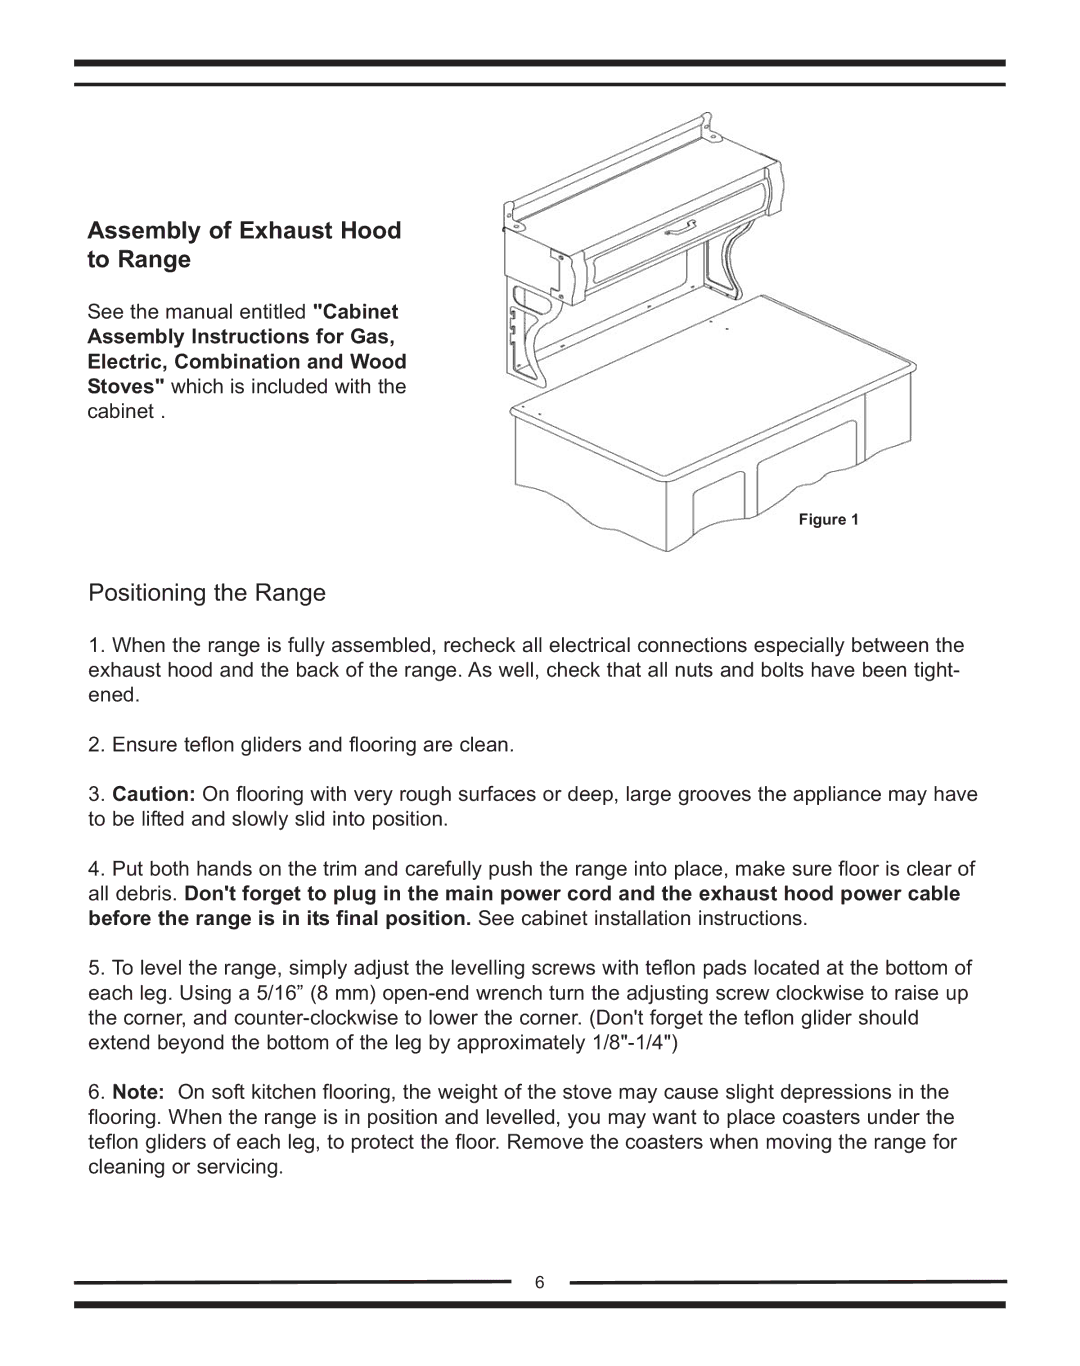
Assembly of Exhaust Hood to Range
See the manual entitled "Cabinet
Assembly Instructions for Gas, Electric, Combination and Wood Stoves" which is included with the cabinet .
Figure 1
Positioning the Range
1.When the range is fully assembled, recheck all electrical connections especially between the exhaust hood and the back of the range. As well, check that all nuts and bolts have been tight- ened.
2.Ensure teflon gliders and flooring are clean.
3.Caution: On flooring with very rough surfaces or deep, large grooves the appliance may have to be lifted and slowly slid into position.
4.Put both hands on the trim and carefully push the range into place, make sure floor is clear of all debris. Don't forget to plug in the main power cord and the exhaust hood power cable before the range is in its final position. See cabinet installation instructions.
5.To level the range, simply adjust the levelling screws with teflon pads located at the bottom of each leg. Using a 5/16” (8 mm)
6.Note: On soft kitchen flooring, the weight of the stove may cause slight depressions in the flooring. When the range is in position and levelled, you may want to place coasters under the teflon gliders of each leg, to protect the floor. Remove the coasters when moving the range for cleaning or servicing.
6