CONNECTION (continued)
Connecting Procedure (continued)
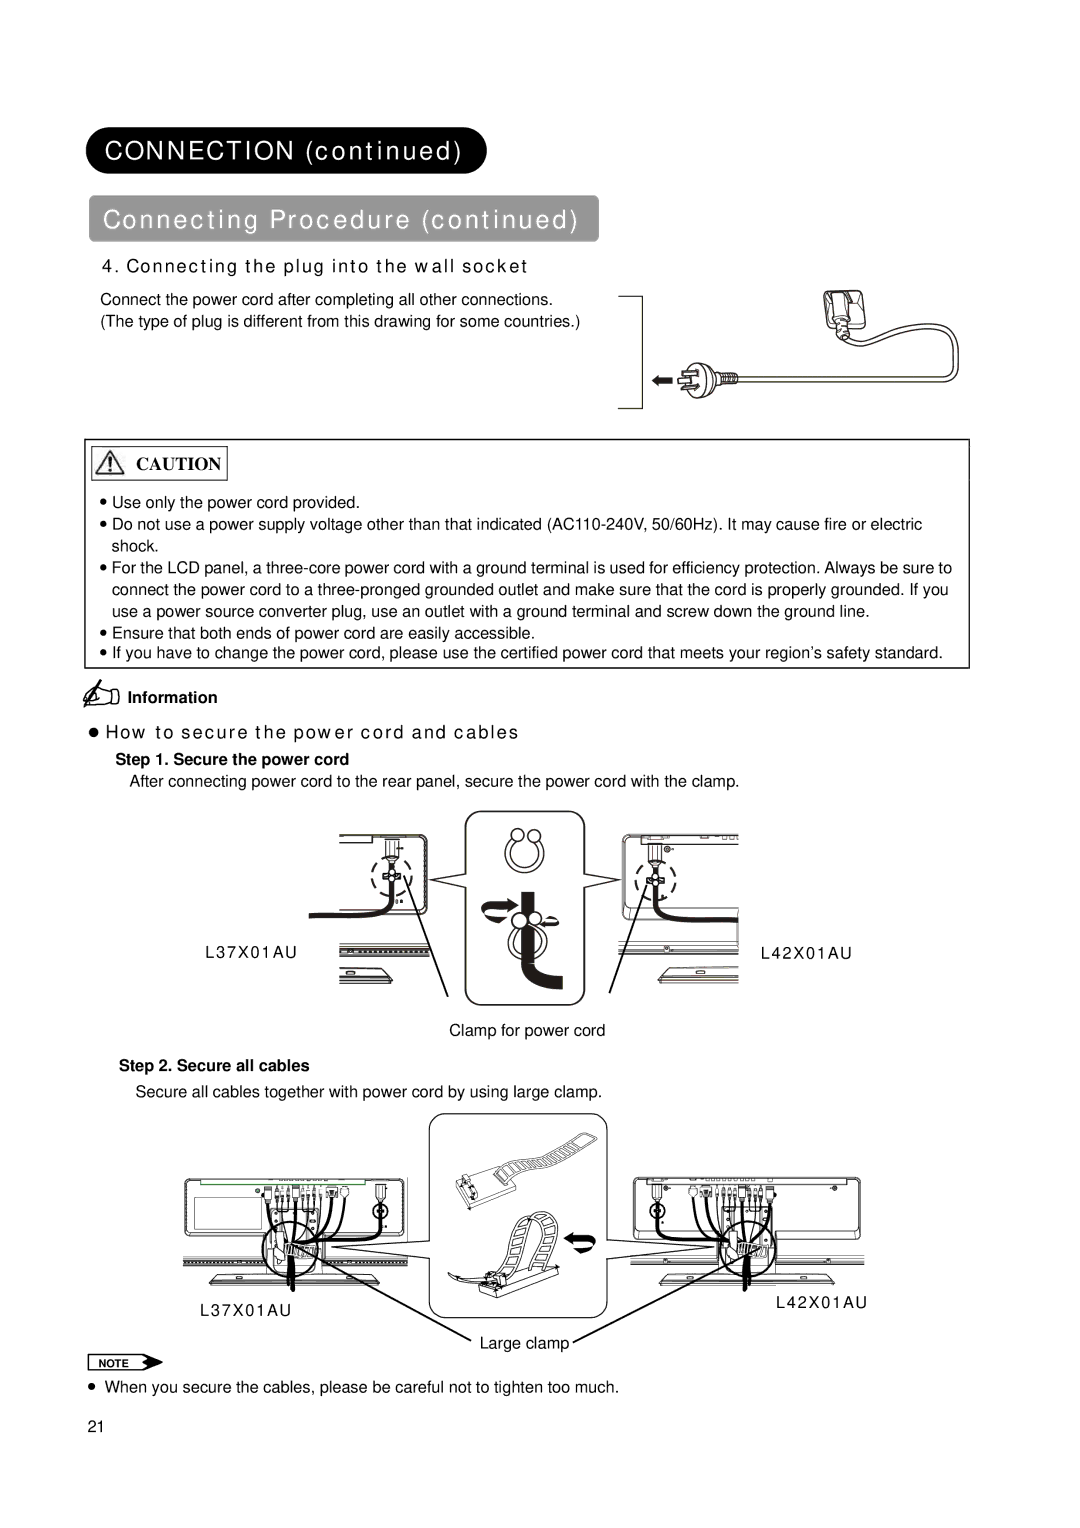
4. Connecting the plug into the wall socket
Connect the power cord after completing all other connections. (The type of plug is different from this drawing for some countries.)
![]()
![]() CAUTION
CAUTION
ƔUse only the power cord provided.
ƔDo not use a power supply voltage other than that indicated
ƔFor the LCD panel, a
ƔEnsure that both ends of power cord are easily accessible.
ƔIf you have to change the power cord, please use the certified power cord that meets your region’s safety standard.
 Information
zHow to secure the power cord and cables
Step 1. Secure the power cord
After connecting power cord to the rear panel, secure the power cord with the clamp.
L37X01AU
L42X01AU
Clamp for power cord
Step 2. Secure all cables
Secure all cables together with power cord by using large clamp.
L37X01AU | L42X01AU |
| |
| Large clamp |
NOTE
ჀWhen you secure the cables, please be careful not to tighten too much.
21