32.Place the CD changer trim on the CD changer, and install the four
CD CHANGER TRIM
SELF-TAPPING
SCREWS
CD CHANGER
SCREWS
33.Remove 40 to 50 mm of the adhesive backing from the back of each spacer, and fold them back. Position the spacers on the CD changer against the CD changer trim; then carefully remove the adhesive backings while holding the spacers in place. Be careful not to tear the adhesive backings.
SPACER
ADHESIVE
BACKING
CD CHANGER
EPT SEALER
CD CHANGER
TRIM
SPACERS
34.Wrap one EPT sealer around the connector from the CD changer.
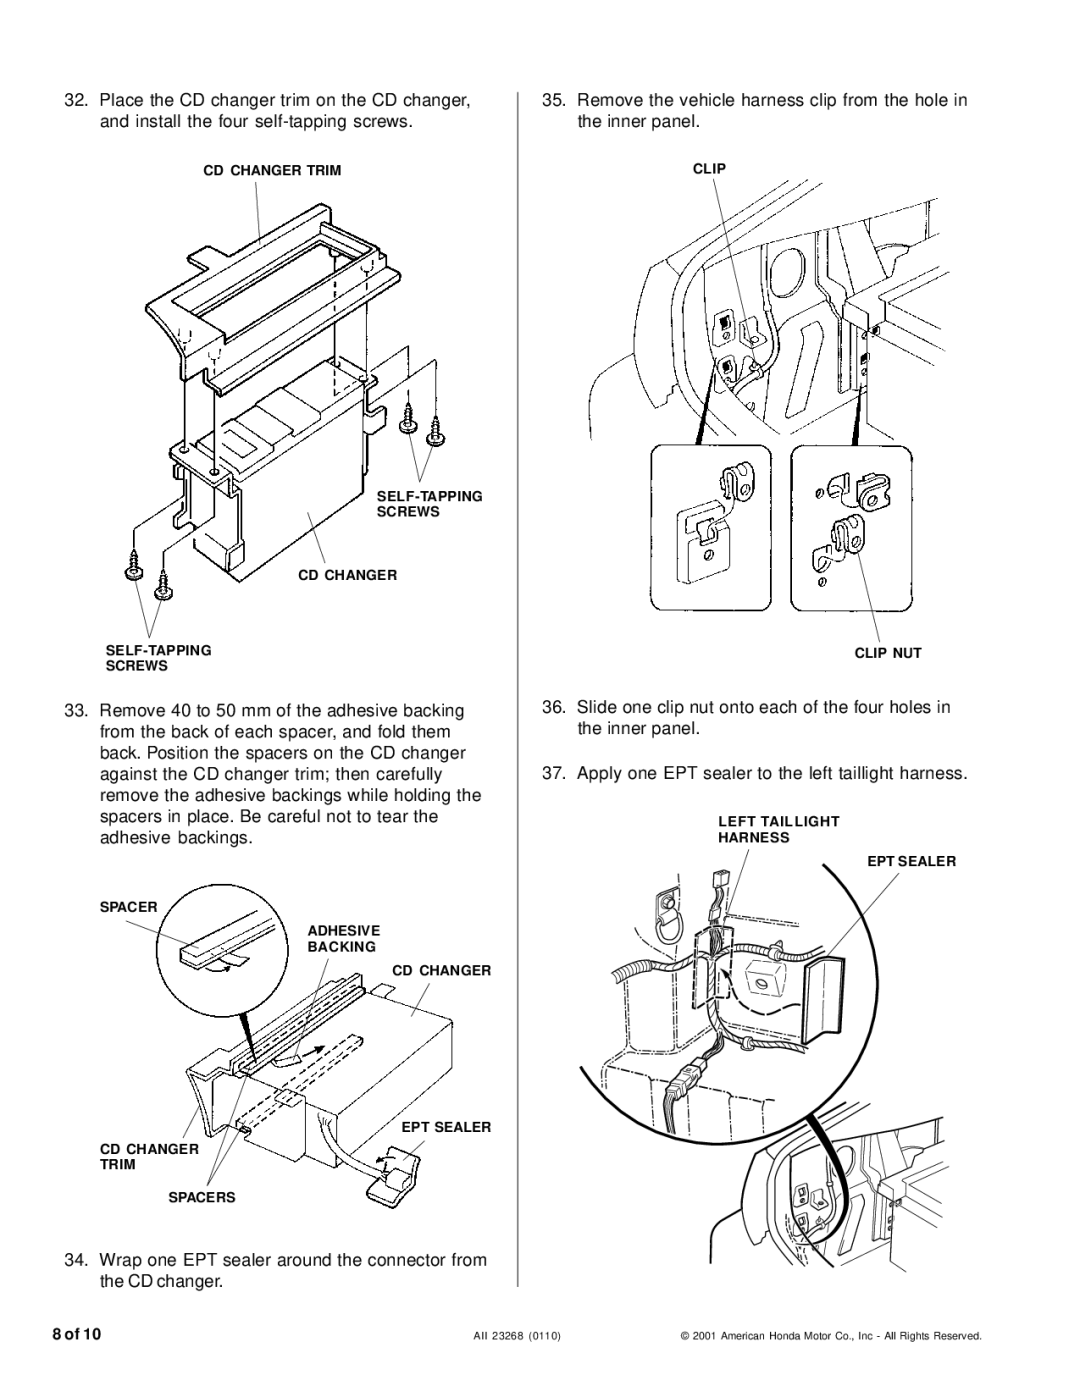
35.Remove the vehicle harness clip from the hole in the inner panel.
CLIP
CLIP NUT
36.Slide one clip nut onto each of the four holes in the inner panel.
37.Apply one EPT sealer to the left taillight harness.
LEFT TAILLIGHT
HARNESS
EPT SEALER
8 of 10
AII 23268 (0110) | © 2001 American Honda Motor Co., Inc - All Rights Reserved. |