
HOC1060/6B, HCM906/6BPP, HOC1060/6X, HOC709/6X, HOC024/6X specifications
The Hoover HOC709/6BX, HOC024/6X, HOC709/6X, HOC1060/6X, and HCM906/6BPP are a range of built-in oven models that showcase Hoover's commitment to innovation and technology in kitchen appliances. Each model is designed with distinct features that cater to the modern culinary enthusiast, ensuring versatility, efficiency, and style.The HOC709/6BX is renowned for its advanced cooking capabilities, featuring an intelligent touchscreen display that simplifies the cooking process. This model is equipped with a multifunctional oven that offers various cooking modes, including fan-assisted, conventional, and grill settings. Its robust design ensures even heat distribution, while the self-cleaning function makes maintenance effortless, allowing users to focus on creating delicious meals rather than cleaning up afterward.
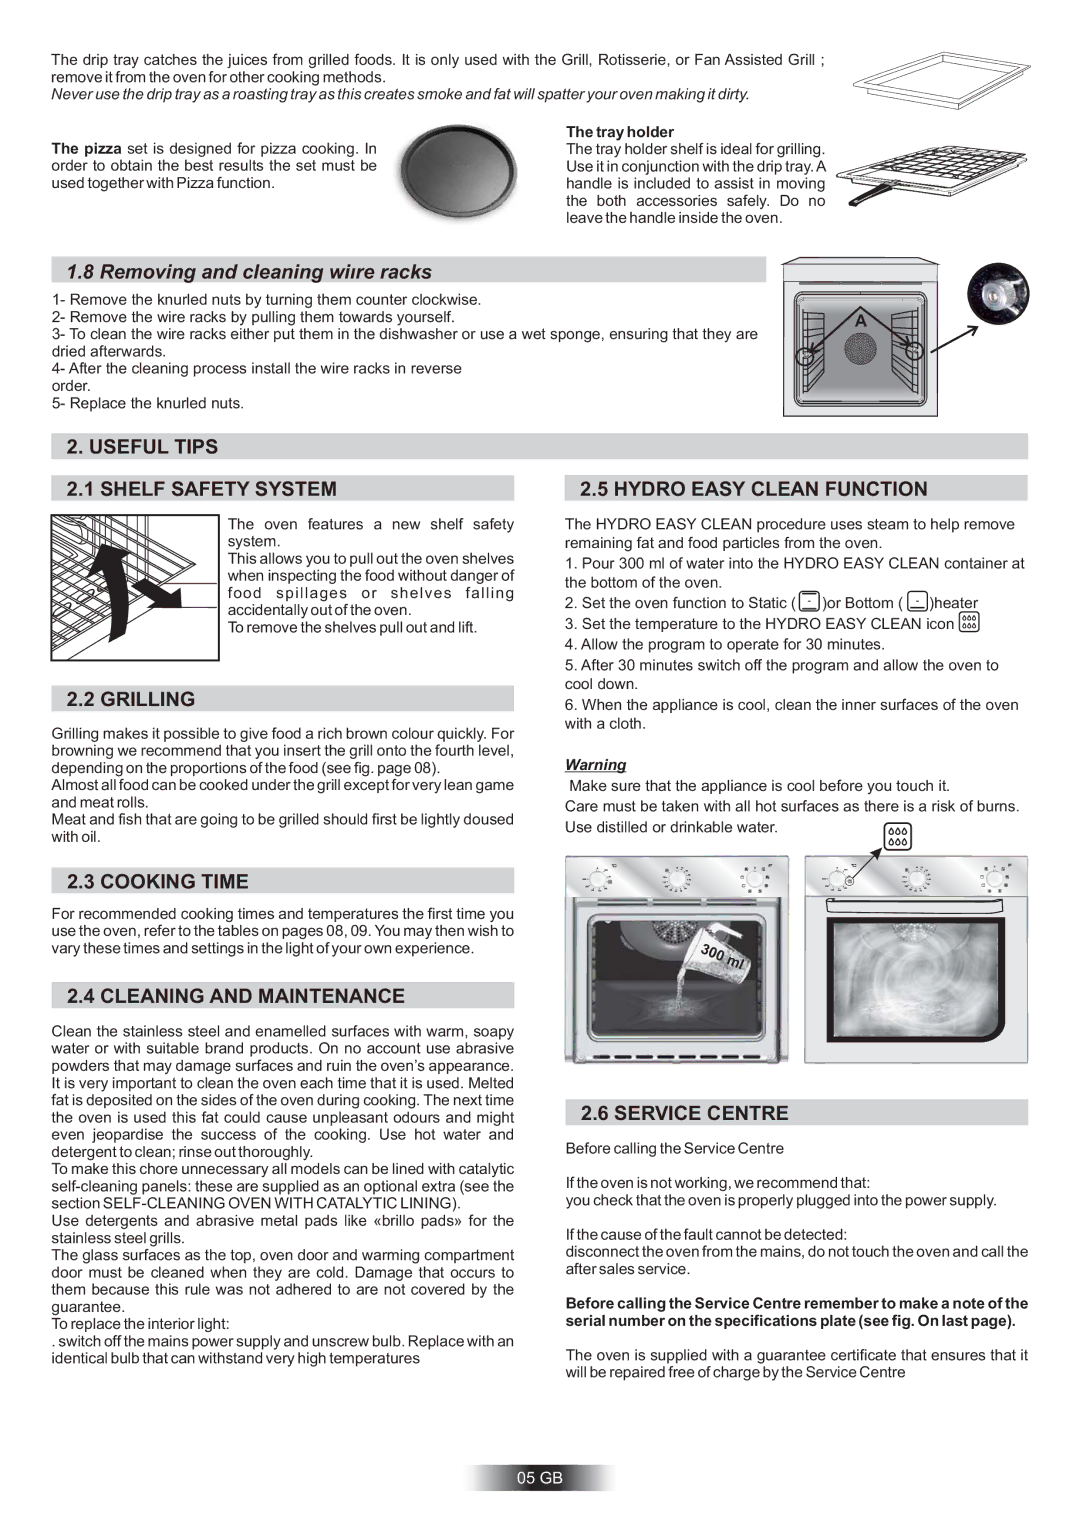
In contrast, the HOC024/6X is a compact option perfect for smaller kitchens or apartments. It retains powerful cooking features while being space-efficient. With rapid preheating capabilities, this oven saves time and allows home cooks to start their cooking processes without long waits. The intuitive control panel also makes it easy to navigate through the different cooking functions and settings.
The HOC709/6X stands out with its sleek aesthetic and modern design. It incorporates advanced technology, including a pyrolytic self-cleaning feature that heats the oven to a high temperature to burn off food residues. This model also includes smart cooking functions that guide users through recipes, making it ideal for novice cooks and busy families alike.
The HOC1060/6X offers greater flexibility with its integrated microwave function, allowing for combined cooking methods. This oven is perfect for those who want to speed up cooking times without sacrificing flavor or texture. Additionally, its energy-efficient design ensures lower electricity consumption, making it an eco-friendly choice for the environmentally conscious chef.
Lastly, the HCM906/6BPP is a professional-grade model with robust performance and premium features. It boasts a large capacity, making it suitable for preparing multiple dishes simultaneously. This oven incorporates advanced heat distribution technology that guarantees consistent cooking results, along with a variety of pre-set programs for different cuisines.
Overall, the Hoover range of ovens combines functionality with sleek design, making them a valuable addition to any kitchen. Each model is tailored to meet different cooking needs while upholding Hoover's high standards of quality, ensuring an enjoyable cooking experience for all users.