7)Release the Set Button.
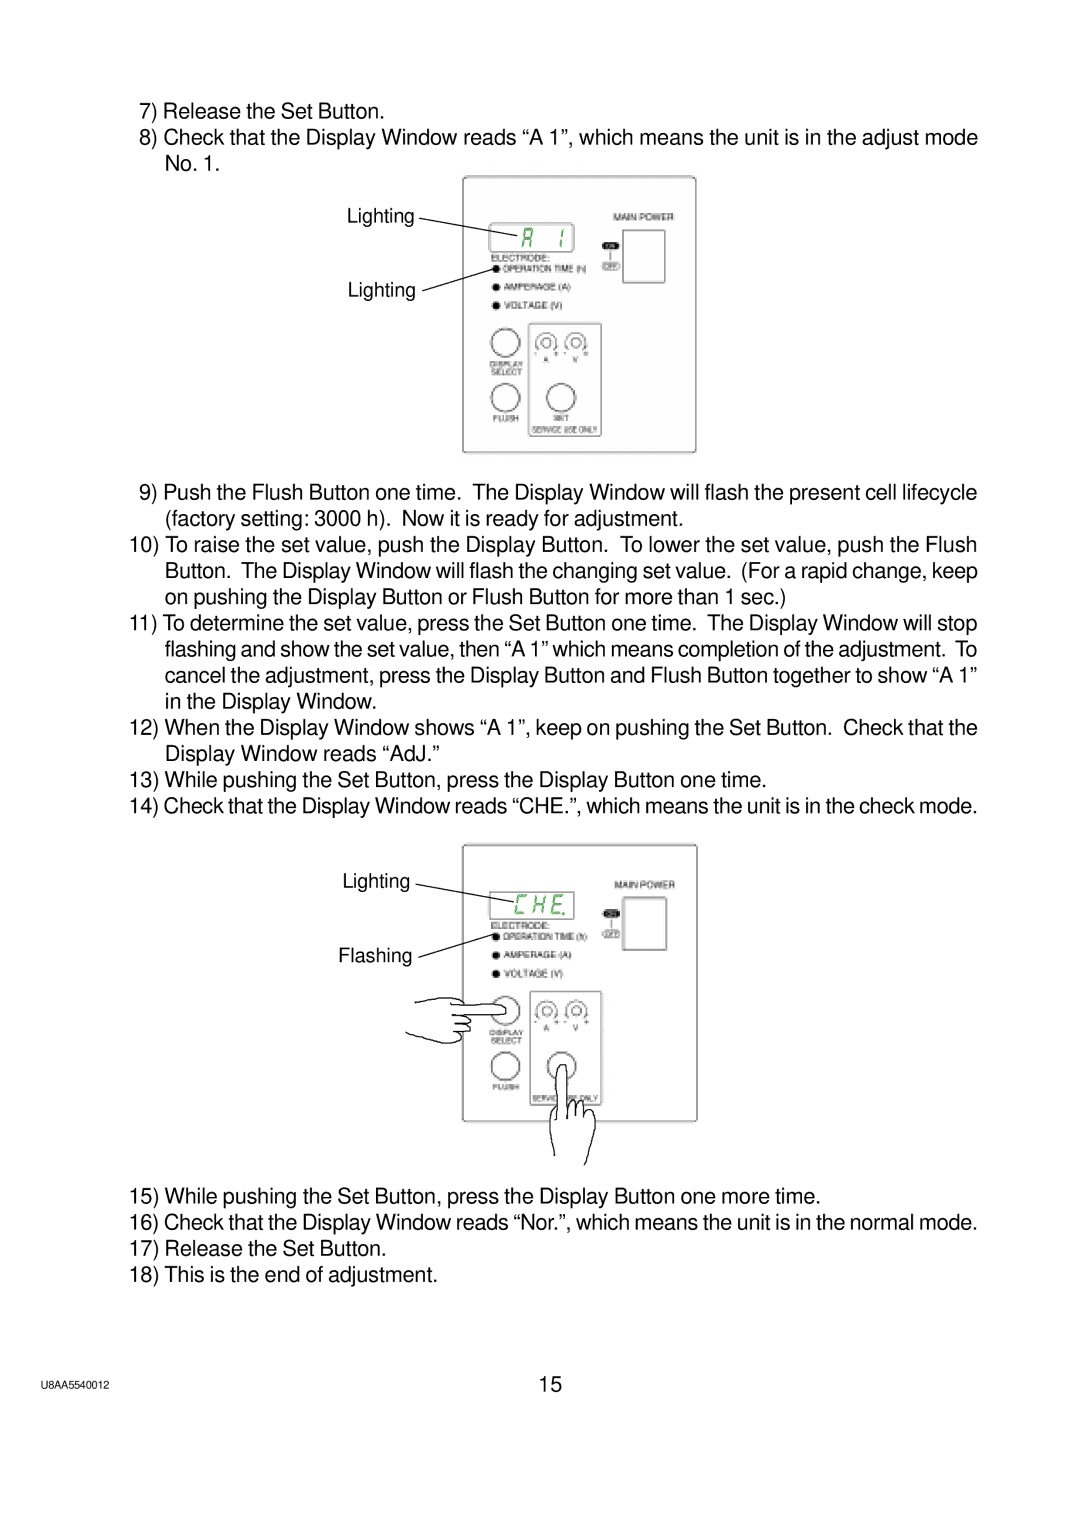
8)Check that the Display Window reads “A 1”, which means the unit is in the adjust mode No. 1.
Lighting
Lighting
9) Push the Flush Button one time. The Display Window will flash the present cell lifecycle (factory setting: 3000 h). Now it is ready for adjustment.
10)To raise the set value, push the Display Button. To lower the set value, push the Flush Button. The Display Window will flash the changing set value. (For a rapid change, keep on pushing the Display Button or Flush Button for more than 1 sec.)
11)To determine the set value, press the Set Button one time. The Display Window will stop flashing and show the set value, then “A 1” which means completion of the adjustment. To cancel the adjustment, press the Display Button and Flush Button together to show “A 1” in the Display Window.
12)When the Display Window shows “A 1”, keep on pushing the Set Button. Check that the Display Window reads “AdJ.”
13)While pushing the Set Button, press the Display Button one time.
14)Check that the Display Window reads “CHE.”, which means the unit is in the check mode.
Lighting
Flashing
15)While pushing the Set Button, press the Display Button one more time.
16)Check that the Display Window reads “Nor.”, which means the unit is in the normal mode.
17)Release the Set Button.
18)This is the end of adjustment.
U8AA5540012 | 15 |