Hotpoint CG 10455 GF S, CH 10450 GF S, CG 40456 GF S Hotplate, A1, Other notes on timer operation

Models: CG 10455 GF S CG 40456 GF S CH 10450 GF S

1 24
Download 24 pages 20.73 Kb
Page 11
Image 11
Hotplate

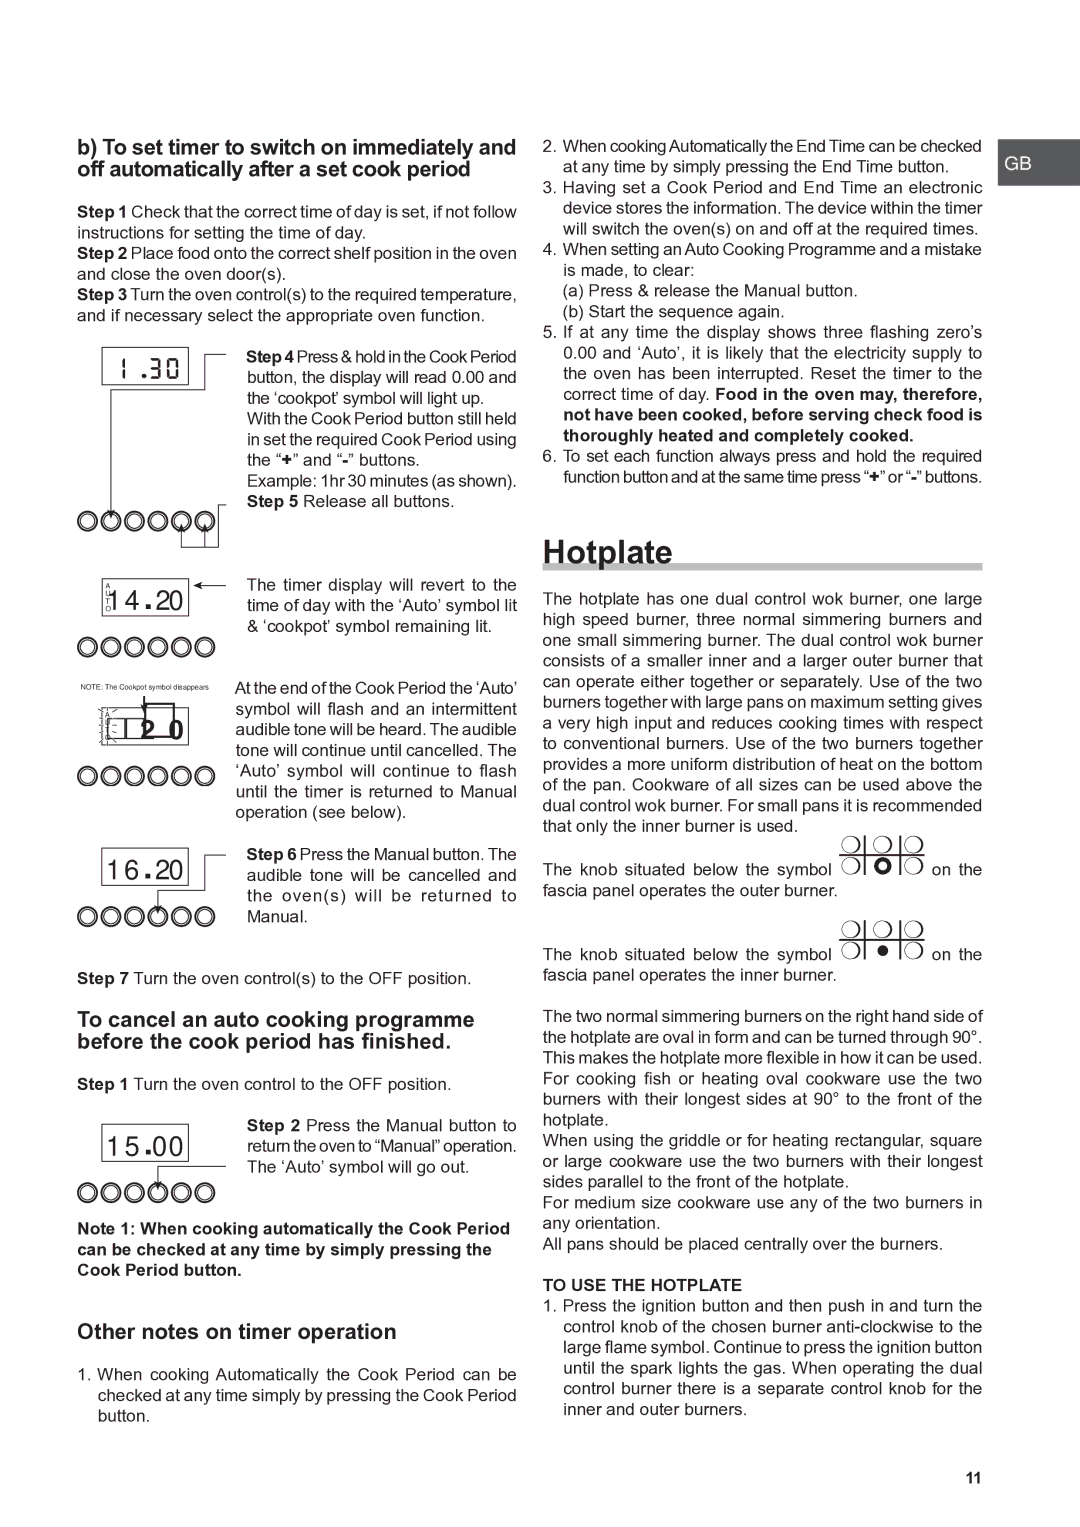
b)To set timer to switch on immediately and off automatically after a set cook period

Step 1 Check that the correct time of day is set, if not follow instructions for setting the time of day.

Step 2 Place food onto the correct shelf position in the oven and close the oven door(s).

Step 3 Turn the oven control(s) to the required temperature, and if necessary select the appropriate oven function.

Step 4 Press & hold in the Cook Period button, the display will read 0.00 and the ‘cookpot’ symbol will light up.

With the Cook Period button still held in set the required Cook Period using the “+” and - buttons.

Example: 1hr 30 minutes (as shown). Step 5 Release all buttons.

2. When cooking Automatically the End Time can be checked

GB

at any time by simply pressing the End Time button.

3.Having set a Cook Period and End Time an electronic device stores the information. The device within the timer will switch the oven(s) on and off at the required times.

4.When setting an Auto Cooking Programme and a mistake is made, to clear:

(a)Press & release the Manual button.

(b)Start the sequence again.

5.If at any time the display shows three flashing zero’s

0.00 and ‘Auto’, it is likely that the electricity supply to the oven has been interrupted. Reset the timer to the correct time of day. Food in the oven may, therefore, not have been cooked, before serving check food is thoroughly heated and completely cooked.

6.To set each function always press and hold the required function button and at the same time press “+” or - buttons.

Hotplate

U

A1 4 . 2 0

T

O

NOTE: The Cookpot symbol disappears

U

A1 6 . 2 0

T

O

The timer display will revert to the time of day with the ‘Auto’ symbol lit & ‘cookpot’ symbol remaining lit.

At the end of the Cook Period the ‘Auto’ symbol will flash and an intermittent audible tone will be heard. The audible tone will continue until cancelled. The ‘Auto’ symbol will continue to flash until the timer is returned to Manual operation (see below).

The hotplate has one dual control wok burner, one large high speed burner, three normal simmering burners and one small simmering burner. The dual control wok burner consists of a smaller inner and a larger outer burner that can operate either together or separately. Use of the two burners together with large pans on maximum setting gives a very high input and reduces cooking times with respect to conventional burners. Use of the two burners together provides a more uniform distribution of heat on the bottom of the pan. Cookware of all sizes can be used above the dual control wok burner. For small pans it is recommended that only the inner burner is used.

1 6 . 2 0

Step 6 Press the Manual button. The

audible tone will be cancelled and


the oven(s) will be returned to


Manual.

Step 7 Turn the oven control(s) to the OFF position.

To cancel an auto cooking programme before the cook period has finished.

Step 1 Turn the oven control to the OFF position.

1 5 . 0 0

Step 2 Press the Manual button to

return the oven to “Manual” operation.

The ‘Auto’ symbol will go out.


Note 1: When cooking automatically the Cook Period can be checked at any time by simply pressing the Cook Period button.

Other notes on timer operation

1.When cooking Automatically the Cook Period can be checked at any time simply by pressing the Cook Period button.

The knob situated below the symbol

on the

fascia panel operates the outer burner.


The knob situated below the symbol Other notes on timer operationManual backgroundManual backgroundManual backgroundManual background on the fascia panel operates the inner burner.

The two normal simmering burners on the right hand side of the hotplate are oval in form and can be turned through 90°. This makes the hotplate more flexible in how it can be used. For cooking fish or heating oval cookware use the two burners with their longest sides at 90° to the front of the hotplate.

When using the griddle or for heating rectangular, square or large cookware use the two burners with their longest sides parallel to the front of the hotplate.

For medium size cookware use any of the two burners in any orientation.

All pans should be placed centrally over the burners.

TO USE THE HOTPLATE

1.Press the ignition button and then push in and turn the control knob of the chosen burner anti-clockwise to the large flame symbol. Continue to press the ignition button until the spark lights the gas. When operating the dual control burner there is a separate control knob for the inner and outer burners.

PLEASE PHONE US TO REGISTER YOUR APPLIANCE AND ACTIVATE YOUR PARTS GUARANTEE ON 08448 24 24 24

11

Page 11
Image 11
Hotpoint CG 10455 GF S, CH 10450 GF S, CG 40456 GF S manual Hotplate, A1, Other notes on timer operation