Using the timed baking and roasting features. (on some models)

ge.com

Do not lock the oven door with the latch during timed cooking. The latch is used for self-cleaning only.

NOTE: Foods that spoil easily—such as milk, eggs, fish, stuffings, poultry and pork—should not be allowed to sit for more than 1 hour before or after cooking. Room temperature promotes the growth of harmful bacteria. Be sure that the oven light is off because heat from the bulb will speed harmful bacteria growth.

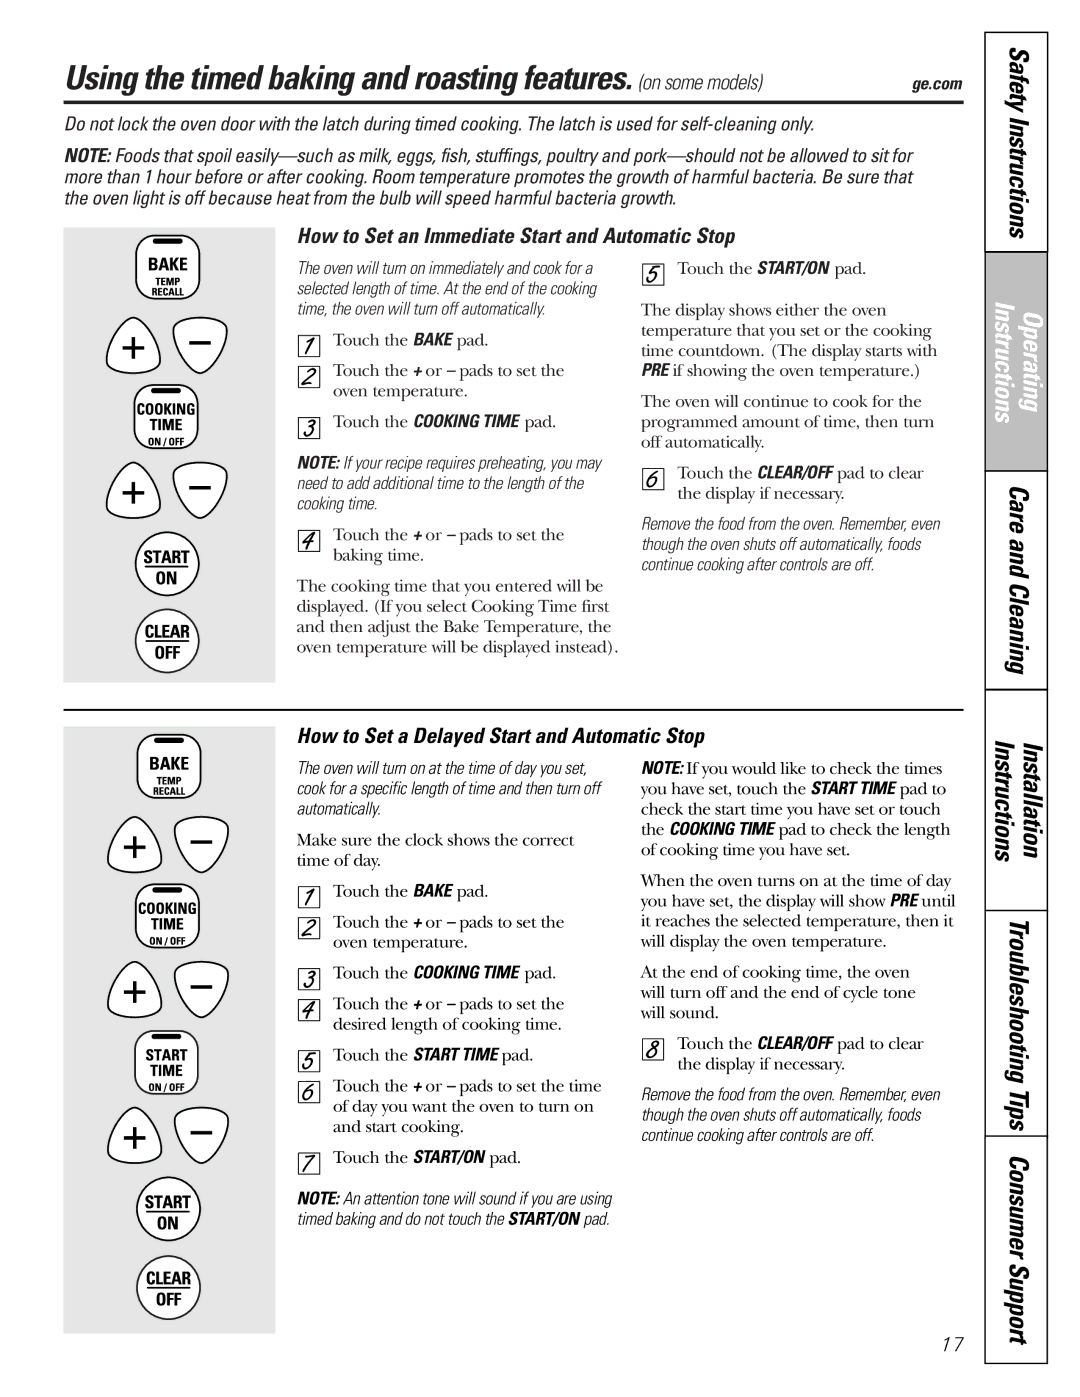
How to Set an Immediate Start and Automatic Stop

Safety Instructions

The oven will turn on immediately and cook for a selected length of time. At the end of the cooking time, the oven will turn off automatically.

Touch the BAKE pad.

Touch the + or pads to set the oven temperature.

Touch the COOKING TIME pad.

NOTE: If your recipe requires preheating, you may need to add additional time to the length of the cooking time.

Touch the + or pads to set the baking time.

The cooking time that you entered will be displayed. (If you select Cooking Time first and then adjust the Bake Temperature, the oven temperature will be displayed instead).

Touch the START/ON pad.

The display shows either the oven temperature that you set or the cooking time countdown. (The display starts with PRE if showing the oven temperature.)

The oven will continue to cook for the programmed amount of time, then turn off automatically.

Touch the CLEAR/OFF pad to clear the display if necessary.

Remove the food from the oven. Remember, even though the oven shuts off automatically, foods continue cooking after controls are off.

Instructions

Operating

Care and Cleaning

How to Set a Delayed Start and Automatic Stop

The oven will turn on at the time of day you set, cook for a specific length of time and then turn off automatically.

Make sure the clock shows the correct time of day.

Touch the BAKE pad.

Touch the + or pads to set the oven temperature.

Touch the COOKING TIME pad.

Touch the + or pads to set the desired length of cooking time.

Touch the START TIME pad.

Touch the + or pads to set the time of day you want the oven to turn on and start cooking.

Touch the START/ON pad.

NOTE: An attention tone will sound if you are using timed baking and do not touch the START/ON pad.

NOTE: If you would like to check the times you have set, touch the START TIME pad to check the start time you have set or touch the COOKING TIME pad to check the length of cooking time you have set.

When the oven turns on at the time of day you have set, the display will show PRE until it reaches the selected temperature, then it will display the oven temperature.

At the end of cooking time, the oven will turn off and the end of cycle tone will sound.

Touch the CLEAR/OFF pad to clear the display if necessary.

Remove the food from the oven. Remember, even though the oven shuts off automatically, foods continue cooking after controls are off.

Installation

Troubleshooting Tips Consumer Support

Instructions

17

Page 17
Image 17
Hotpoint JBS27, JBS56 How to Set an Immediate Start and Automatic Stop, How to Set a Delayed Start and Automatic Stop

RB800, RB787, RB740, RB540, RB790 specifications

Hotpoint has long been recognized for its commitment to innovation and efficiency in kitchen appliances, and its range of built-in ovens, including the JBS56, JBS27, JBS07, JBP61, and JBP60 models, showcases this dedication. Each model offers unique features and technologies that cater to diverse cooking needs and preferences.

Starting with the Hotpoint JBS56, this model is designed with a user-friendly interface that simplifies cooking tasks. It features a spacious interior that allows for multiple dishes to be cooked simultaneously, making it ideal for family meals. The JBS56 is equipped with fan-assisted cooking technology that ensures even heat distribution, resulting in perfectly cooked dishes every time. Its sleek design and modern finish make it a stylish addition to any kitchen.

The Hotpoint JBS27 emphasizes efficiency with its energy-saving features. This model boasts a high energy rating, making it an environmentally friendly choice for eco-conscious consumers. The JBS27 also includes advanced cooking functions such as grill and bake, allowing users to experiment with various cooking methods. Its digital display enables precise temperature control, ensuring optimal results for every recipe.

For those seeking a compact option, the Hotpoint JBS07 stands out with its space-saving design. Despite its smaller size, it does not compromise on performance. The JBS07 is ideal for small kitchens or for use as a secondary oven. It comes with pre-programmed recipes and easy-to-use controls, making it perfect for novice cooks. Additionally, its self-cleaning feature reduces maintenance effort, allowing more time for cooking.

The Hotpoint JBP61 and JBP60 models are true powerhouses in the Hotpoint oven lineup. Both models feature a multifunctional approach, offering various cooking options such as conventional baking, fan assisted cooking, and grilling. These ovens are equipped with innovative technology that allows for smart cooking, with built-in timers and temperature probes to ensure dishes are cooked to perfection. The JBP61 includes a larger capacity, making it an excellent choice for baking enthusiasts, while the JBP60 offers enhanced user controls for precise adjustments.

In summary, Hotpoint’s JBS56, JBS27, JBS07, JBP61, and JBP60 ovens embody a perfect blend of style, functionality, and innovation. Each model is designed to meet the diverse needs of modern cooks, whether it’s for family meals, quick dinners, or baking projects. With features like even heat distribution, energy efficiency, and user-friendly controls, Hotpoint continues to be a staple in kitchens worldwide.