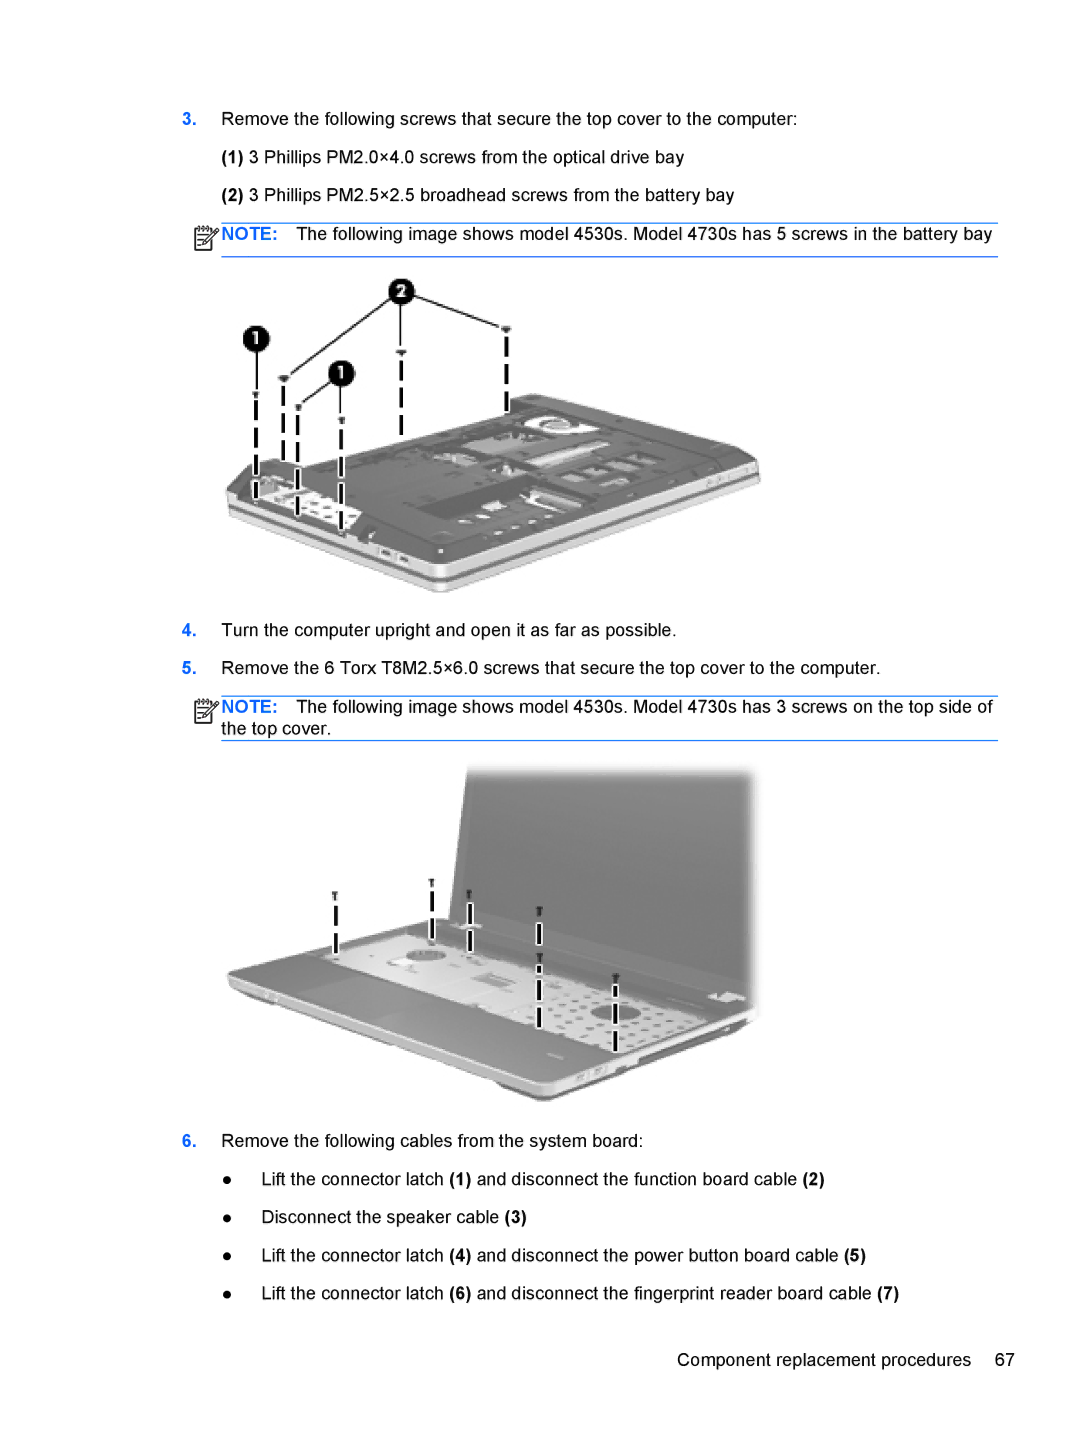
3.Remove the following screws that secure the top cover to the computer:
(1)3 Phillips PM2.0×4.0 screws from the optical drive bay
(2)3 Phillips PM2.5×2.5 broadhead screws from the battery bay
![]() NOTE: The following image shows model 4530s. Model 4730s has 5 screws in the battery bay
NOTE: The following image shows model 4530s. Model 4730s has 5 screws in the battery bay
4.Turn the computer upright and open it as far as possible.
5.Remove the 6 Torx T8M2.5×6.0 screws that secure the top cover to the computer.
![]()
![]()
![]()
![]() NOTE: The following image shows model 4530s. Model 4730s has 3 screws on the top side of the top cover.
NOTE: The following image shows model 4530s. Model 4730s has 3 screws on the top side of the top cover.
6.Remove the following cables from the system board:
●Lift the connector latch (1) and disconnect the function board cable (2)
●Disconnect the speaker cable (3)
●Lift the connector latch (4) and disconnect the power button board cable (5)
●Lift the connector latch (6) and disconnect the fingerprint reader board cable (7)
