Installing/removing an interface card (only for the 5120 EI switches)
This section applies to all 5120 EI switches but the
This section uses the LSPM2SP2P interface card as an example to describe the procedures of installing and removing an interface card.
IMPORTANT:
To set up a 5120 EI IRF fabric, you must install interface cards. To choose a correct slot for an interface card, see “Planning the cabling scheme for a 5120 EI IRF fabric.”
Installing an interface card
To install an interface card in an interface card slot at the rear of the chassis:
1.Wear an
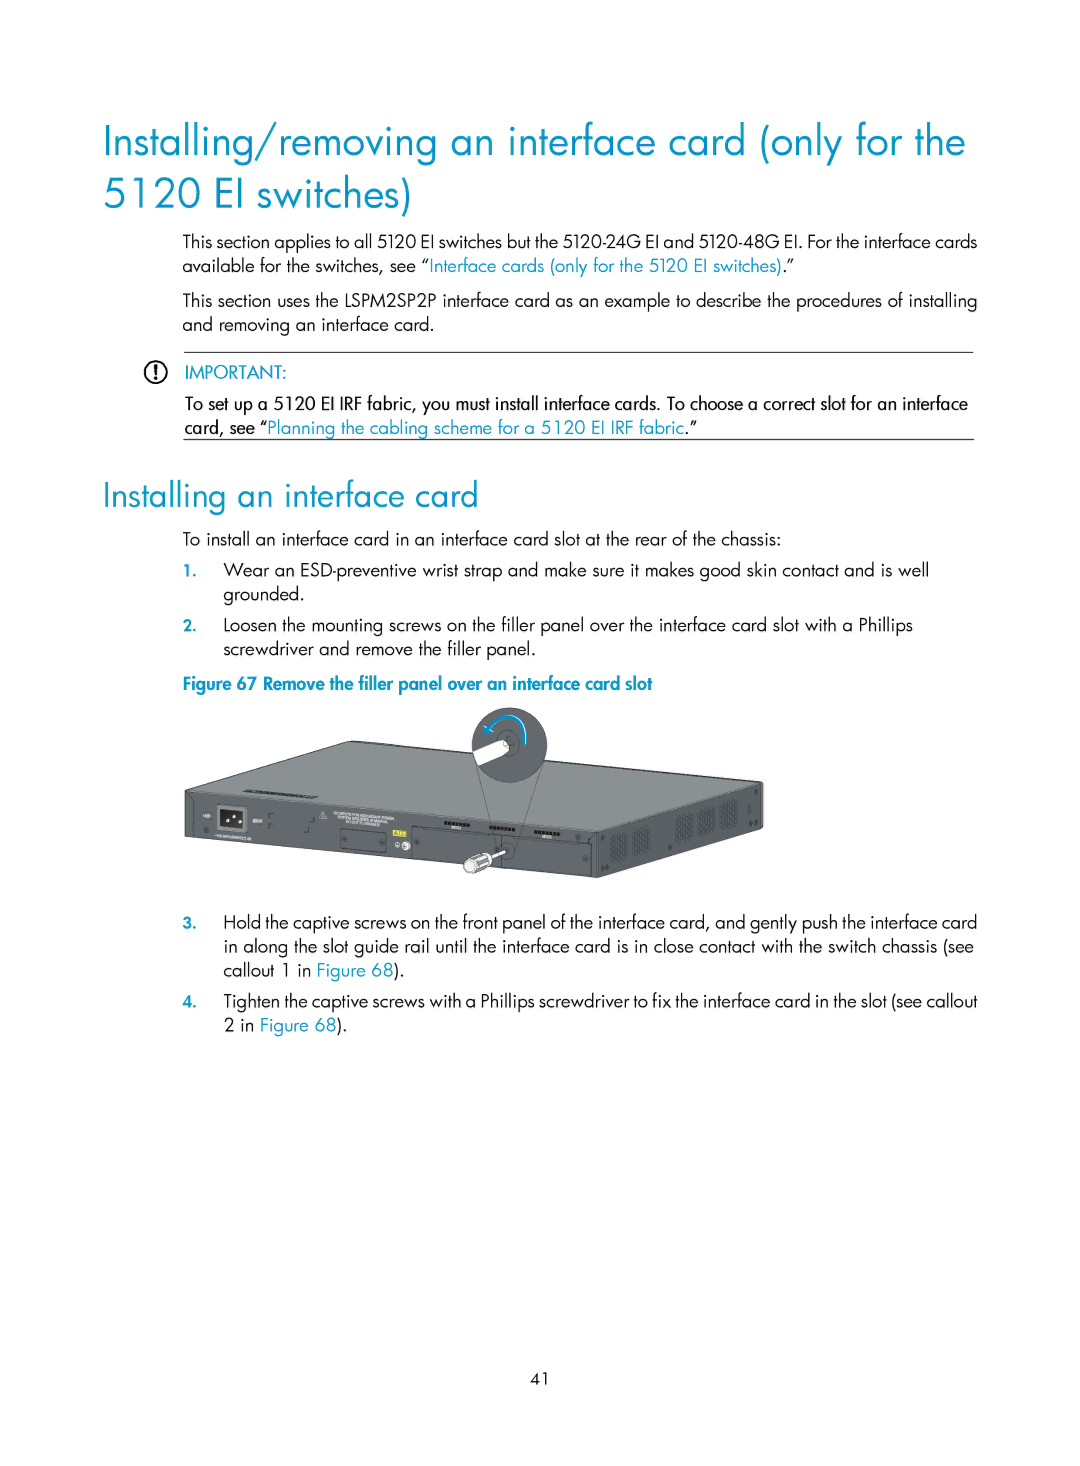
2.Loosen the mounting screws on the filler panel over the interface card slot with a Phillips screwdriver and remove the filler panel.
Figure 67 Remove the filler panel over an interface card slot
3.Hold the captive screws on the front panel of the interface card, and gently push the interface card in along the slot guide rail until the interface card is in close contact with the switch chassis (see callout 1 in Figure 68).
4.Tighten the captive screws with a Phillips screwdriver to fix the interface card in the slot (see callout 2 in Figure 68).
41
