
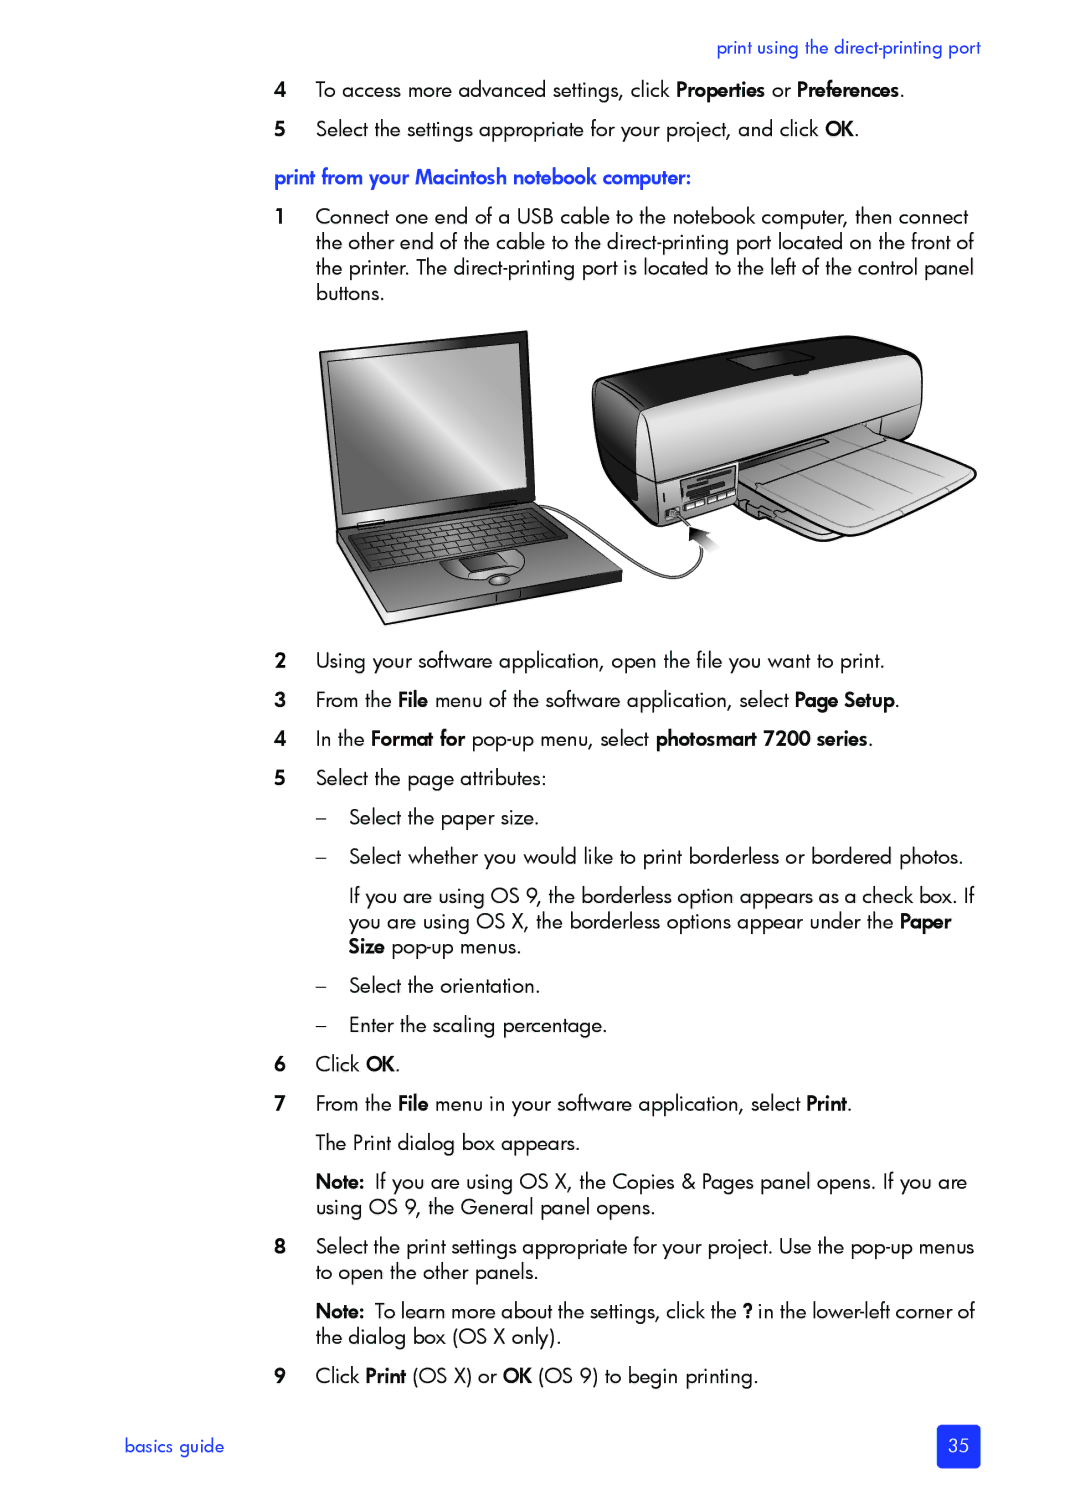
7200 specifications
The HP 7200 is a versatile and powerful printing solution designed to meet the needs of businesses and creative professionals alike. Known for its high-quality outputs, the HP 7200 integrates cutting-edge technologies and user-friendly features to enhance the printing experience.One of the standout features of the HP 7200 is its impressive print resolution. With a maximum resolution of up to 2400 x 1200 dpi, users can expect sharp, vibrant prints that bring graphics and images to life. This makes it particularly ideal for printing marketing materials, brochures, and high-quality photographs, ensuring that every detail is captured accurately.
In terms of speed, the HP 7200 boasts rapid print rates, allowing for quick turnaround times on large print jobs. With the ability to print up to 50 pages per minute, it is suitable for busy office environments where efficiency and productivity are crucial. This is further complemented by the device's automatic duplex printing feature, which reduces paper consumption and operational costs while promoting sustainability.
The HP 7200 also incorporates advanced connectivity options to streamline workflows. Equipped with USB, Ethernet, and wireless capabilities, users can easily connect their devices, regardless of location. This flexibility allows teams to print from a variety of devices, including laptops, tablets, and smartphones, making it a convenient option for collaborative projects.
Another noteworthy characteristic is the user-friendly interface of the HP 7200. The intuitive control panel and LCD display facilitate easy navigation and management of print jobs, ensuring that users can operate the device without extensive technical knowledge. Additionally, it supports various media sizes and types, from standard letter-sized paper to glossy photo paper, accommodating diverse printing needs.
Moreover, the HP 7200 utilizes advanced ink technologies to enhance print longevity and resistance to fading. With high-capacity cartridges, users can print more pages before needing replacements, thereby reducing downtime and operational expenses.
Overall, the HP 7200 embodies reliability, efficiency, and quality. Whether for a small business looking to produce professional-grade documents or an artist aiming to showcase their work, this printer stands out as a robust solution tailored for today's dynamic printing demands. Its combination of speed, quality, and user-friendly features makes the HP 7200 a valuable asset in any printing environment.