Chapter 1
HP
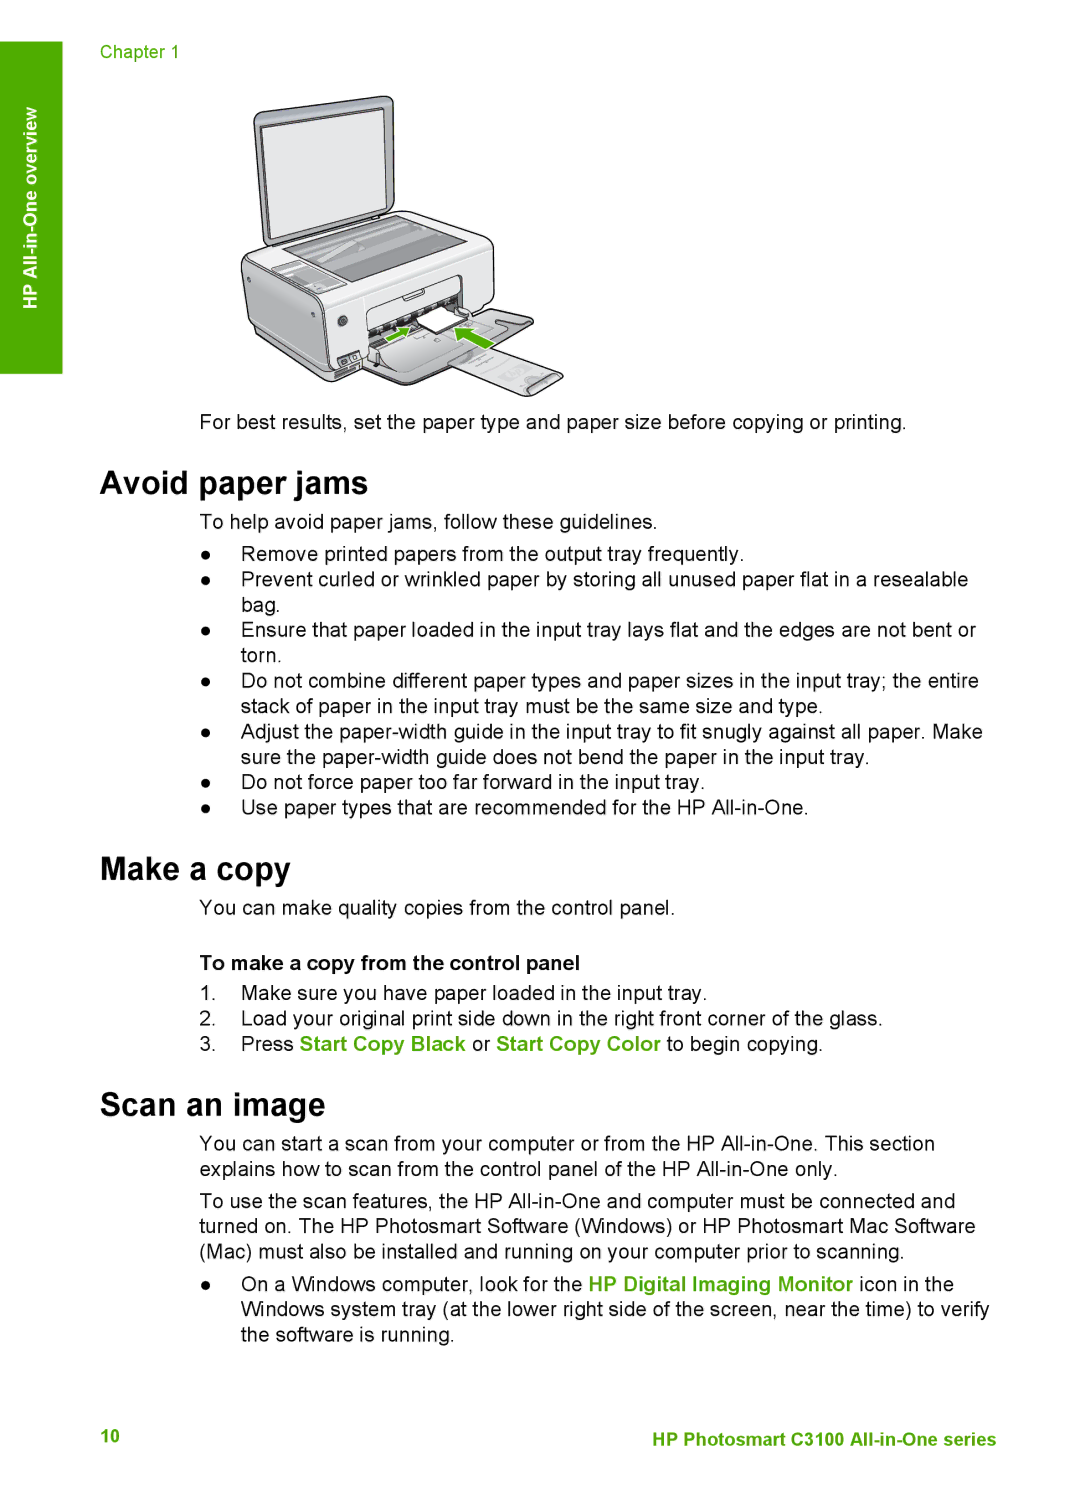
For best results, set the paper type and paper size before copying or printing.
Avoid paper jams
To help avoid paper jams, follow these guidelines.
●Remove printed papers from the output tray frequently.
●Prevent curled or wrinkled paper by storing all unused paper flat in a resealable bag.
●Ensure that paper loaded in the input tray lays flat and the edges are not bent or torn.
●Do not combine different paper types and paper sizes in the input tray; the entire stack of paper in the input tray must be the same size and type.
●Adjust the
●Do not force paper too far forward in the input tray.
●Use paper types that are recommended for the HP
Make a copy
You can make quality copies from the control panel.
To make a copy from the control panel
1.Make sure you have paper loaded in the input tray.
2.Load your original print side down in the right front corner of the glass.
3.Press Start Copy Black or Start Copy Color to begin copying.
Scan an image
You can start a scan from your computer or from the HP
To use the scan features, the HP
●On a Windows computer, look for the HP Digital Imaging Monitor icon in the Windows system tray (at the lower right side of the screen, near the time) to verify the software is running.
10 | HP Photosmart C3100 |
