HP
Chapter 1
The Print dialog box appears, and the Copies & Pages panel opens.
7.Change the print settings for each option in the
8.Click Print to begin printing.
Replace the print cartridges
Follow these instructions when the ink level is low.
Note When the ink level for the print cartridge is low, a message appears on your computer screen. You can also check the ink levels by using the software installed with the HP
When you receive a
To order print cartridges for the HP
To replace the print cartridges
1.Make sure the HP
Caution If the HP
2.Make sure you have letter or A4 unused plain white paper loaded in the input tray.
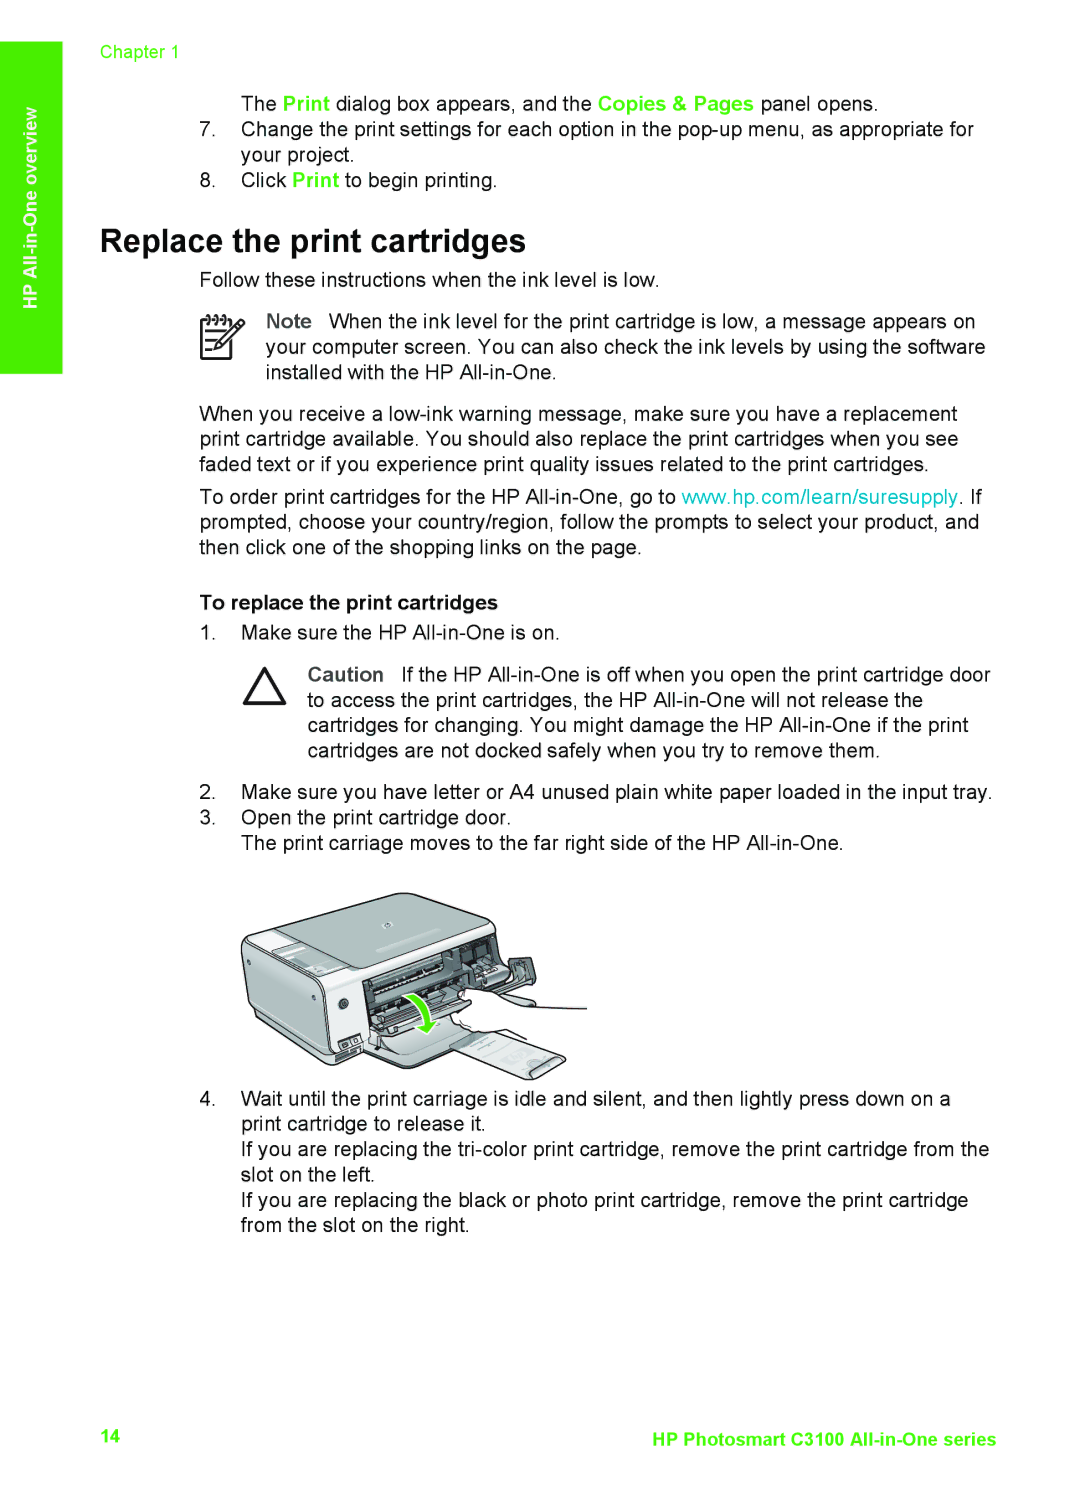
3.Open the print cartridge door.
The print carriage moves to the far right side of the HP
4.Wait until the print carriage is idle and silent, and then lightly press down on a print cartridge to release it.
If you are replacing the
If you are replacing the black or photo print cartridge, remove the print cartridge from the slot on the right.
14 | HP Photosmart C3100 |