Upgrading and replacing hardware
Installing optical drives
WARNING To avoid electrical shock and harm to your eyes by laser, do not open the laser module. The laser module should be serviced by service personnel only. Do not attempt to make any adjustment to the laser unit. Refer to the label on the
You can install or replace optical drives, such as
1Switch off the PC and remove the PC’s cover and front panel. Refer to page 10.
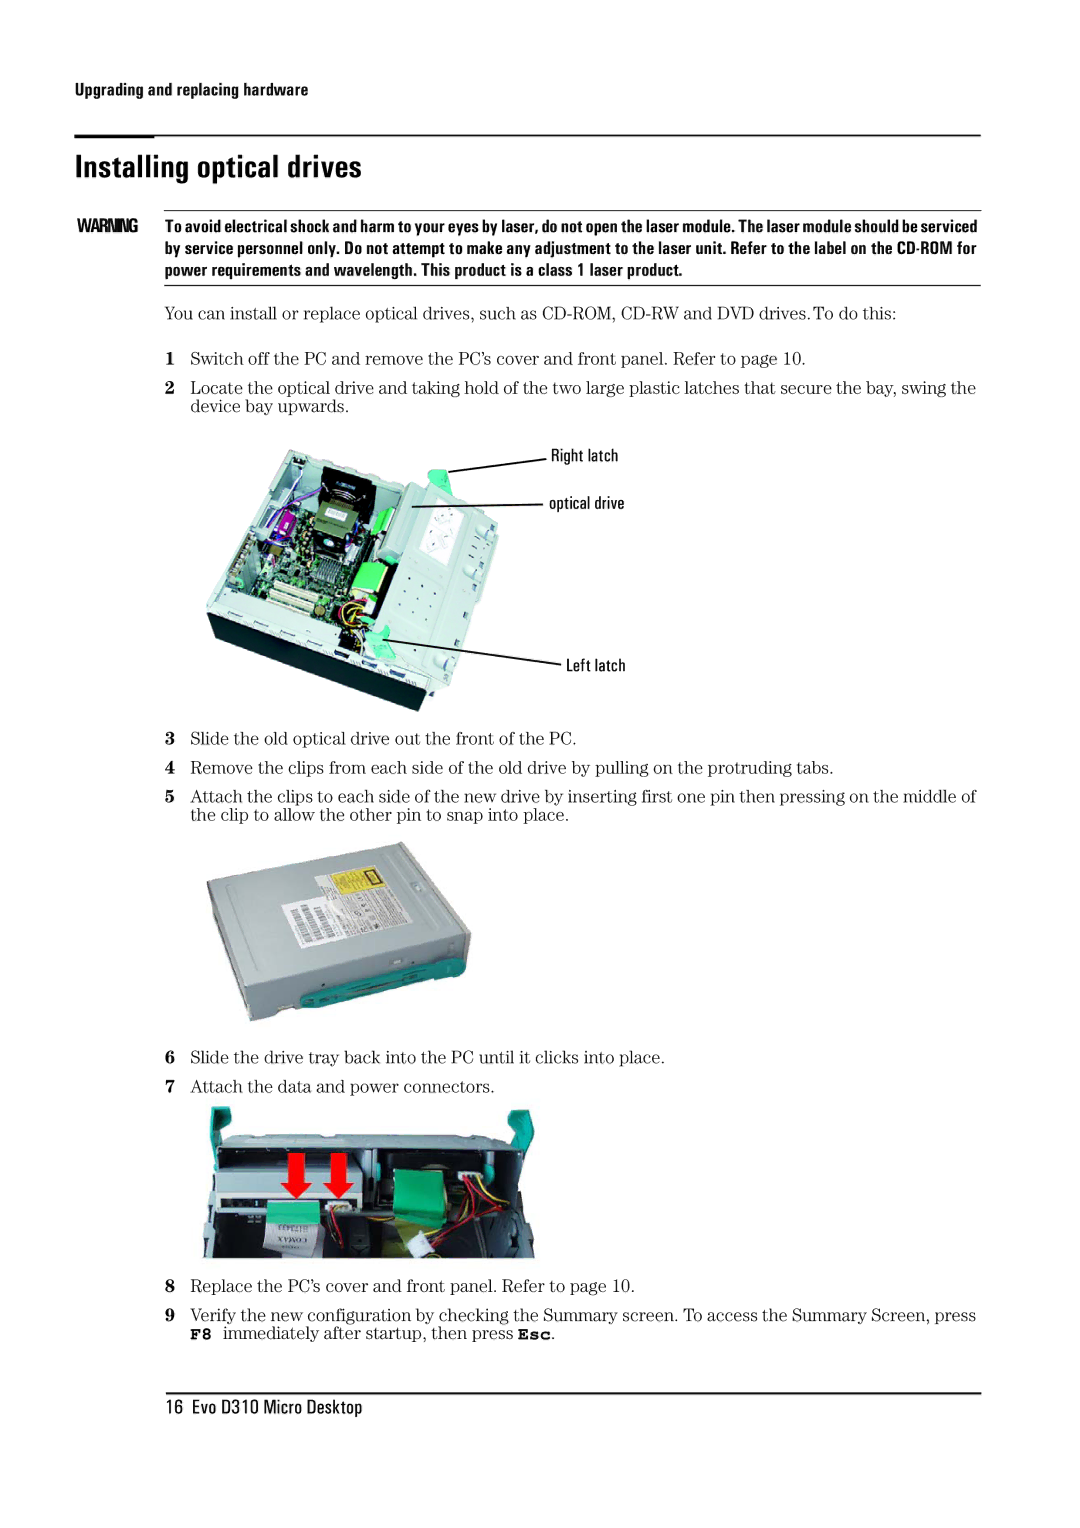
2Locate the optical drive and taking hold of the two large plastic latches that secure the bay, swing the device bay upwards.
Right latch
![]() optical drive
optical drive
![]() Left latch
Left latch
3Slide the old optical drive out the front of the PC.
4Remove the clips from each side of the old drive by pulling on the protruding tabs.
5Attach the clips to each side of the new drive by inserting first one pin then pressing on the middle of the clip to allow the other pin to snap into place.
6Slide the drive tray back into the PC until it clicks into place.
7Attach the data and power connectors.
8Replace the PC’s cover and front panel. Refer to page 10.
9Verify the new configuration by checking the Summary screen. To access the Summary Screen, press F8 immediately after startup, then press Esc.