Upgrading and replacing hardware
Replacing the system board
1Switch off the PC and remove the PC’s cover. Refer to page 10.
2Remove the main memory (page 12) and processor (page 21) from the old system board.
3Remove all data, power and other cables from the old system board.
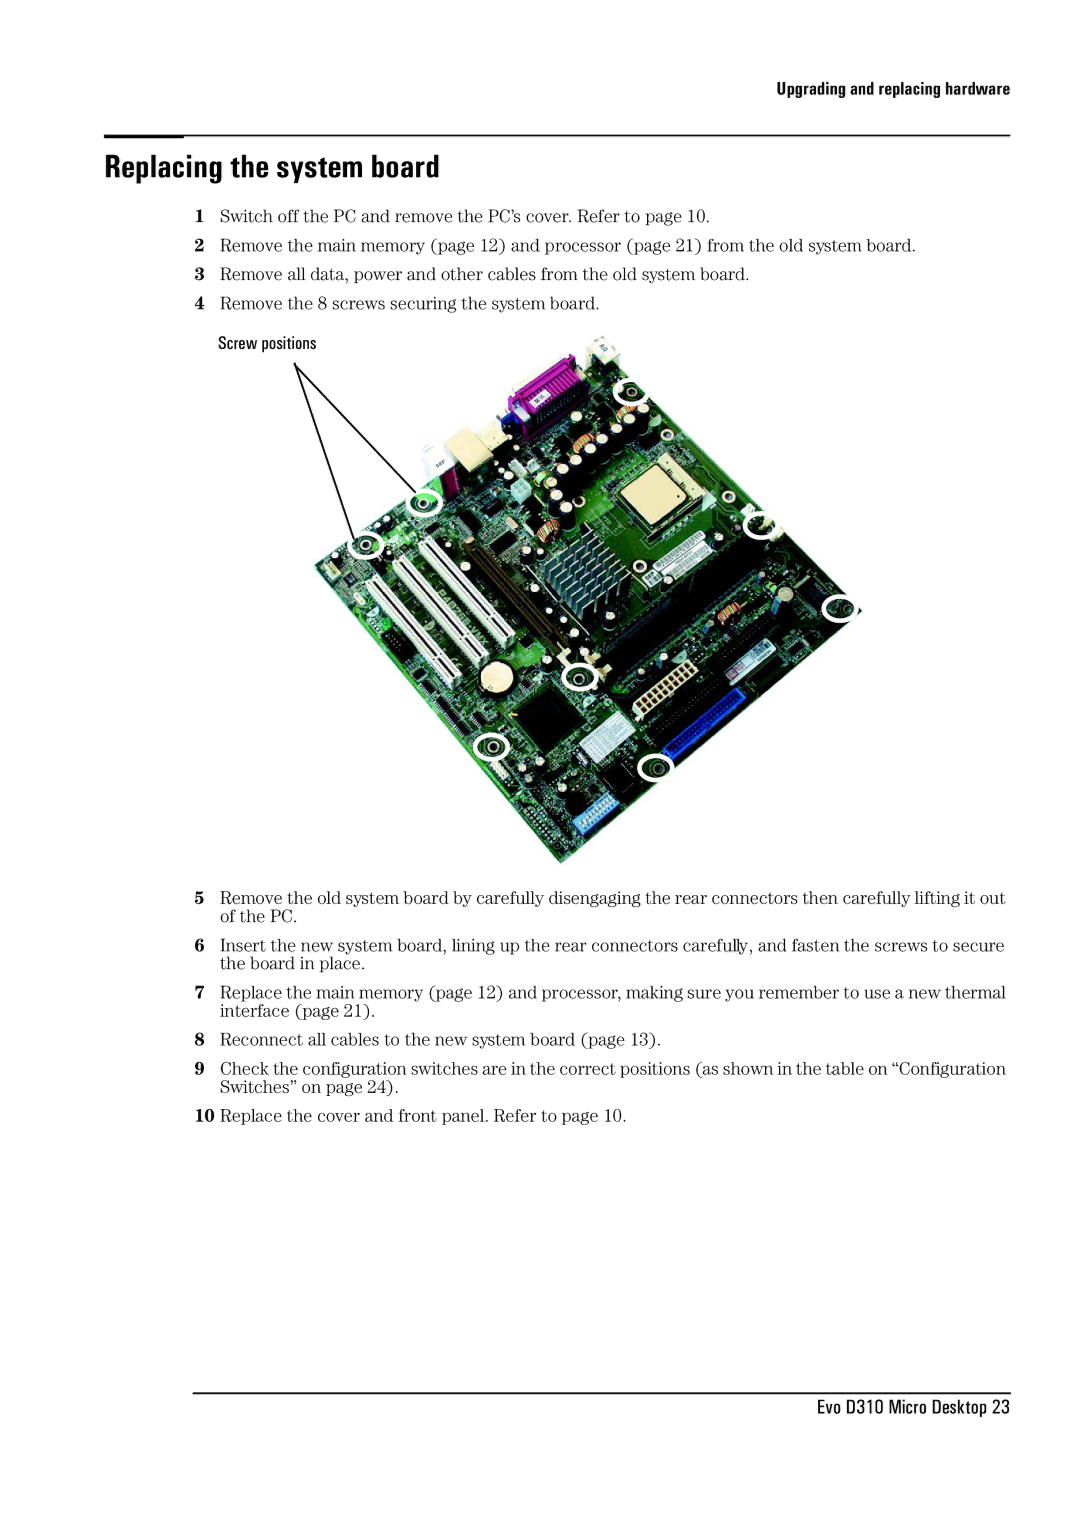
4Remove the 8 screws securing the system board.
Screw positions
5Remove the old system board by carefully disengaging the rear connectors then carefully lifting it out of the PC.
6Insert the new system board, lining up the rear connectors carefully, and fasten the screws to secure the board in place.
7Replace the main memory (page 12) and processor, making sure you remember to use a new thermal interface (page 21).
8Reconnect all cables to the new system board (page 13).
9Check the configuration switches are in the correct positions (as shown in the table on “Configuration Switches” on page 24).
10 Replace the cover and front panel. Refer to page 10.