Hardware Upgrades
Installing an Optional Optical Drive
To install an optional optical drive:
1.If you have locked the Smart Cover Lock, restart the computer and enter Computer Setup to unlock the lock.
2.Turn off the computer properly through the operating system, then turn off any external devices.
3.Disconnect the power cord from the power outlet and disconnect any external devices.
4.Remove the computer cover. Refer to “Removing the Computer Cover.”
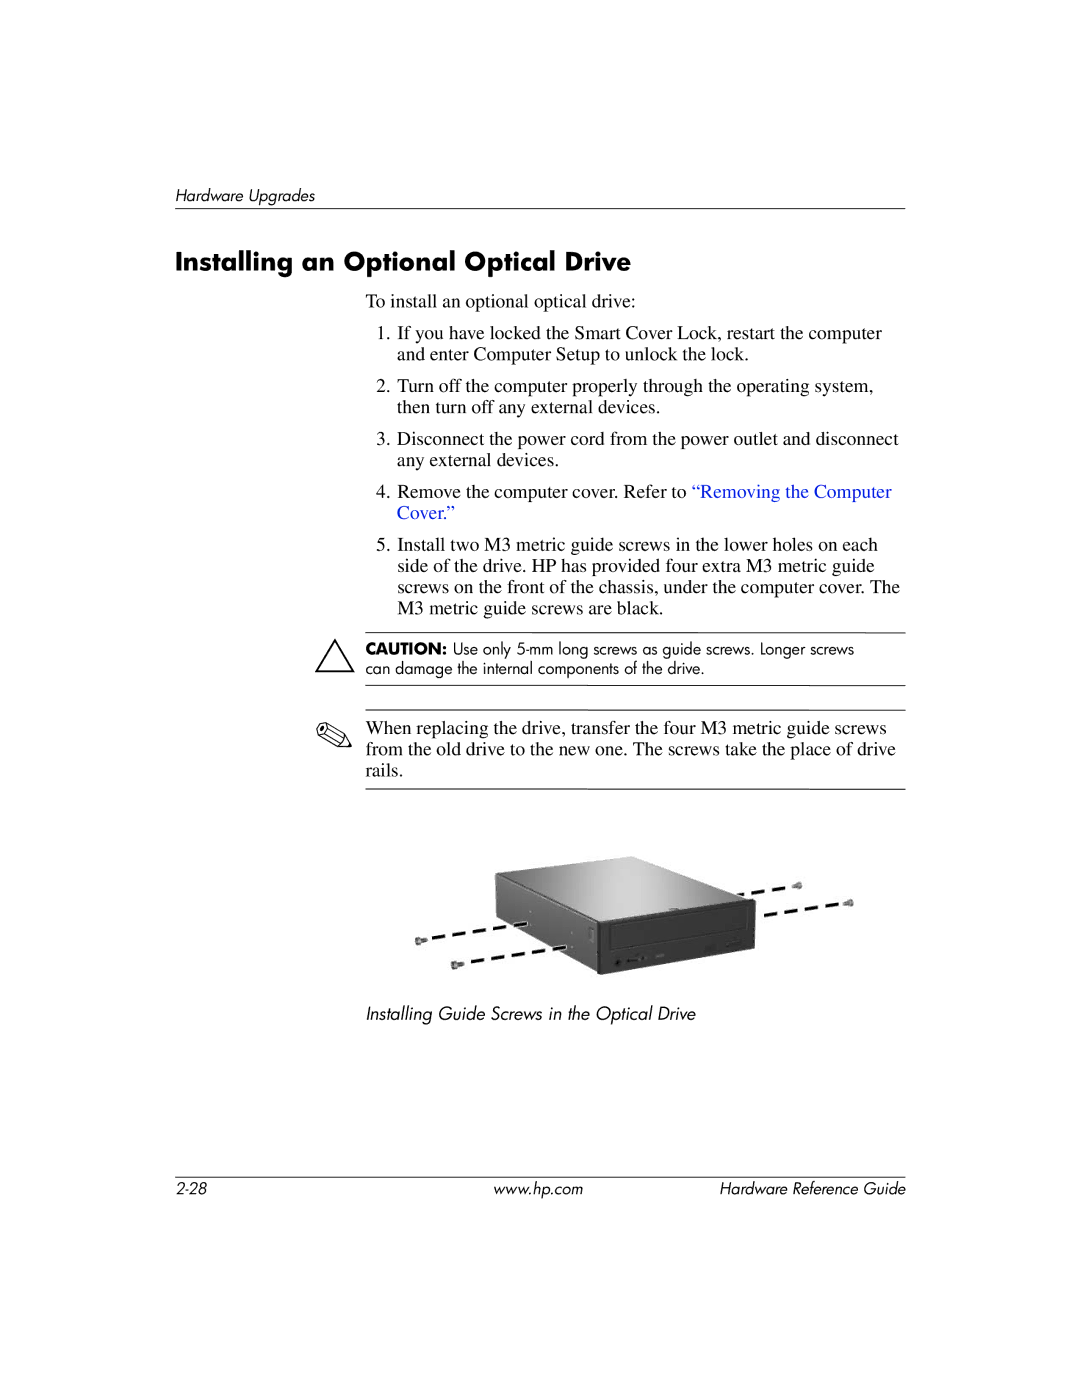
5.Install two M3 metric guide screws in the lower holes on each side of the drive. HP has provided four extra M3 metric guide screws on the front of the chassis, under the computer cover. The M3 metric guide screws are black.
ÄCAUTION: Use only
✎When replacing the drive, transfer the four M3 metric guide screws from the old drive to the new one. The screws take the place of drive rails.
Installing Guide Screws in the Optical Drive
www.hp.com | Hardware Reference Guide |
