Hardware Upgrades
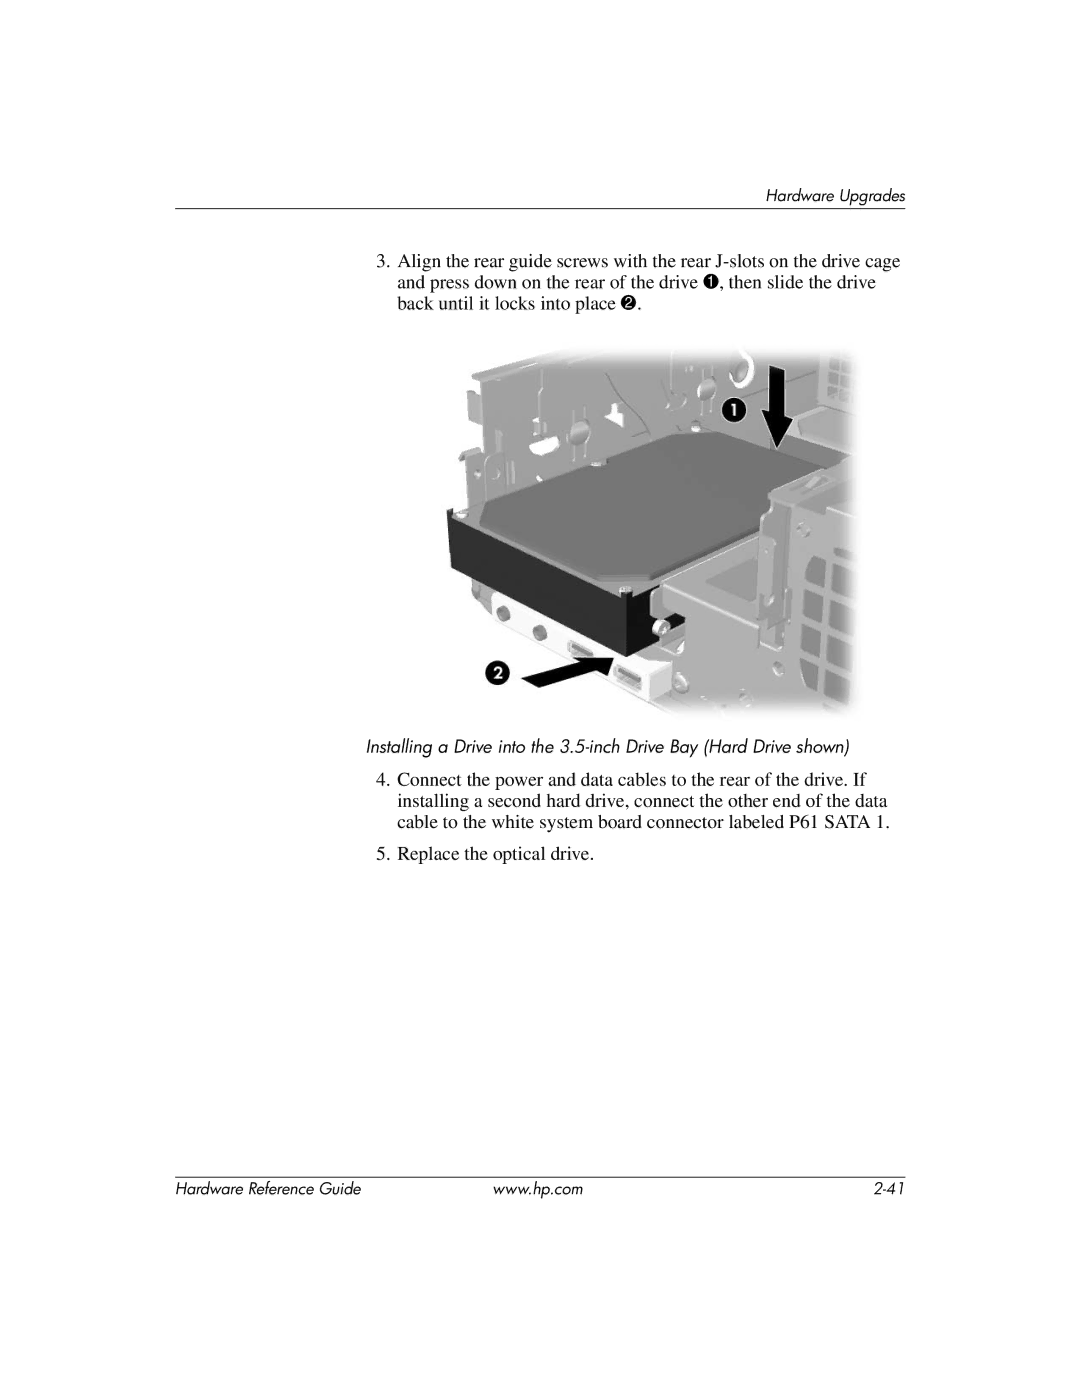
3.Align the rear guide screws with the rear
Installing a Drive into the
4.Connect the power and data cables to the rear of the drive. If installing a second hard drive, connect the other end of the data cable to the white system board connector labeled P61 SATA 1.
5.Replace the optical drive.
Hardware Reference Guide | www.hp.com |
