Hardware Upgrades
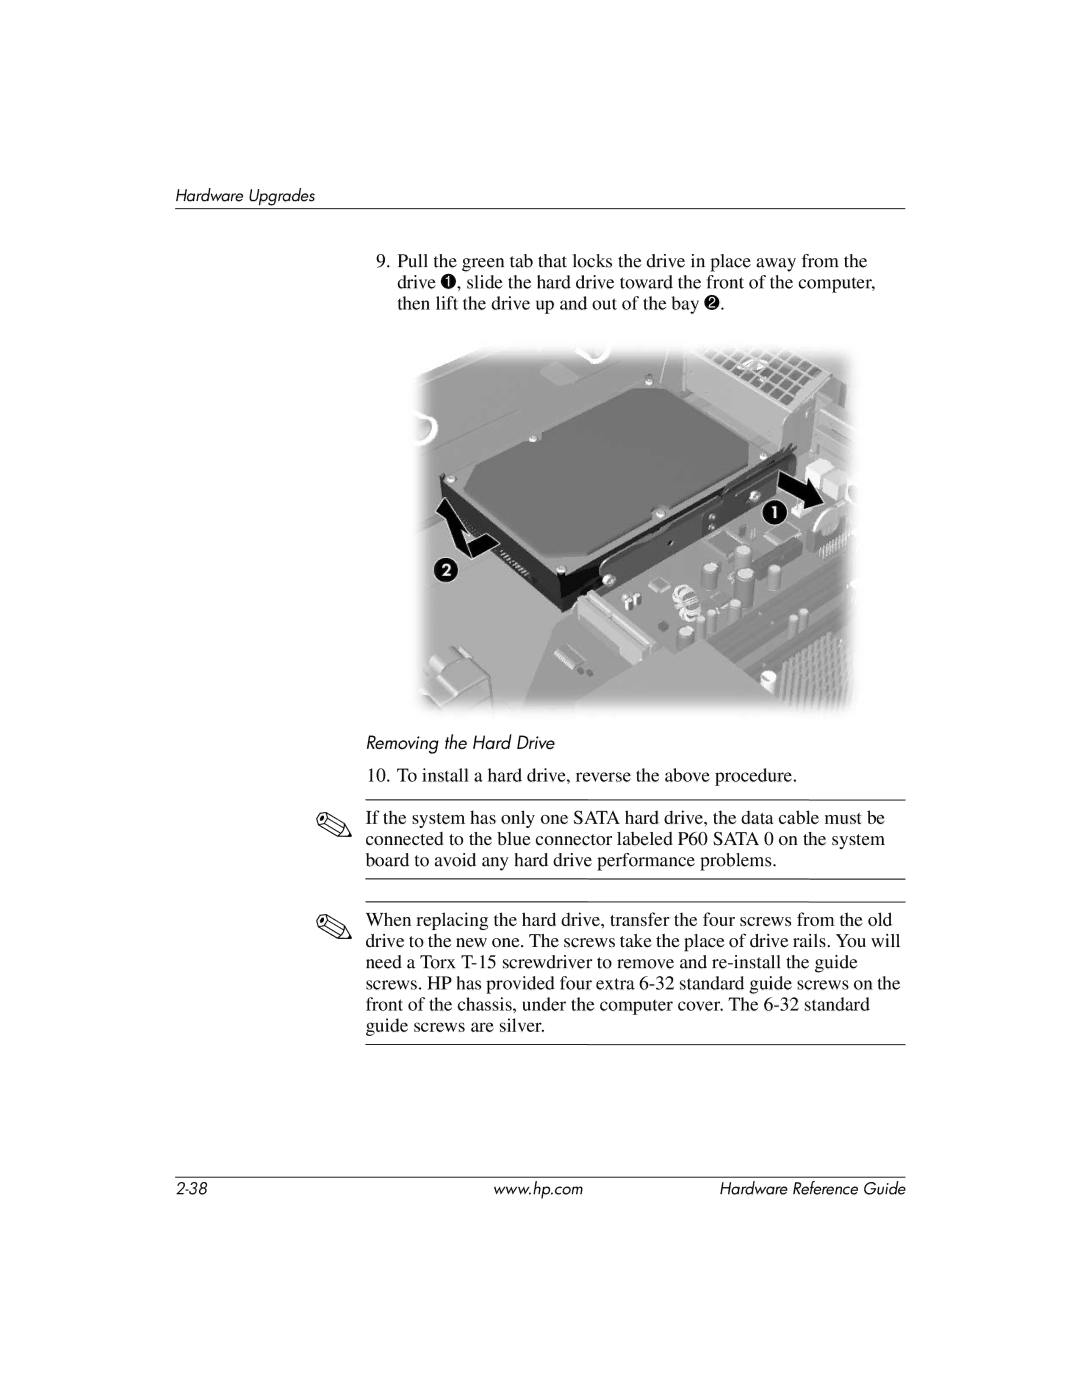
9.Pull the green tab that locks the drive in place away from the drive 1, slide the hard drive toward the front of the computer, then lift the drive up and out of the bay 2.
Removing the Hard Drive
10.To install a hard drive, reverse the above procedure.
✎If the system has only one SATA hard drive, the data cable must be connected to the blue connector labeled P60 SATA 0 on the system board to avoid any hard drive performance problems.
✎When replacing the hard drive, transfer the four screws from the old drive to the new one. The screws take the place of drive rails. You will need a Torx
www.hp.com | Hardware Reference Guide |
