HP Netserver High Density Rack Solutions Overview (LP 2000r)
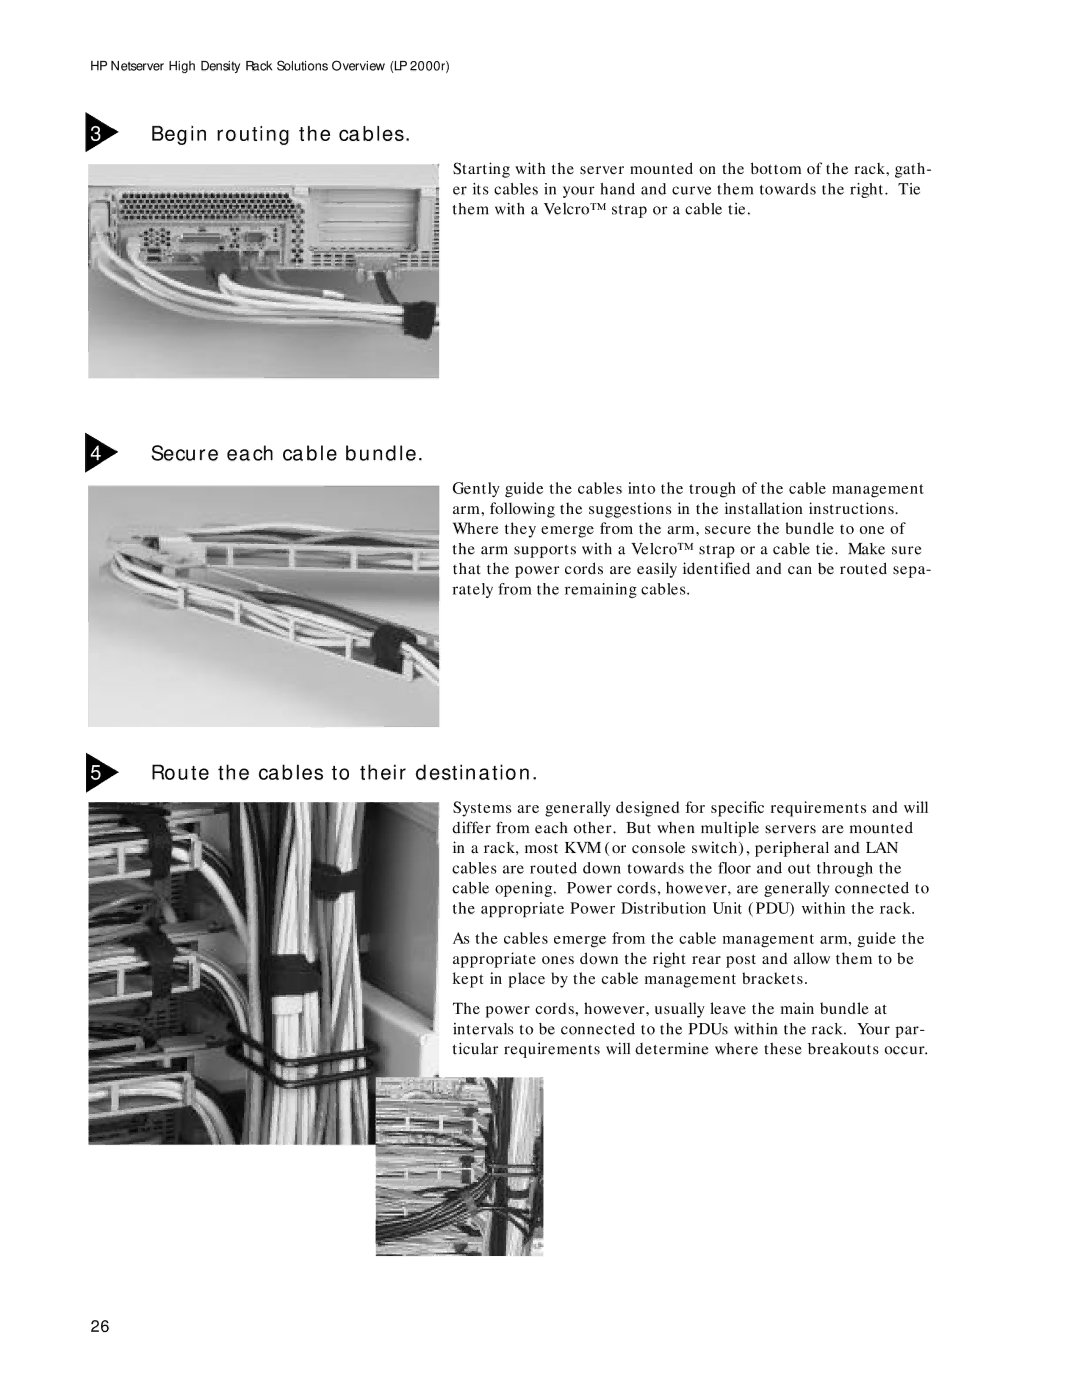
3Begin routing the cables.
Starting with the server mounted on the bottom of the rack, gath- er its cables in your hand and curve them towards the right. Tie them with a Velcro™ strap or a cable tie.
4Secure each cable bundle.
Gently guide the cables into the trough of the cable management arm, following the suggestions in the installation instructions. Where they emerge from the arm, secure the bundle to one of the arm supports with a Velcro™ strap or a cable tie. Make sure that the power cords are easily identified and can be routed sepa- rately from the remaining cables.
5Route the cables to their destination.
Systems are generally designed for specific requirements and will differ from each other. But when multiple servers are mounted in a rack, most KVM (or console switch), peripheral and LAN cables are routed down towards the floor and out through the cable opening. Power cords, however, are generally connected to the appropriate Power Distribution Unit (PDU) within the rack.
As the cables emerge from the cable management arm, guide the appropriate ones down the right rear post and allow them to be kept in place by the cable management brackets.
The power cords, however, usually leave the main bundle at intervals to be connected to the PDUs within the rack. Your par- ticular requirements will determine where these breakouts occur.
26