HP Netserver High Density Rack Solutions Overview (LP 2000r)
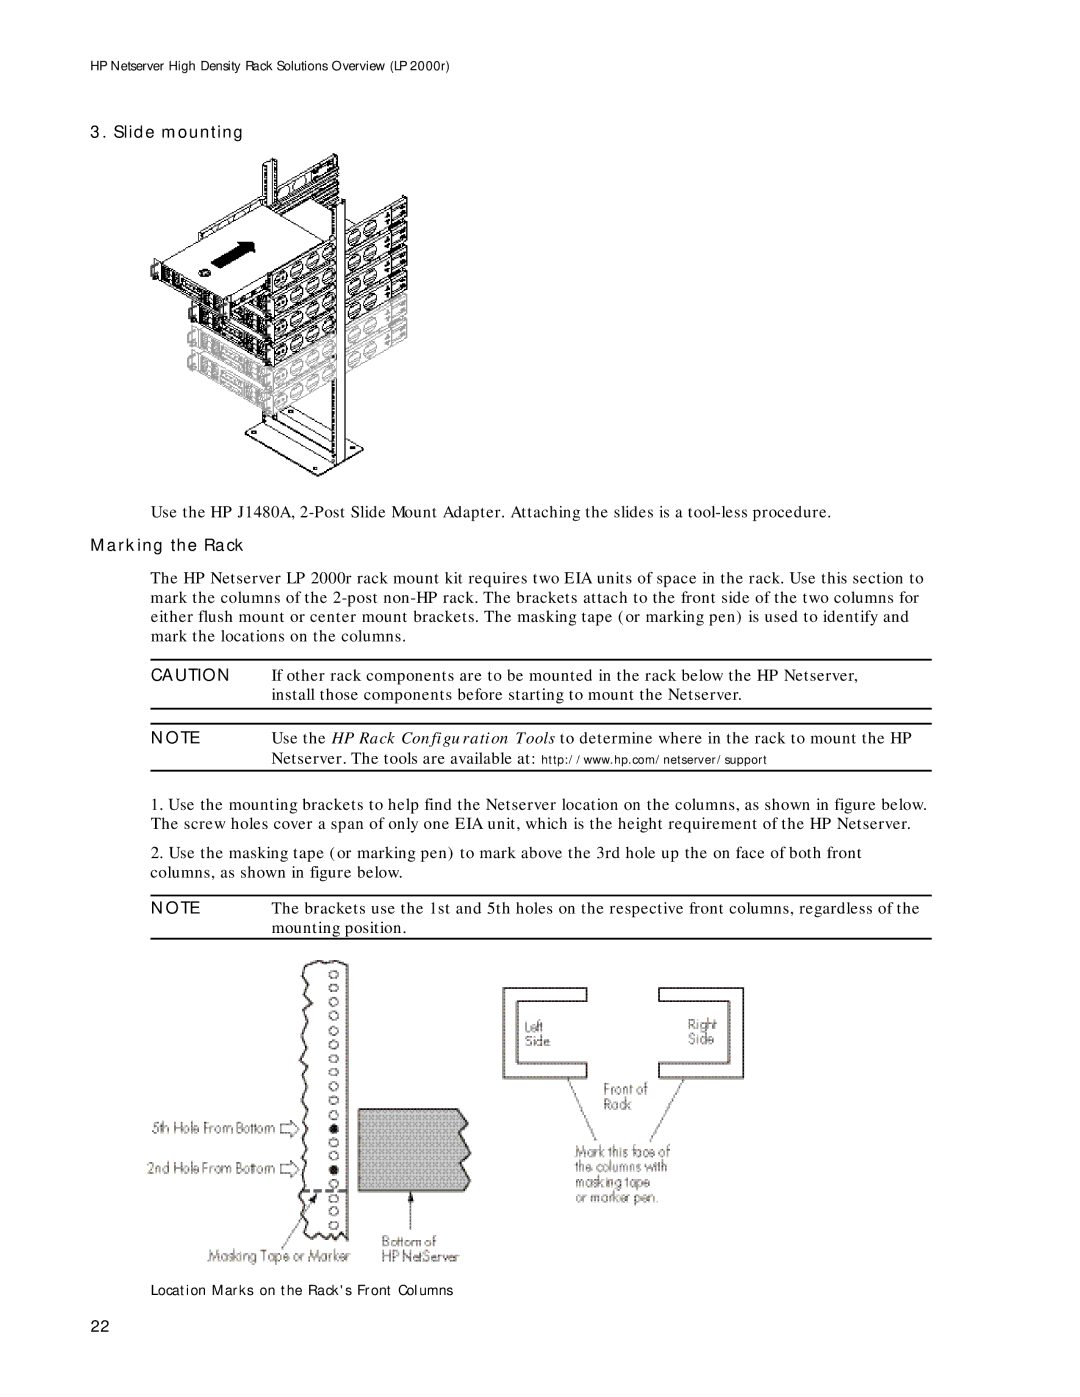
3. Slide mounting
Use the HP J1480A,
Marking the Rack
The HP Netserver LP 2000r rack mount kit requires two EIA units of space in the rack. Use this section to mark the columns of the
CAUTION | If other rack components are to be mounted in the rack below the HP Netserver, |
| install those components before starting to mount the Netserver. |
|
|
|
|
NOTE | Use the HP Rack Configuration Tools to determine where in the rack to mount the HP |
| Netserver. The tools are available at: http://www.hp.com/netserver/support |
|
|
1.Use the mounting brackets to help find the Netserver location on the columns, as shown in figure below. The screw holes cover a span of only one EIA unit, which is the height requirement of the HP Netserver.
2.Use the masking tape (or marking pen) to mark above the 3rd hole up the on face of both front columns, as shown in figure below.
NOTE | The brackets use the 1st and 5th holes on the respective front columns, regardless of the |
| mounting position. |
Location Marks on the Rack's Front Columns
22