Adjusting the Monitor Settings
The monitor settings can be adjusted from the
1.If the monitor is not already on, press the power button to turn on the monitor. The power indicator will light up.
2.To access the OSD menu, press the Menu button.
3.To navigate through the Main Menu, press the – or + buttons. Once the desired function is highlighted, press the Menu button to activate the Submenu. Press the Menu button to select the highlighted function.
4.Press the – or + button to change the settings of the selected function. Press the – or + button to select another function in the Submenu.
5.Press Auto/OK to select the highlighted function.
If you want to adjust any other function, repeat steps
OSD Lock Function: This function locks the OSD in order to keep the current menu settings or prevent others from adjusting the current settings.
●To lock the OSD, press and hold the Menu button for 10 seconds.
●To unlock the OSD, press and hold the Menu button for 10 seconds.
Power Button Lockout: Indicates the power button is locked. If the power button is locked, the warning message Power Button Lockout displays.
●If the power button is locked, press and hold the power button for 10 seconds to unlock the power button function.
●If the power button is unlocked, press and hold the power button for 10 seconds to lock out the power button function.
Volume adjustment hot key: When the OSD window is closed, press + or – to activate the volume adjustment bar, and then press – or + to adjust the volume (only for the models with speakers).
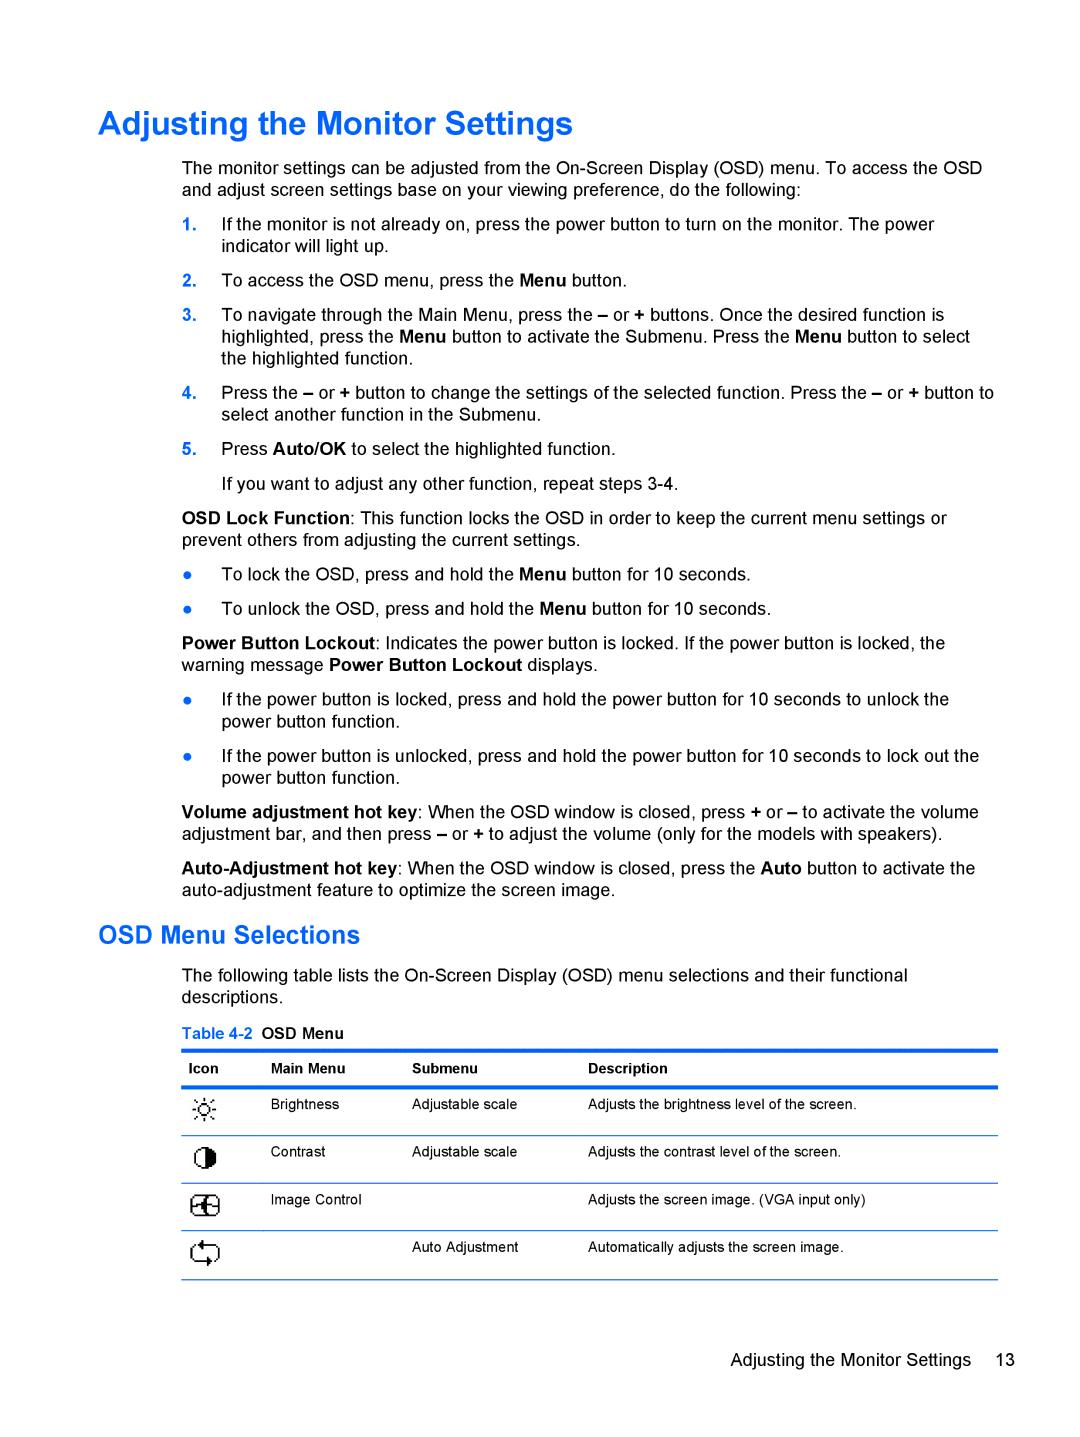
OSD Menu Selections
The following table lists the
Table 4-2 OSD Menu
Icon | Main Menu | Submenu | Description |
|
|
|
|
| Brightness | Adjustable scale | Adjusts the brightness level of the screen. |
|
|
|
|
| Contrast | Adjustable scale | Adjusts the contrast level of the screen. |
|
|
|
|
| Image Control |
| Adjusts the screen image. (VGA input only) |
|
|
|
|
|
| Auto Adjustment | Automatically adjusts the screen image. |
|
|
|
|
