NetMail/3000 specifications
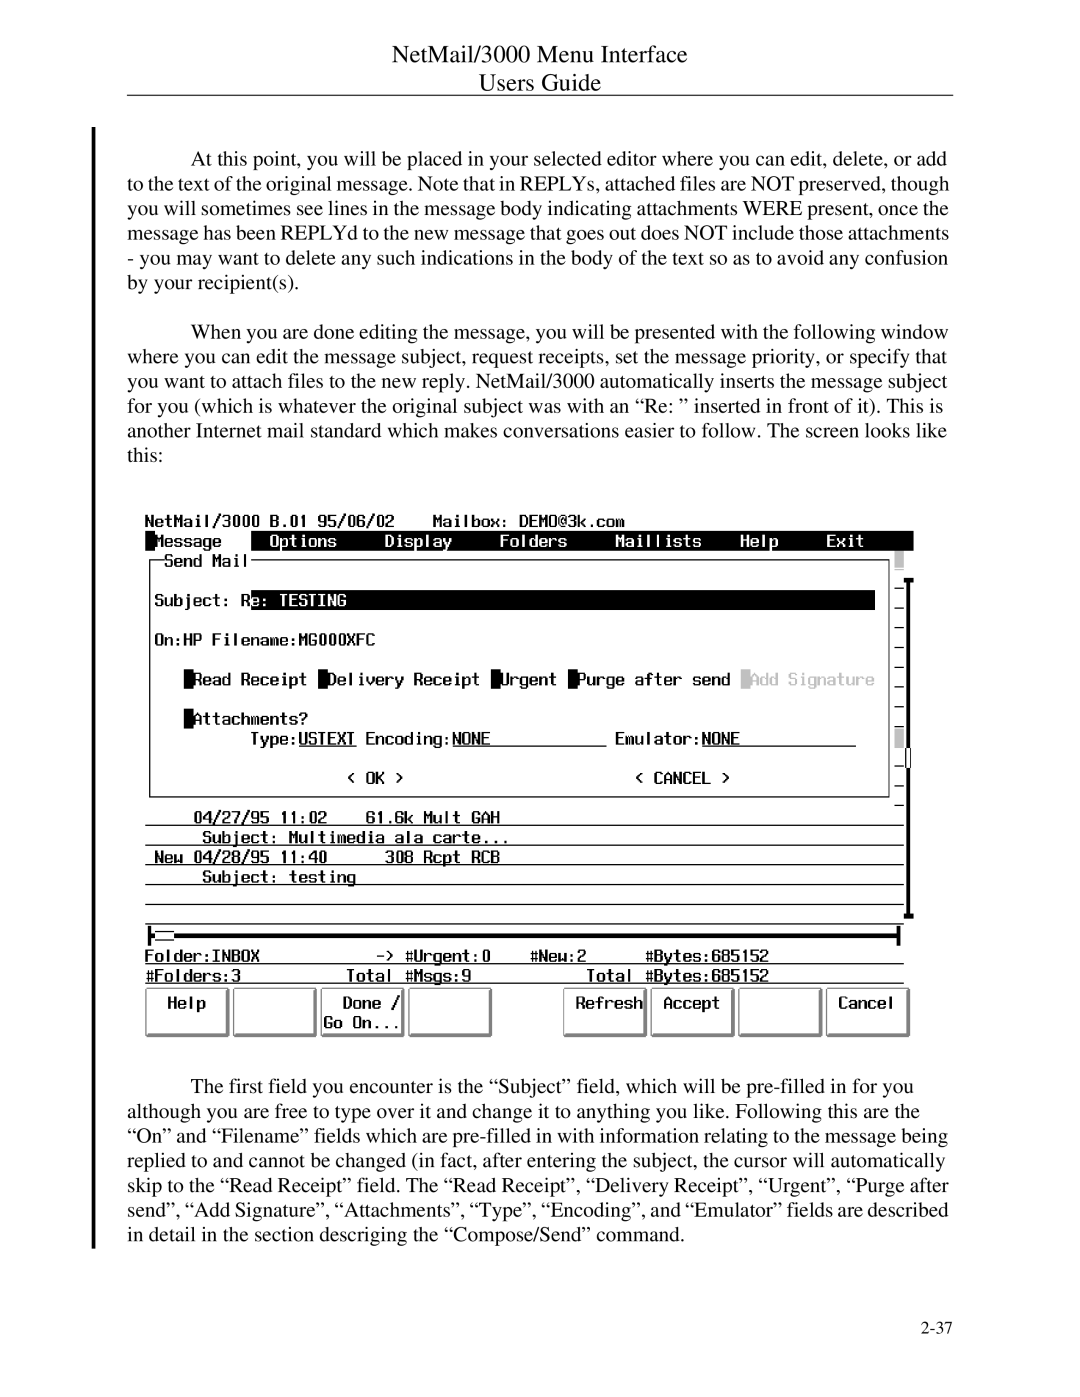
HP NetMail/3000 was a pioneering messaging system designed primarily for the Hewlett-Packard 3000 series of computers. This innovative email system became popular in the late 1980s and early 1990s, providing users with a robust platform for electronic communication, data sharing, and collaboration within organizations.One of the key features of HP NetMail/3000 was its user-friendly interface, which allowed even less technical users to navigate and utilize its capabilities effectively. The system supported a wide array of email functionalities, including sending and receiving messages, creating distribution lists, and managing folders. Users could also attach files effortlessly, making it easy to share documents and other resources.
Underlying the HP NetMail/3000 system was a set of advanced technologies that enabled its robust performance. Built on the MPE/iX operating system, it leveraged the strengths of HP’s proprietary architecture. The system utilized a client-server model, allowing multiple users to access their emails simultaneously without degradation in performance. This architecture also facilitated easier management of the mail server, as system administrators could perform tasks such as backups and upgrades without disrupting user access.
Another remarkable characteristic of HP NetMail/3000 was its integration capabilities with other applications. The messaging system could seamlessly connect with various data management systems, enabling users to pull in data and automate workflows. This integration made it possible to create dynamic email notifications based on database events and streamline business processes.
Security was also a focal point for HP NetMail/3000. The system supported user authentication, ensuring that only authorized personnel could access sensitive information. Furthermore, messages could be encrypted, protecting the privacy of the communications exchanged over the network.
In terms of storage, HP NetMail/3000 offered significant capabilities to manage large volumes of email data. Users could organize their messages efficiently, archiving important communications while maintaining quick access to frequently used emails.
Despite its eventual decline with the rise of more modern email platforms, HP NetMail/3000 was a crucial stepping stone in the evolution of electronic mail systems. Its features, performance, and integration capabilities helped lay the groundwork for the sophisticated communication tools we use today. The legacy of HP NetMail/3000 endures as an important chapter in the history of digital communication.

