OptiPrinter PRO CD/DVD Inkjet Printer
d.When prompted, select Local Port
e.When the Wizard asks for the name of the printer, click the Have Disk button and navigate to the enu/drivers/win2k_xp/OptiPrinter_Pro.inf file on the
f.The driver will begin to install on your PC.
g.Whenever prompted click Next.
h.When complete, select Finish and the Verity Systems OptiPrinter PRO print driver icon will appear in your printer settings
i.The Digital Signature Not Found message box (see Fig. 11) will appear. You will be asked if you wish to continue installation, select Yes. In Windows XP, select Continue Anyway.
SECTION 8: INSTALLING DISCUS (Graphics Software)
Insert the Discus CD into your
SECTION 9: USING DISCUS SOFTWARE
 Note:
Note:
Before using Discus, you need to disable the OptiPrinter PRO's built in mask.
a.On your desktop, click Start, Settings and then open your Printers folder.
b.Right click the Verity Systems OptiPrinter PRO icon, and select “Properties” from the popup menu.
c.Click “Printing Preferences…“ and open the “Mask settings” tab
d.Unclick the “Enable Masking” checkbox and click OK
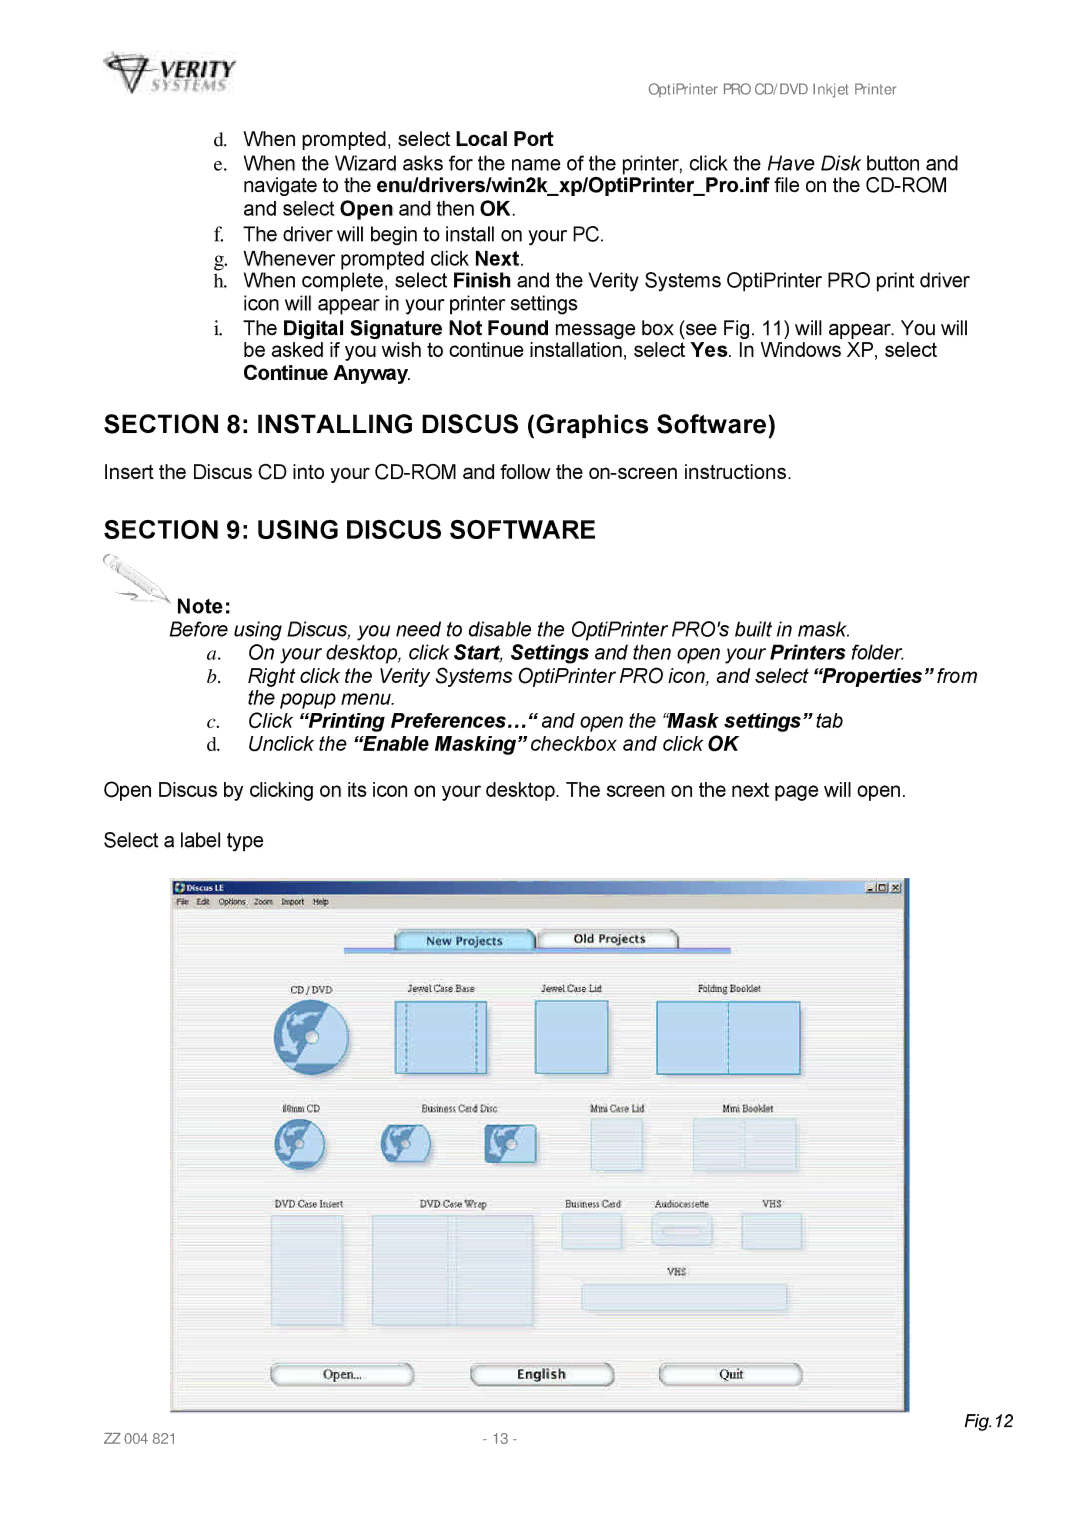
Open Discus by clicking on its icon on your desktop. The screen on the next page will open.
Select a label type
Fig.12
ZZ 004 821 | - 13 - |