OptiPrinter PRO CD/DVD Inkjet Printer
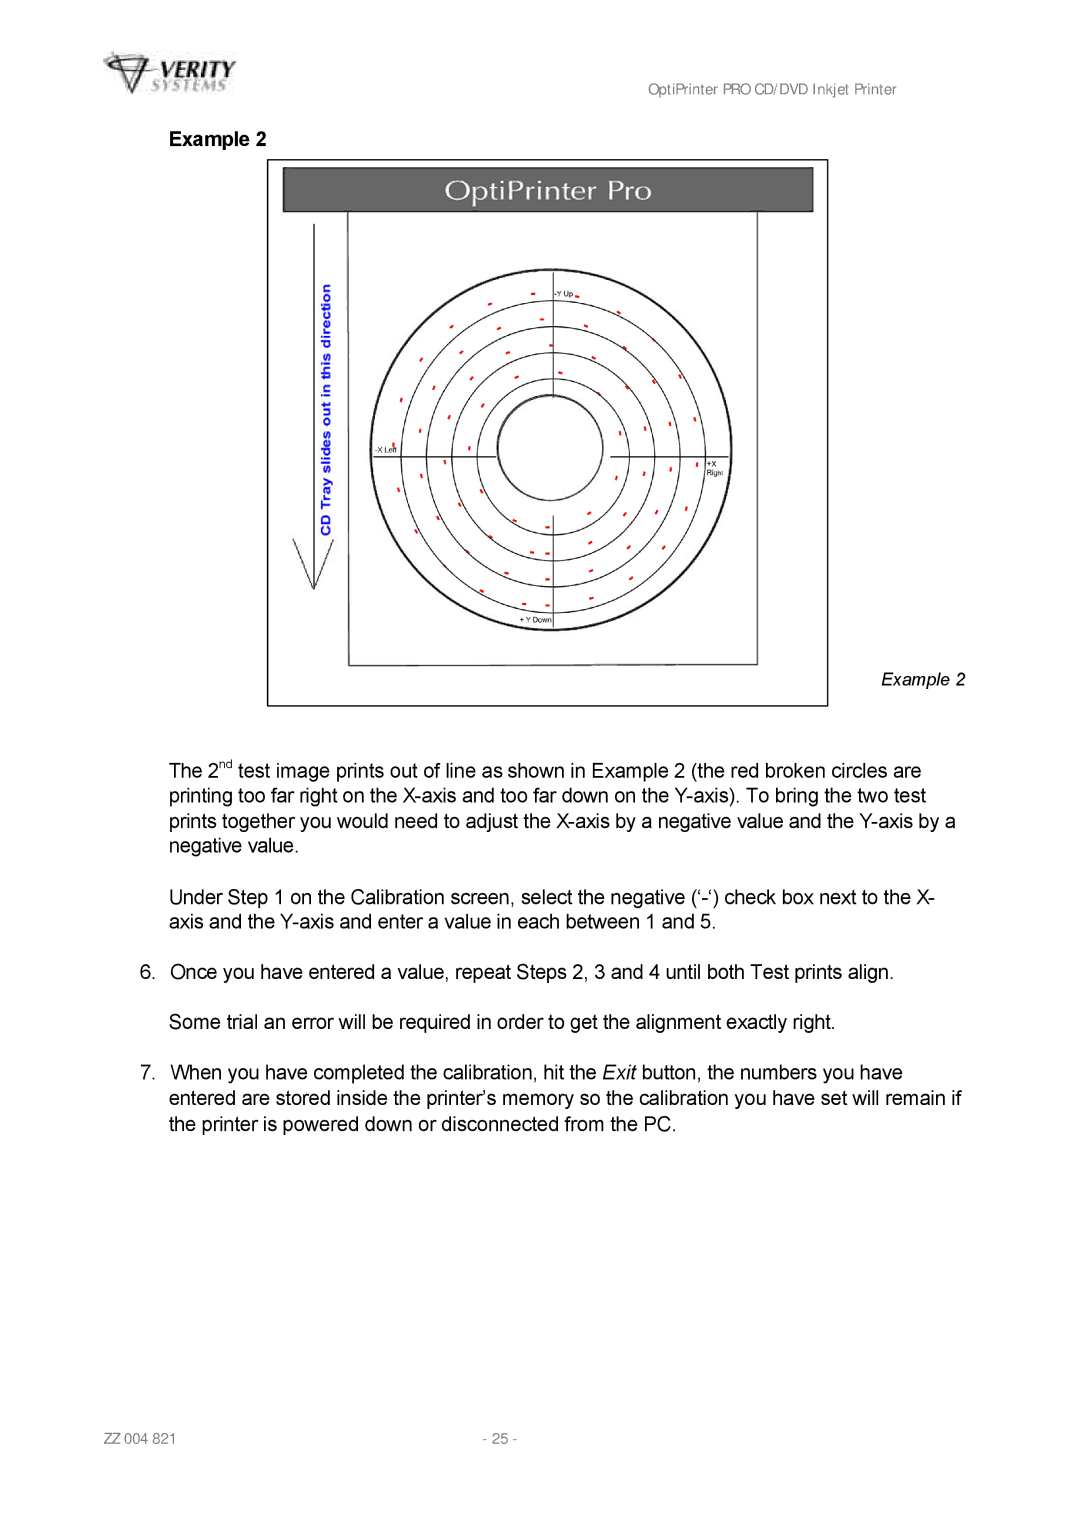
Example 2
Example 2
The 2nd test image prints out of line as shown in Example 2 (the red broken circles are printing too far right on the
Under Step 1 on the Calibration screen, select the negative
6.Once you have entered a value, repeat Steps 2, 3 and 4 until both Test prints align. Some trial an error will be required in order to get the alignment exactly right.
7.When you have completed the calibration, hit the Exit button, the numbers you have entered are stored inside the printer’s memory so the calibration you have set will remain if the printer is powered down or disconnected from the PC.
ZZ 004 821 | - 25 - |