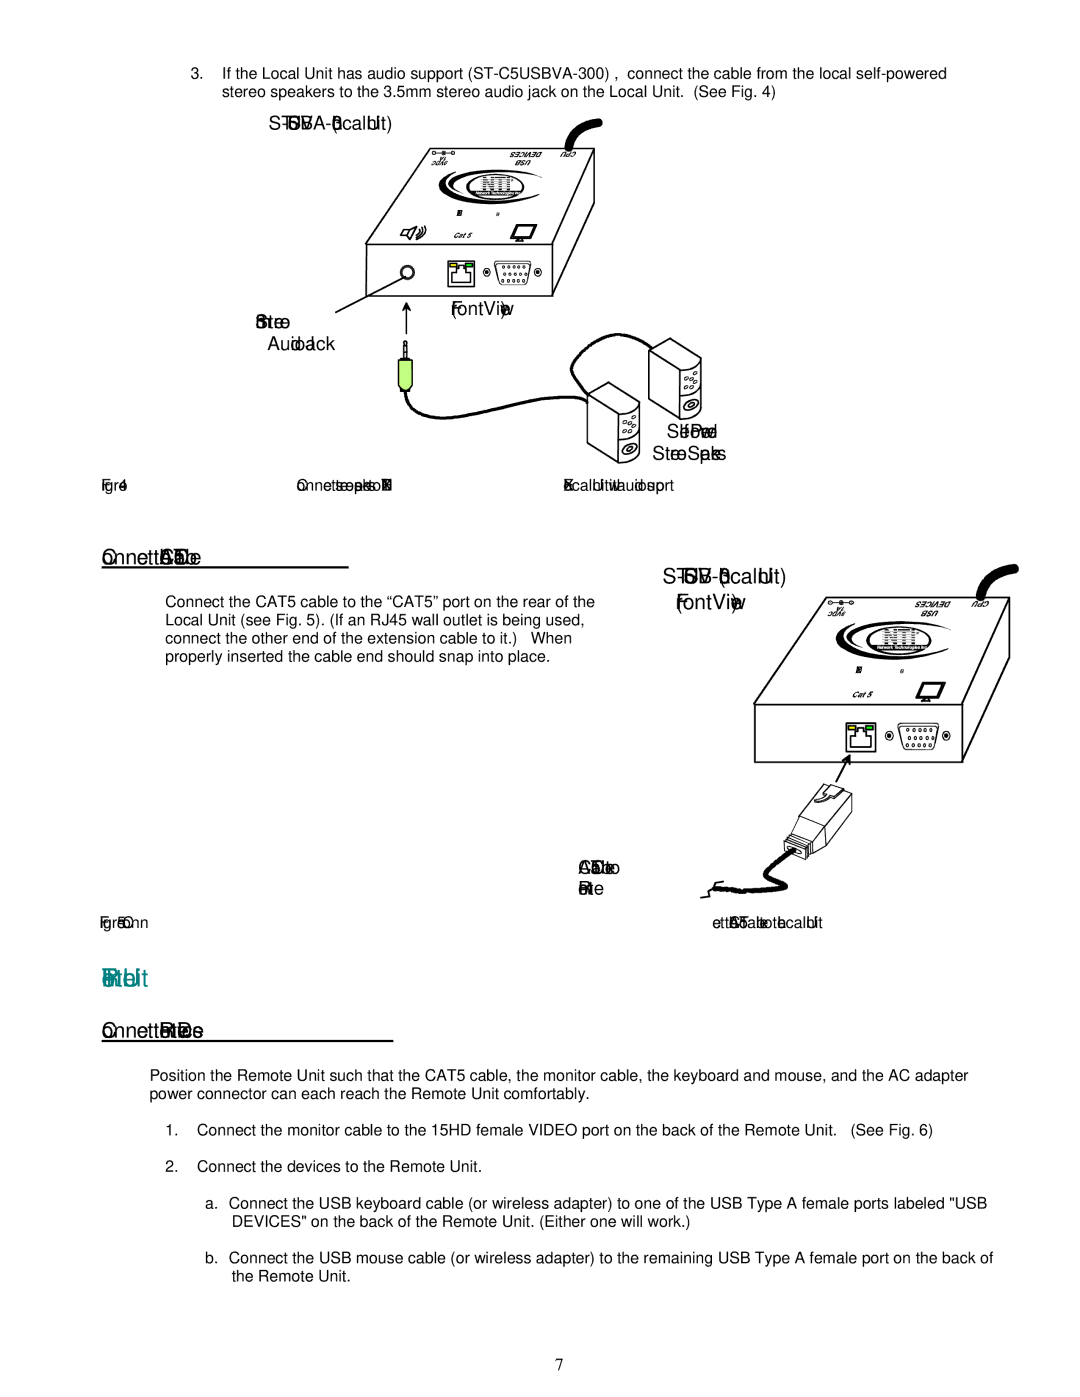
3.If the Local Unit has audio support
- ![]() +
+
3.5mm Stereo
Audio Jack
NTI R
Network Technologies Inc
XTENDEX USB
(Front View)
Stereo Speakers
Figure 4- Connect stereo speakers to XTENDEX Local Unit with audio support
Connect the CAT5 Cable
Connect the CAT5 cable to the “CAT5” port on the rear of the Local Unit (see Fig. 5). (If an RJ45 wall outlet is being used, connect the other end of the extension cable to it.) When properly inserted the cable end should snap into place.
ST-C5USBV-300 (Local Unit)
(Front View) | - + |
| R |
| NetworkNTITechnologies Inc |
| XTENDEX USB |
CAT5 Cable to
Remote
Figure 5- Connect the CAT5 cable to the Local Unit
The Remote Unit
Connect the Remote Devices
Position the Remote Unit such that the CAT5 cable, the monitor cable, the keyboard and mouse, and the AC adapter power connector can each reach the Remote Unit comfortably.
1.Connect the monitor cable to the 15HD female VIDEO port on the back of the Remote Unit. (See Fig. 6)
2.Connect the devices to the Remote Unit.
a.Connect the USB keyboard cable (or wireless adapter) to one of the USB Type A female ports labeled "USB DEVICES" on the back of the Remote Unit. (Either one will work.)
b.Connect the USB mouse cable (or wireless adapter) to the remaining USB Type A female port on the back of the Remote Unit.
7
