INSTALLATION
The Local Unit
Connect to the CPU
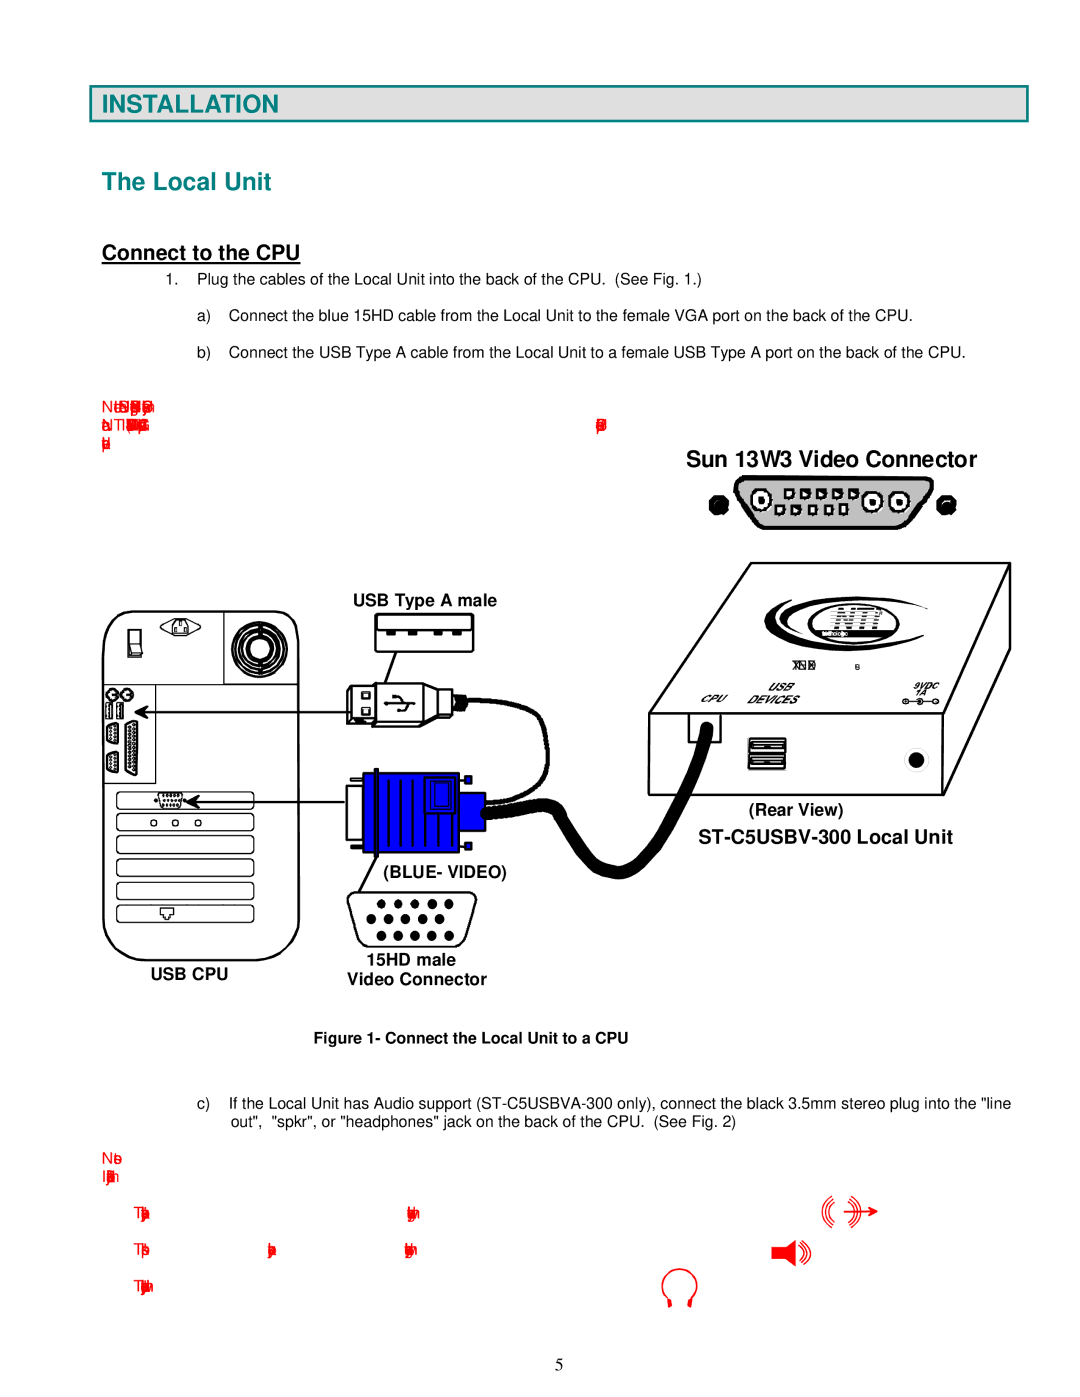
1.Plug the cables of the Local Unit into the back of the CPU. (See Fig. 1.)
a)Connect the blue 15HD cable from the Local Unit to the female VGA port on the back of the CPU.
b)Connect the USB Type A cable from the Local Unit to a female USB Type A port on the back of the CPU.
Note: If a SUN CPU is being connected, depending upon the video connector of the SUN CPU, it may be necessary to attach an NTI
USB Type A male
+ | - |
(Rear View)
ST-C5USBV-300 Local Unit
 (BLUE- VIDEO)
USB CPU | 15HD male |
Video Connector |
Figure 1- Connect the Local Unit to a CPU
c)If the Local Unit has Audio support
Notes:
If all 3 jacks are available, use the jack marked "line out".
The "line out" jack is typically lime green and may be marked with this symbol
The "spkr" jack is typically orange, and may be marked with this symbol
The "headphones" jack may be marked with this symbol
5