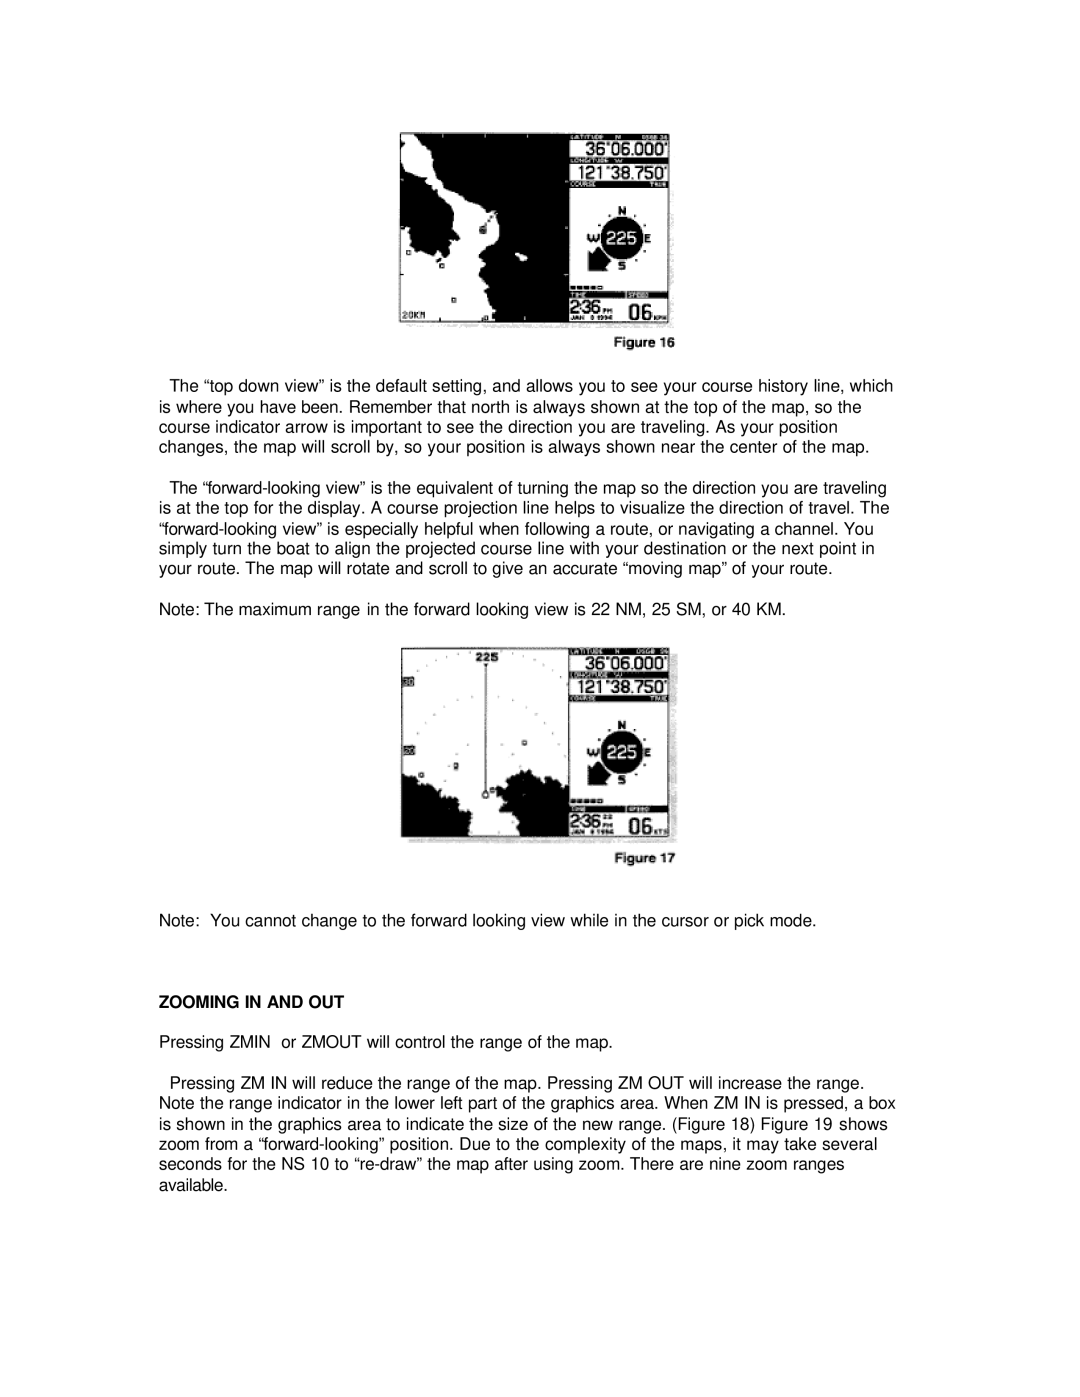
The “top down view” is the default setting, and allows you to see your course history line, which is where you have been. Remember that north is always shown at the top of the map, so the course indicator arrow is important to see the direction you are traveling. As your position changes, the map will scroll by, so your position is always shown near the center of the map.
The
Note: The maximum range in the forward looking view is 22 NM, 25 SM, or 40 KM.
Note: You cannot change to the forward looking view while in the cursor or pick mode.
ZOOMING IN AND OUT
Pressing ZMIN or ZMOUT will control the range of the map.
Pressing ZM IN will reduce the range of the map. Pressing ZM OUT will increase the range. Note the range indicator in the lower left part of the graphics area. When ZM IN is pressed, a box is shown in the graphics area to indicate the size of the new range. (Figure 18) Figure 19 shows zoom from a