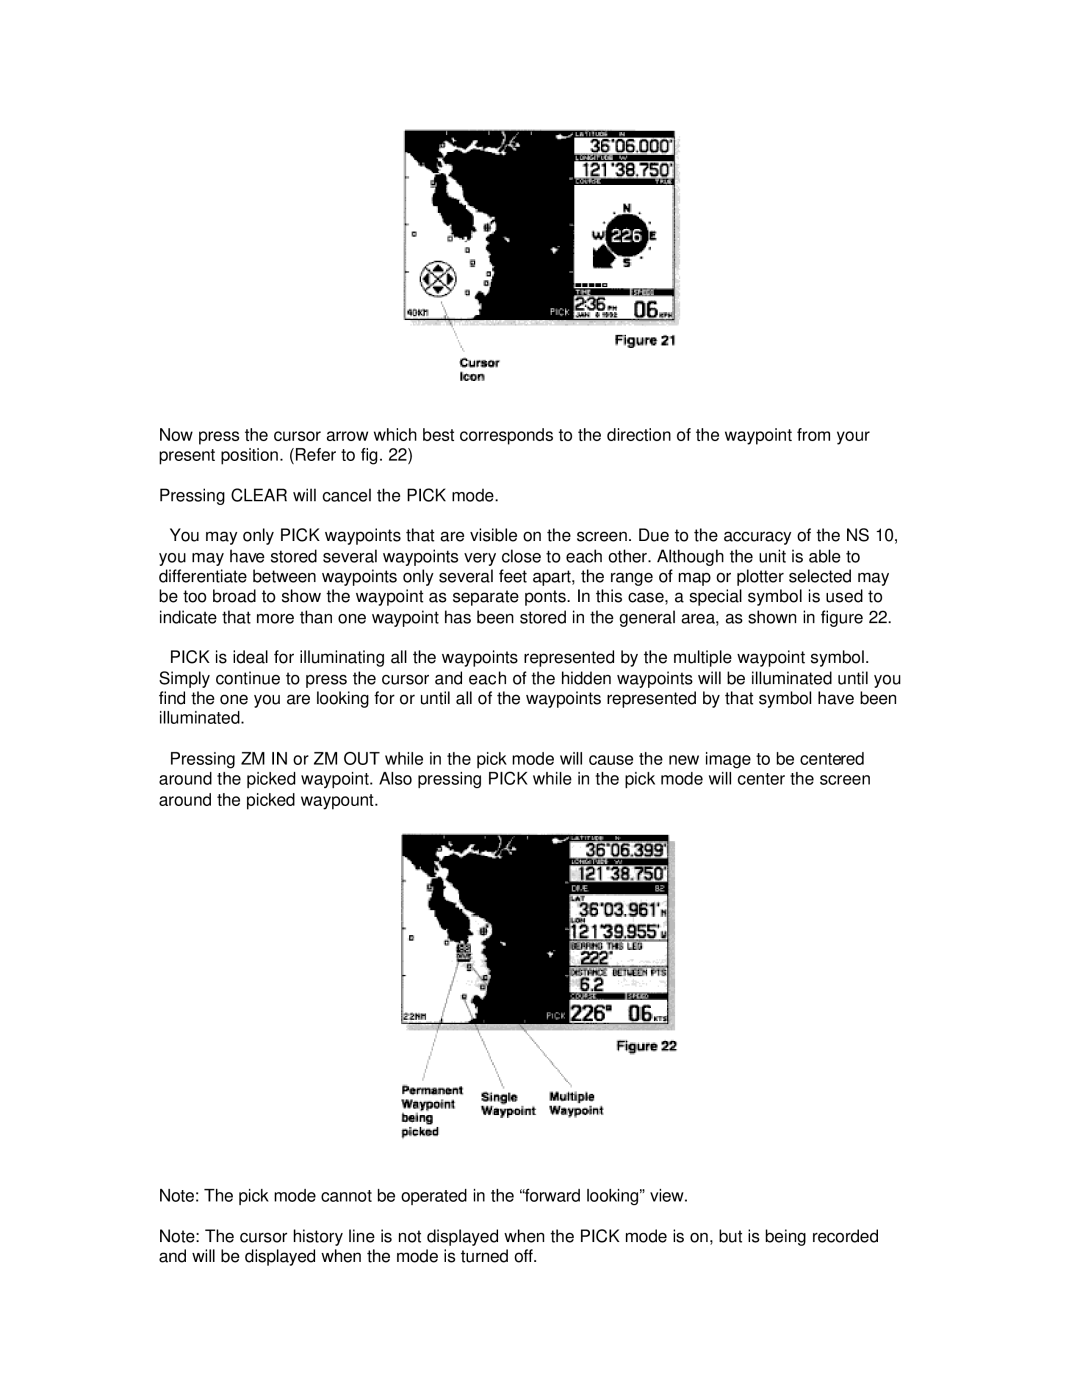
Now press the cursor arrow which best corresponds to the direction of the waypoint from your present position. (Refer to fig. 22)
Pressing CLEAR will cancel the PICK mode.
You may only PICK waypoints that are visible on the screen. Due to the accuracy of the NS 10, you may have stored several waypoints very close to each other. Although the unit is able to differentiate between waypoints only several feet apart, the range of map or plotter selected may be too broad to show the waypoint as separate ponts. In this case, a special symbol is used to indicate that more than one waypoint has been stored in the general area, as shown in figure 22.
PICK is ideal for illuminating all the waypoints represented by the multiple waypoint symbol. Simply continue to press the cursor and each of the hidden waypoints will be illuminated until you find the one you are looking for or until all of the waypoints represented by that symbol have been illuminated.
Pressing ZM IN or ZM OUT while in the pick mode will cause the new image to be centered around the picked waypoint. Also pressing PICK while in the pick mode will center the screen around the picked waypount.
Note: The pick mode cannot be operated in the “forward looking” view.
Note: The cursor history line is not displayed when the PICK mode is on, but is being recorded and will be displayed when the mode is turned off.