G u í a | d e | i n s t a l a c i ó n |
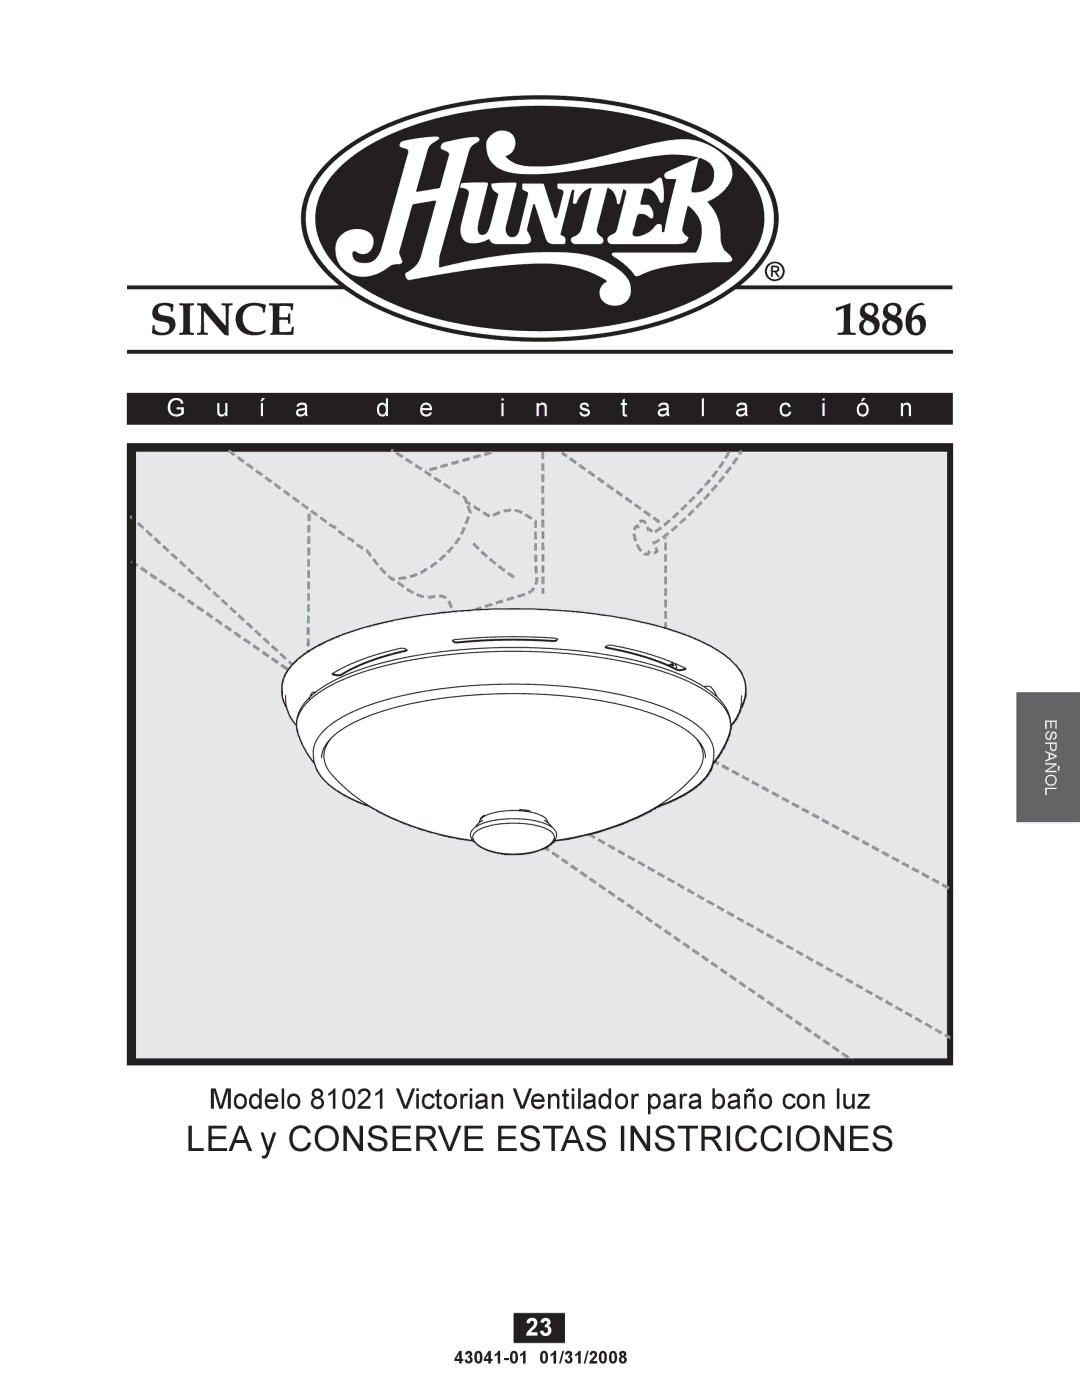
Modelo 81021 Victorian Ventilador para baño con luz
LEA y CONSERVE ESTAS INSTRICCIONES
Español
Vea la página 23
23
G u í a | d e | i n s t a l a c i ó n |
Modelo 81021 Victorian Ventilador para baño con luz
LEA y CONSERVE ESTAS INSTRICCIONES
Español
Vea la página 23
23