INSTALLATION
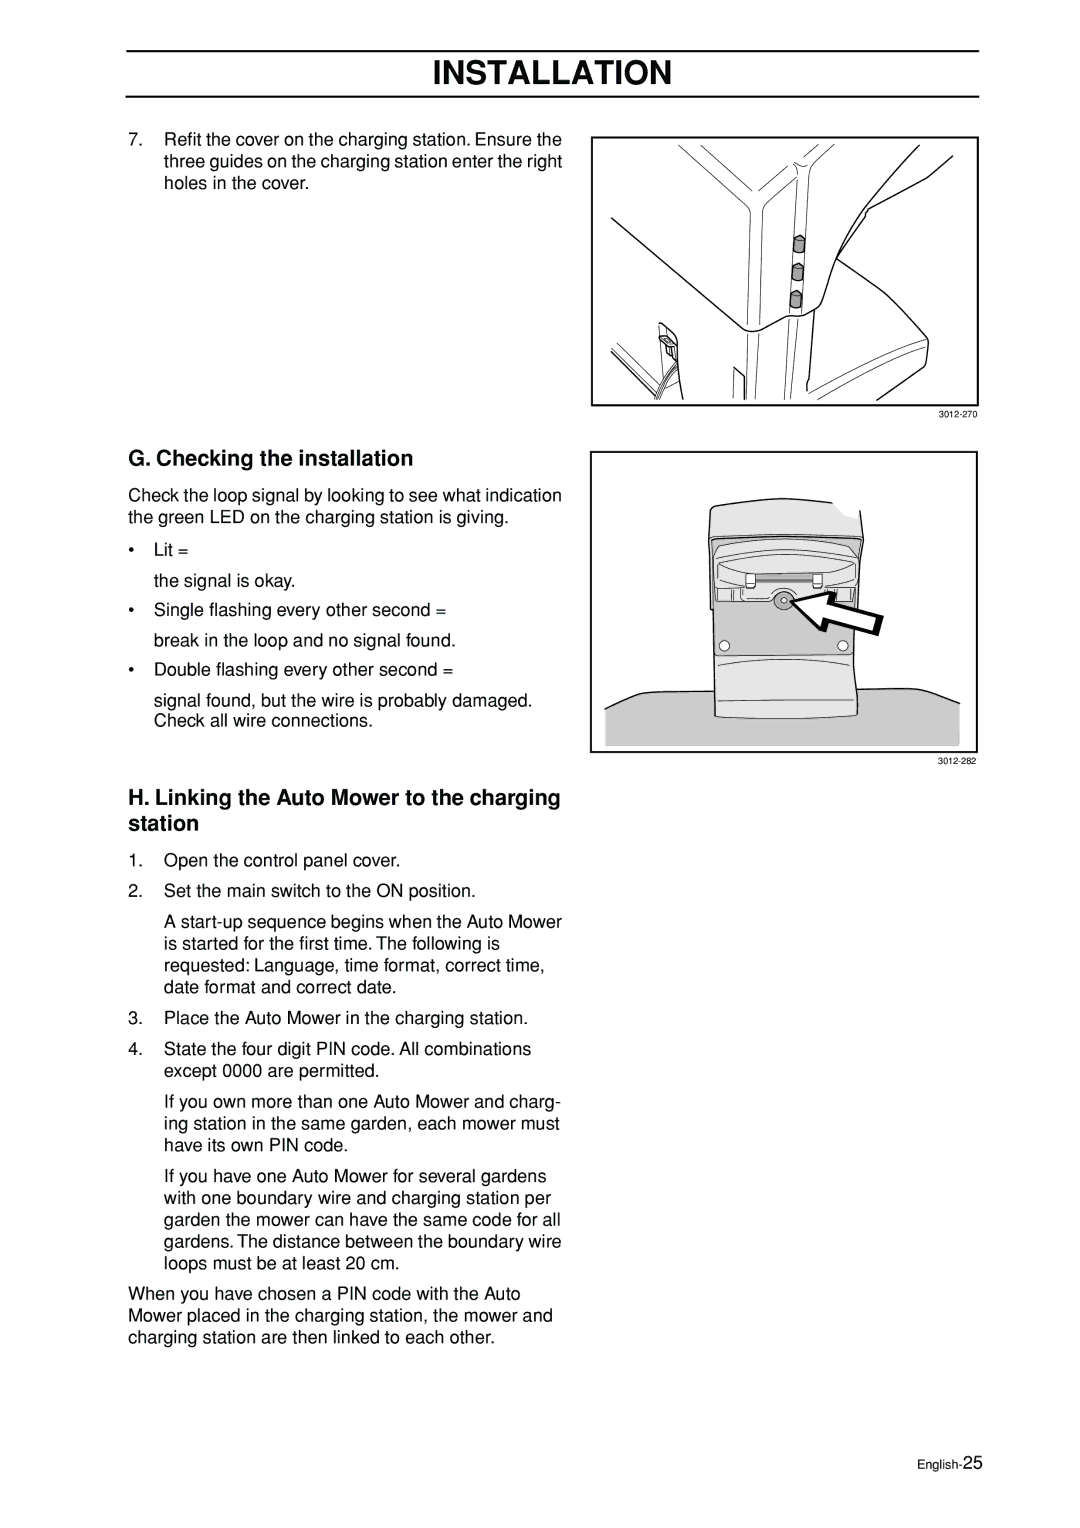
7.Refit the cover on the charging station. Ensure the three guides on the charging station enter the right holes in the cover.
G. Checking the installation
Check the loop signal by looking to see what indication the green LED on the charging station is giving.
•Lit =
the signal is okay.
•Single flashing every other second = break in the loop and no signal found.
•Double flashing every other second =
signal found, but the wire is probably damaged. Check all wire connections.
H. Linking the Auto Mower to the charging station
1.Open the control panel cover.
2.Set the main switch to the ON position.
A
3.Place the Auto Mower in the charging station.
4.State the four digit PIN code. All combinations except 0000 are permitted.
If you own more than one Auto Mower and charg- ing station in the same garden, each mower must have its own PIN code.
If you have one Auto Mower for several gardens with one boundary wire and charging station per garden the mower can have the same code for all gardens. The distance between the boundary wire loops must be at least 20 cm.
When you have chosen a PIN code with the Auto Mower placed in the charging station, the mower and charging station are then linked to each other.
