USE
Settings
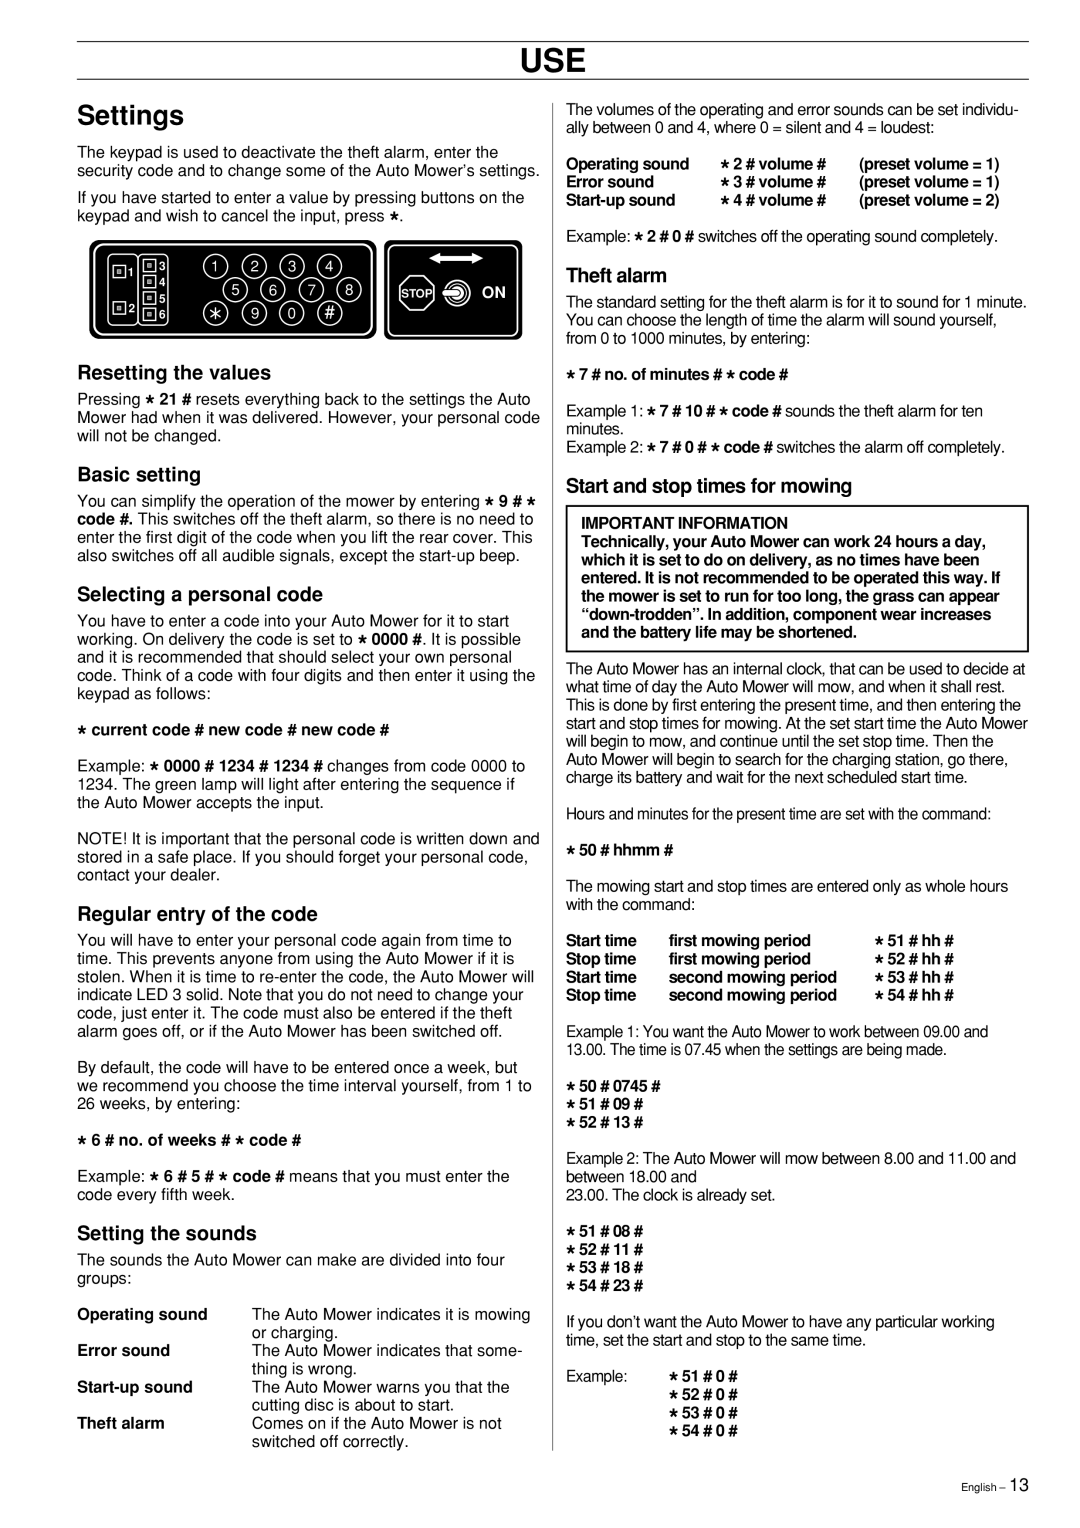
The keypad is used to deactivate the theft alarm, enter the security code and to change some of the Auto Mower’s settings.
If you have started to enter a value by pressing buttons on the keypad and wish to cancel the input, press *.
1 | 3 | 1 | 2 | 3 | 4 |
|
| |
4 |
|
|
|
|
|
| ||
| 5 | 6 | 7 | 8 | STOP | ON | ||
2 | 5 | |||||||
| 9 | 0 | # |
|
| |||
6 |
|
|
| |||||
|
|
|
|
Resetting the values
Pressing * 21 # resets everything back to the settings the Auto Mower had when it was delivered. However, your personal code will not be changed.
Basic setting
You can simplify the operation of the mower by entering * 9 # * code #. This switches off the theft alarm, so there is no need to enter the first digit of the code when you lift the rear cover. This also switches off all audible signals, except the
Selecting a personal code
You have to enter a code into your Auto Mower for it to start working. On delivery the code is set to * 0000 #. It is possible and it is recommended that should select your own personal code. Think of a code with four digits and then enter it using the keypad as follows:
*current code # new code # new code #
Example: * 0000 # 1234 # 1234 # changes from code 0000 to 1234. The green lamp will light after entering the sequence if the Auto Mower accepts the input.
NOTE! It is important that the personal code is written down and stored in a safe place. If you should forget your personal code, contact your dealer.
Regular entry of the code
You will have to enter your personal code again from time to time. This prevents anyone from using the Auto Mower if it is stolen. When it is time to
By default, the code will have to be entered once a week, but we recommend you choose the time interval yourself, from 1 to
26 weeks, by entering:
*6 # no. of weeks # * code #
Example: * 6 # 5 # * code # means that you must enter the code every fifth week.
Setting the sounds
The sounds the Auto Mower can make are divided into four groups:
Operating sound | The Auto Mower indicates it is mowing |
Error sound | or charging. |
The Auto Mower indicates that some- | |
thing is wrong. | |
The Auto Mower warns you that the | |
Theft alarm | cutting disc is about to start. |
Comes on if the Auto Mower is not | |
| switched off correctly. |
The volumes of the operating and error sounds can be set individu- ally between 0 and 4, where 0 = silent and 4 = loudest:
Operating sound | * 2 # volume # | (preset volume = 1) |
Error sound | * 3 # volume # | (preset volume = 1) |
* 4 # volume # | (preset volume = 2) |
Example: * 2 # 0 # switches off the operating sound completely.
Theft alarm
The standard setting for the theft alarm is for it to sound for 1 minute. You can choose the length of time the alarm will sound yourself, from 0 to 1000 minutes, by entering:
*7 # no. of minutes # * code #
Exampleminutes. 1: * 7 # 10 # * code # sounds the theft alarm for ten
Example 2: * 7 # 0 # * code # switches the alarm off completely.
Start and stop times for mowing
IMPORTANT INFORMATION
Technically, your Auto Mower can work 24 hours a day, which it is set to do on delivery, as no times have been entered. It is not recommended to be operated this way. If the mower is set to run for too long, the grass can appear
The Auto Mower has an internal clock, that can be used to decide at what time of day the Auto Mower will mow, and when it shall rest. This is done by first entering the present time, and then entering the start and stop times for mowing. At the set start time the Auto Mower will begin to mow, and continue until the set stop time. Then the Auto Mower will begin to search for the charging station, go there, charge its battery and wait for the next scheduled start time.
Hours and minutes for the present time are set with the command:
*50 # hhmm #
The mowing start and stop times are entered only as whole hours with the command:
Start time | first mowing period | * 51 # hh # |
Stop time | first mowing period | * 52 # hh # |
Start time | second mowing period | * 53 # hh # |
Stop time | second mowing period | * 54 # hh # |
Example 1: You want the Auto Mower to work between 09.00 and 13.00. The time is 07.45 when the settings are being made.
*50 # 0745 #
*51 # 09 #
*52 # 13 #
Example 2: The Auto Mower will mow between 8.00 and 11.00 and between 18.00 and
23.00. The clock is already set.
*51 # 08 #
*52 # 11 #
*53 # 18 #
*54 # 23 #
If you don’t want the Auto Mower to have any particular working time, set the start and stop to the same time.
Example: | * 51 # 0 # |
| * 52 # 0 # |
| * 53 # 0 # |
| * 54 # 0 # |
English – 13