Installing an optical drive-small form factor desktop model
Read the following information first before attempting to install your new optical drive in the system.
1.Remove the cover and all cables. Refer to your system user’s guide for details on how to remove cover and cables.
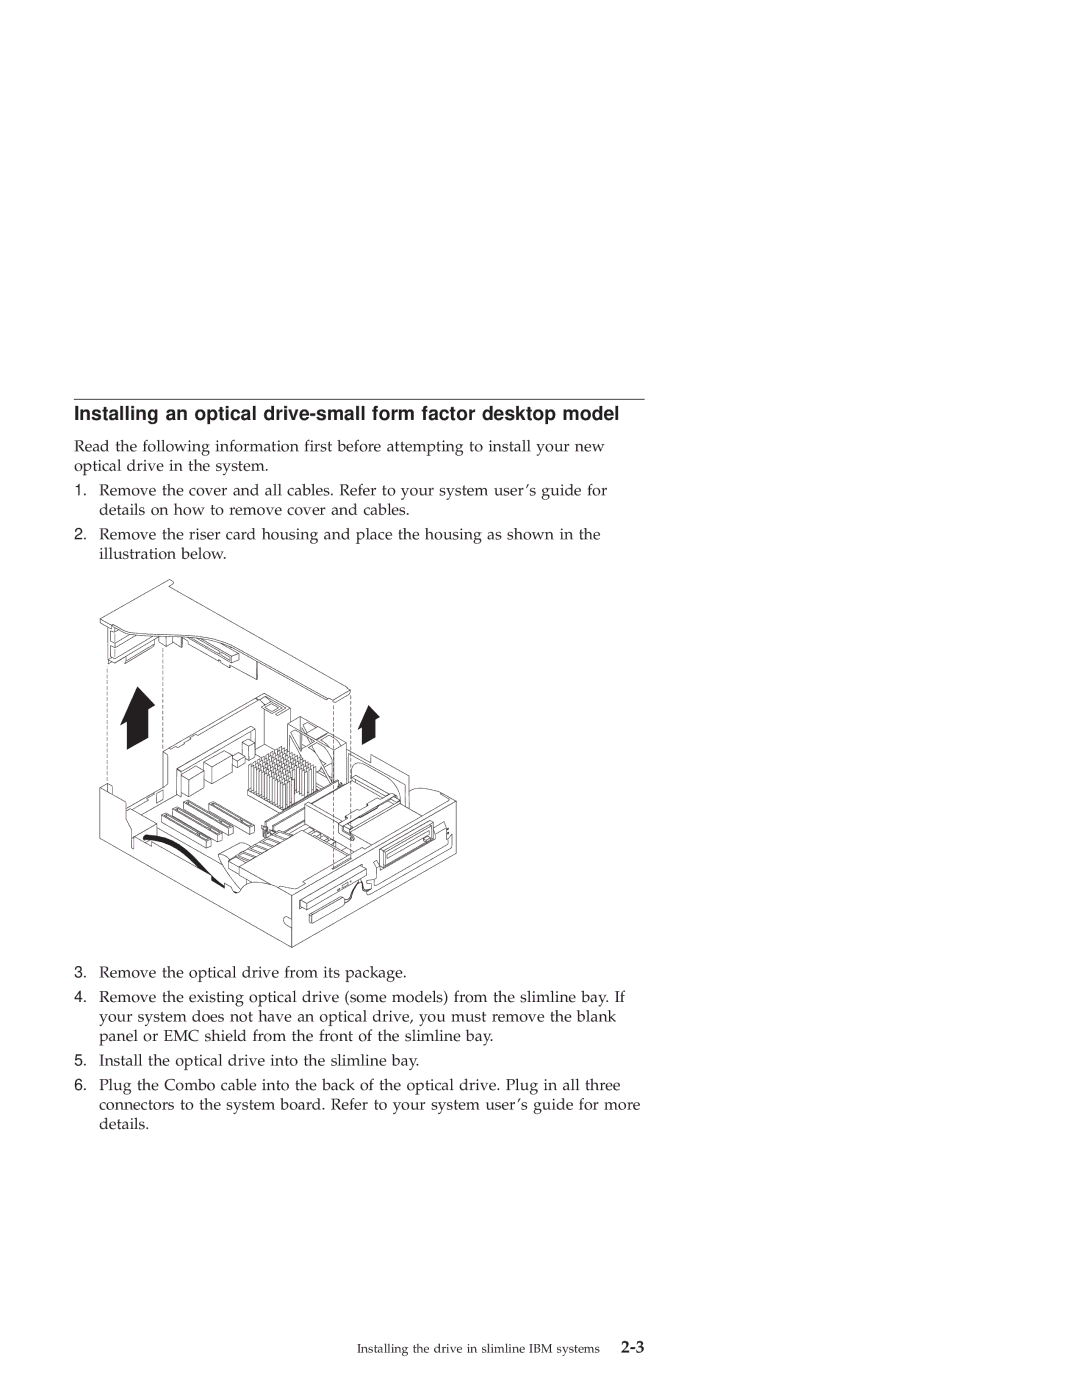
2.Remove the riser card housing and place the housing as shown in the illustration below.
3.Remove the optical drive from its package.
4.Remove the existing optical drive (some models) from the slimline bay. If your system does not have an optical drive, you must remove the blank panel or EMC shield from the front of the slimline bay.
5.Install the optical drive into the slimline bay.
6.Plug the Combo cable into the back of the optical drive. Plug in all three connectors to the system board. Refer to your system user’s guide for more details.
Installing the drive in slimline IBM systems
