Drive controls and connectors
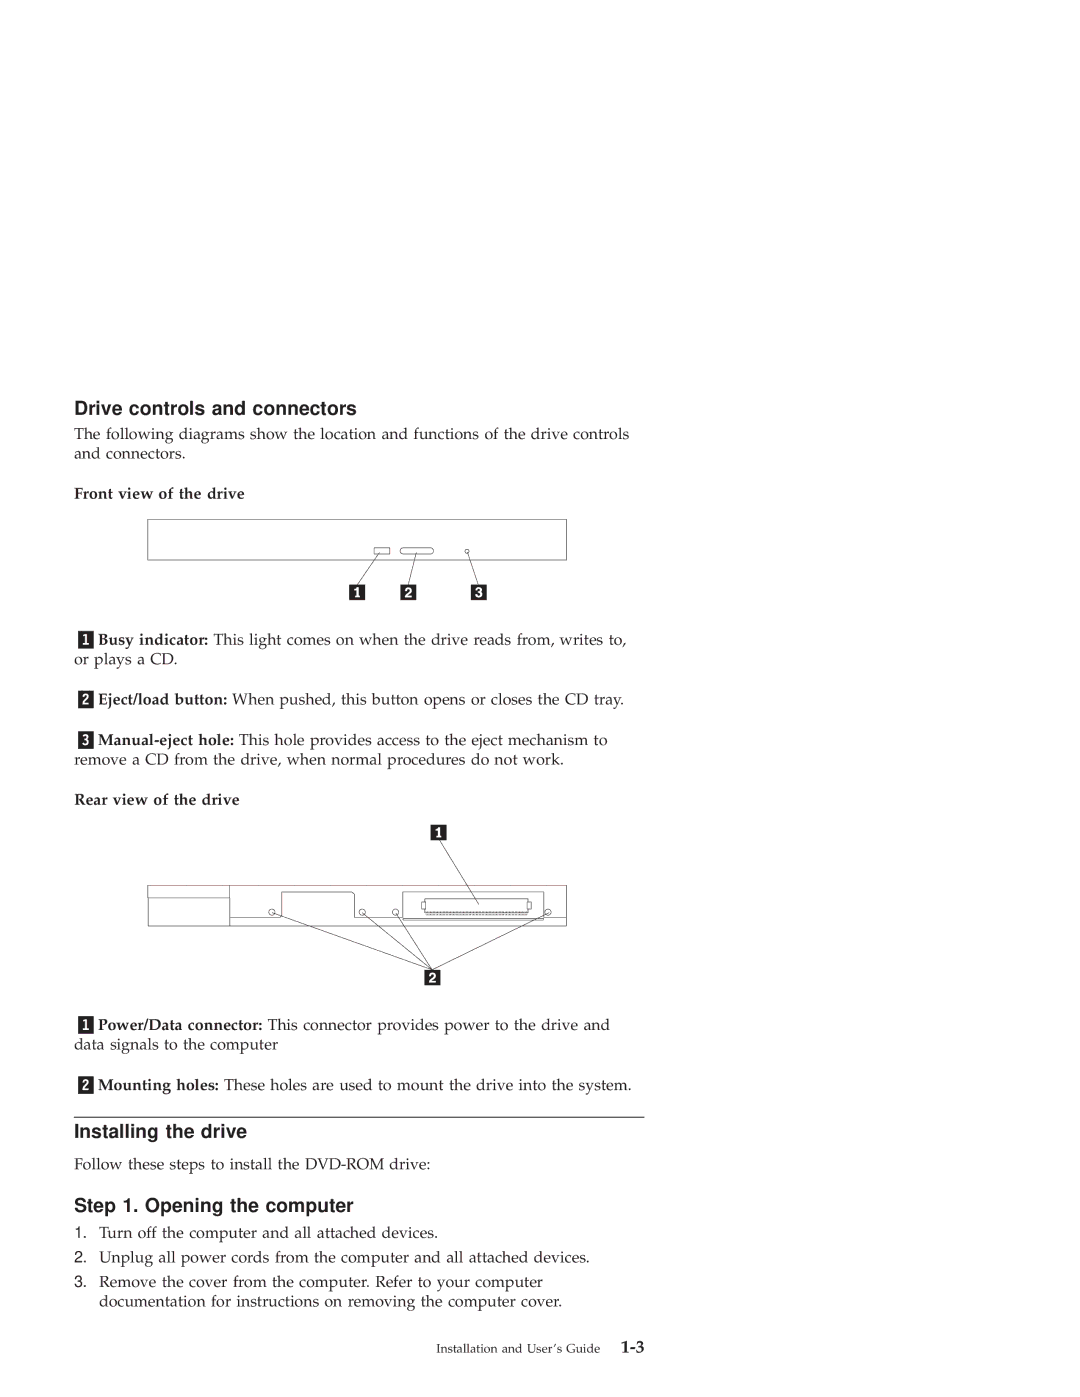
The following diagrams show the location and functions of the drive controls and connectors.
Front view of the drive
Busy indicator: This light comes on when the drive reads from, writes to, or plays a CD.
Eject/load button: When pushed, this button opens or closes the CD tray.
Rear view of the drive
Power/Data connector: This connector provides power to the drive and data signals to the computer
Mounting holes: These holes are used to mount the drive into the system.
Installing the drive
Follow these steps to install the
Step 1. Opening the computer
1.Turn off the computer and all attached devices.
2.Unplug all power cords from the computer and all attached devices.
3.Remove the cover from the computer. Refer to your computer documentation for instructions on removing the computer cover.
Installation and User’s Guide |
