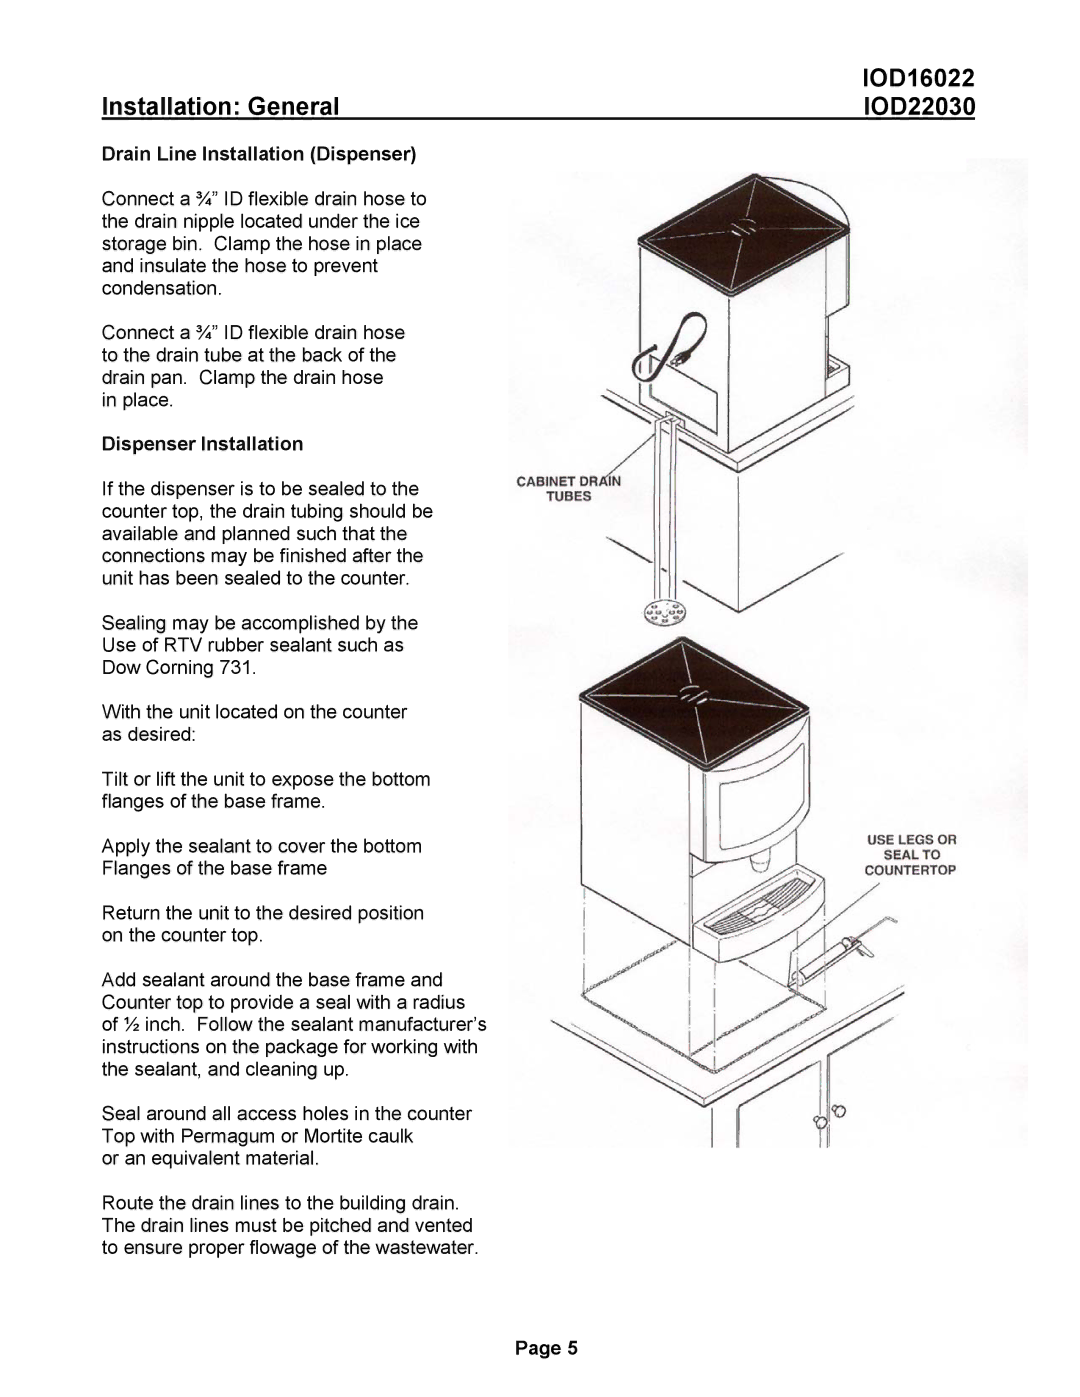
IOD22030, IOD16022 specifications
Ice-O-Matic is a recognized name in the ice making industry, renowned for its reliability and efficiency. The company's models, IOD16022 and IOD22030, are prime examples of innovation and performance in ice makers. These machines are designed to meet the varying demands of commercial establishments, ensuring that businesses have access to the ice they need, when they need it.The Ice-O-Matic IOD16022 is known for its compact size and exceptional output. With a production capacity of up to 1,200 pounds of ice per day, this unit is perfect for restaurants, bars, and cafes where ice is a constant requirement. It employs a robust overhead bin design that allows for easy access and minimizes the footprint, making it suitable for locations with space constraints. The machine features a one-touch operation for easy use, enhancing convenience for staff during busy periods.
On the other hand, the IOD22030 model offers a higher ice production capability, reaching up to 1,800 pounds per day. This makes it an ideal choice for larger operations, including hotels and catering services. It also integrates energy-efficient technologies that help reduce operational costs. The IOD22030 is equipped with a highly efficient compressor and an advanced cooling system, ensuring optimal performance even in high-demand situations.
Both models come with advanced filtration systems that enhance the purity of the ice produced. This is crucial in preserving the quality of beverages served, ensuring that customers receive the best experience possible. Additionally, they are designed with easy-access components for maintenance, reducing downtime and keeping them operational longer.
Features common to both models include robust construction for durability, user-friendly controls, and a versatile design that supports various ice types suitable for different applications. They also adhere to the latest health and safety regulations, ensuring peace of mind for restaurant owners.
In summary, Ice-O-Matic's IOD16022 and IOD22030 ice makers are excellent choices for any business needing reliable ice production. With their high efficiency, ease of use, and robust features, these models help streamline operations while ensuring ice quality and availability.

