
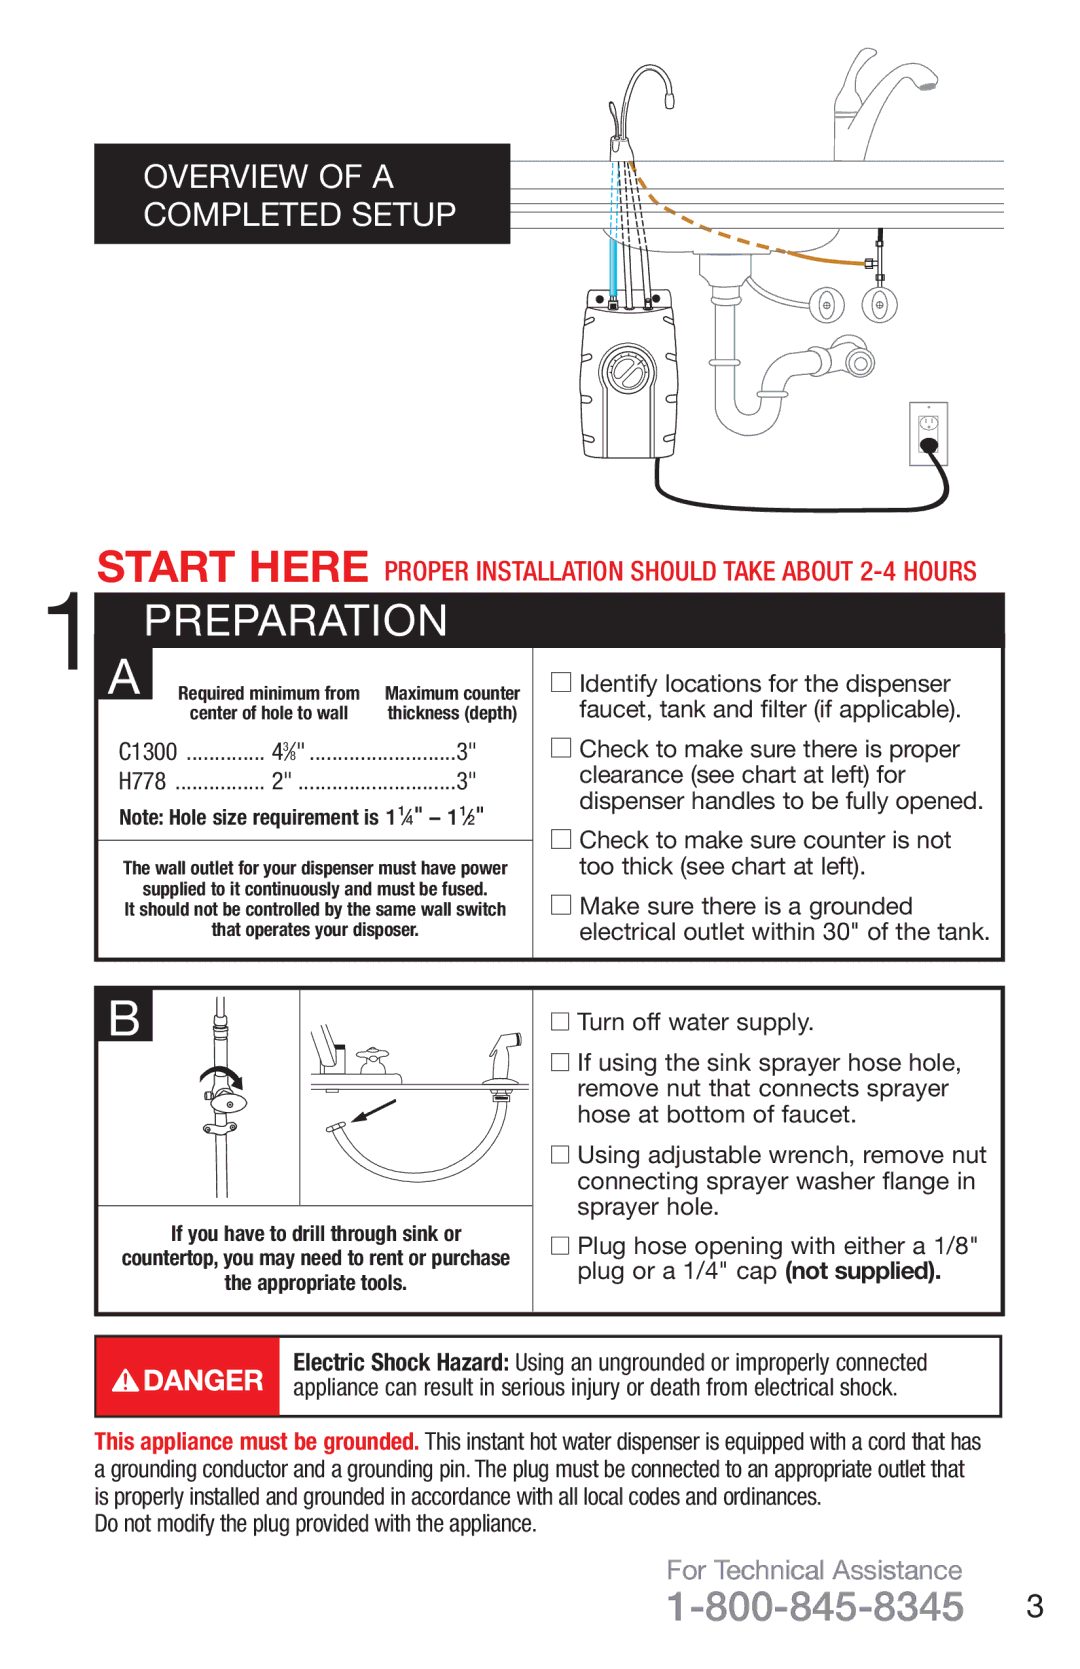
H778, C1300 specifications
The InSinkErator C1300 and H778 are innovative food waste disposal systems that revolutionize kitchen efficiency and sustainability. Designed with advanced technology and user-friendly features, these devices cater to modern homeowners seeking both convenience and ecological responsibility.The C1300 model is renowned for its compact design that makes it suitable for various kitchen layouts, especially where space may be limited. Its powerful 1 HP motor ensures fast and efficient grinding of food scraps, giving users robust performance without occupying too much space under the sink. The C1300 employs a multi-grind technology that breaks down what could be tough waste, such as fibrous vegetables and small bones, into tiny particles, easily facilitating drain disposal.
The H778, on the other hand, caters particularly to those looking for enhanced performance and versatility. It features a higher horsepower motor, providing an even finer grind and improved waste management capabilities. This model is ideal for households that deal with larger quantities of food waste, making it a perfect fit for busy kitchens and families. The H778 includes a noise-reduction technology that diminishes operational sound, ensuring that your kitchen remains a peaceful environment even during use.
Both models are designed with a stainless-steel grind chamber and components that offer durability and resistance to corrosion. This not only prolongs the lifespan of the units but also ensures that they perform efficiently with reduced maintenance needs over time. Safety is another priority, with features such as a magnetic safety switch that prevents operation when the unit is not properly assembled.
Furthermore, installation is designed to be hassle-free, generally compatible with standard sink configurations and easily integrated into existing plumbing. Many users appreciate the inclusion of an easy-to-use user manual, making it accessible for DIY installations.
In conclusion, the InSinkErator C1300 and H778 embody the perfect blend of efficiency, modern technology, and user-friendly design that aligns with sustainable living practices. These disposals not only tackle kitchen waste management effectively but also contribute to a cleaner environment by reducing landfill waste. As more people embrace eco-conscious living, devices like these stand out as vital kitchen appliances, promoting hygiene and responsible waste disposal. With advanced features and impressive characteristics, the C1300 and H778 represent leading innovations in food waste disposal solutions.