Heatsink Assembly
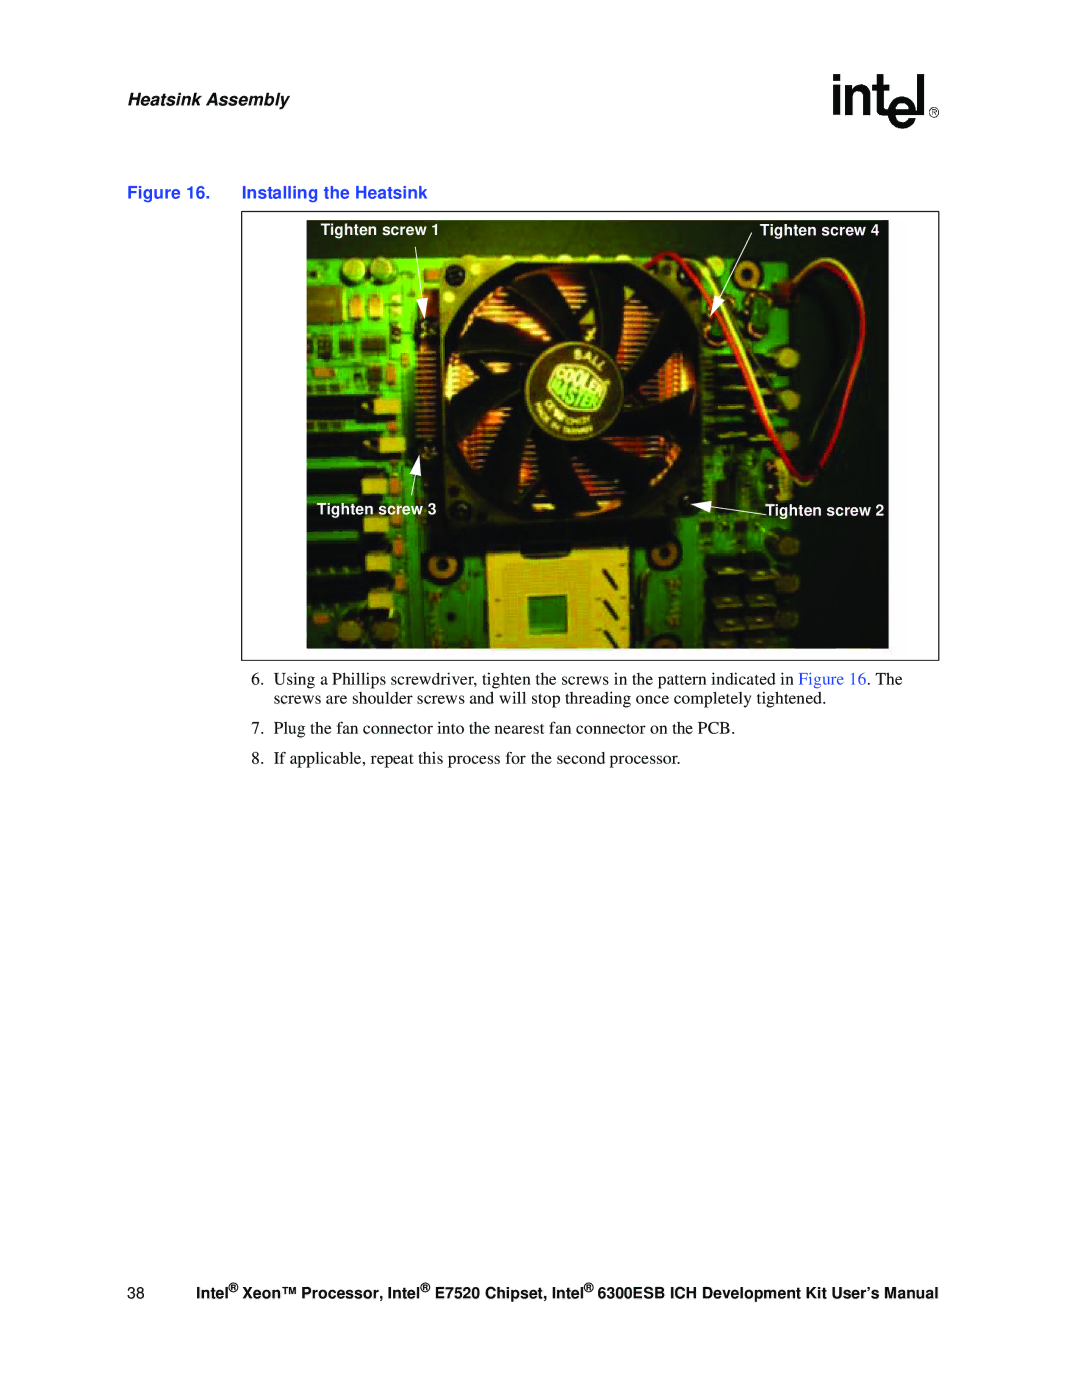
Figure 16. Installing the Heatsink
Tighten screw 1 | Tighten screw 4 |
Tighten screw 3 | Tighten screw 2 |
6.Using a Phillips screwdriver, tighten the screws in the pattern indicated in Figure 16. The screws are shoulder screws and will stop threading once completely tightened.
7.Plug the fan connector into the nearest fan connector on the PCB.
8.If applicable, repeat this process for the second processor.
38Intel® Xeon™ Processor, Intel® E7520 Chipset, Intel® 6300ESB ICH Development Kit User’s Manual