RECORDING
Using the Flash
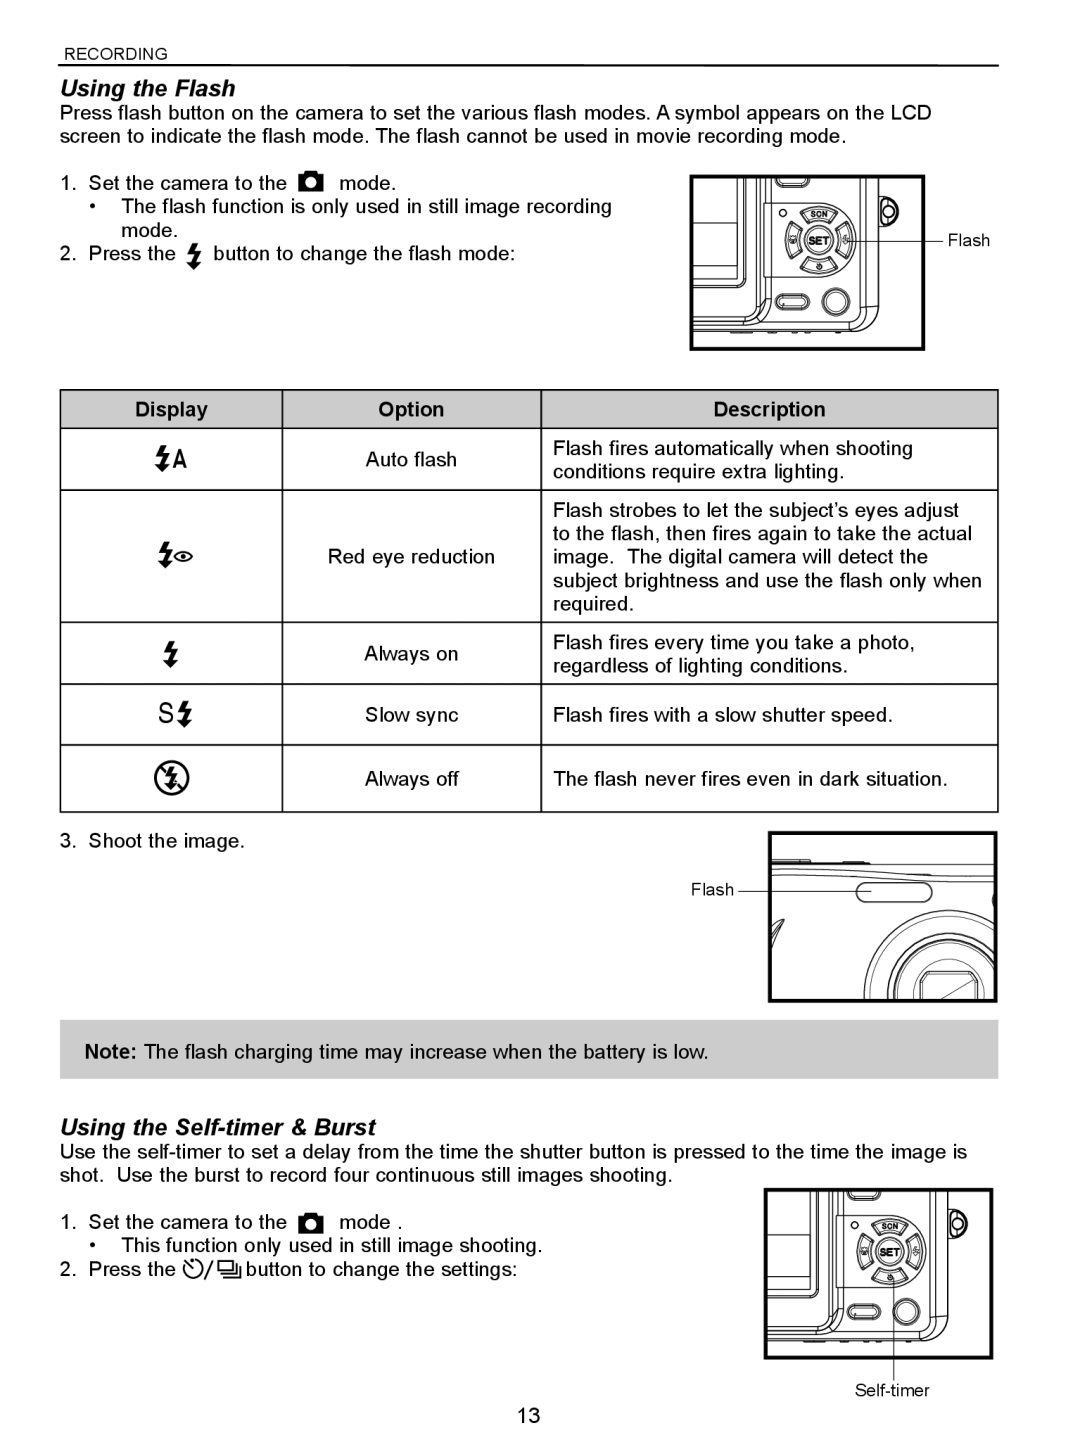
Press flash button on the camera to set the various flash modes. A symbol appears on the LCD screen to indicate the flash mode. The flash cannot be used in movie recording mode.
1.Set the camera to the ![]() mode.
mode.
•The flash function is only used in still image recording mode.
2.Press the ![]() button to change the flash mode:
button to change the flash mode:
Flash |
Display | Option | Description | |
|
|
| |
A | Auto flash | Flash fires automatically when shooting | |
conditions require extra lighting. | |||
|
| ||
|
|
| |
|
| Flash strobes to let the subject’s eyes adjust | |
|
| to the flash, then fires again to take the actual | |
| Red eye reduction | image. The digital camera will detect the | |
|
| subject brightness and use the flash only when | |
|
| required. | |
|
|
| |
| Always on | Flash fires every time you take a photo, | |
| regardless of lighting conditions. | ||
|
| ||
|
|
| |
S | Slow sync | Flash fires with a slow shutter speed. |
Always off
The flash never fires even in dark situation.
3. Shoot the image.
Flash
Note: The flash charging time may increase when the battery is low.
Using the Self-timer & Burst
Use the
1. | Set the camera to the | mode . | |
| • This function only used in still image shooting. | ||
2. | Press the | button to change the settings: | |
13
