PLAYBACK
SETTING THE DPOF
The Digital Print Order Format (DPOF) setting allows you to select images on the memory card for printing and specify the number of print copies in advance using the camera. This is extremely convenient for sending the images to a photo developing service or for printing on a direct print function compatible printer.
1. Set the camera to the Playback mode .
2. Press the MENU button, using ![]() or
or ![]() to select DPOF (
to select DPOF ( ![]() ) and press the SET button.
) and press the SET button.
3.Press ![]() or
or ![]() to select SINGLE, then press the SET button.
to select SINGLE, then press the SET button.
4.Press ![]() or
or ![]() to select the image you want to print out, and press
to select the image you want to print out, and press
![]() or
or ![]() to specify the number of copies.
to specify the number of copies.
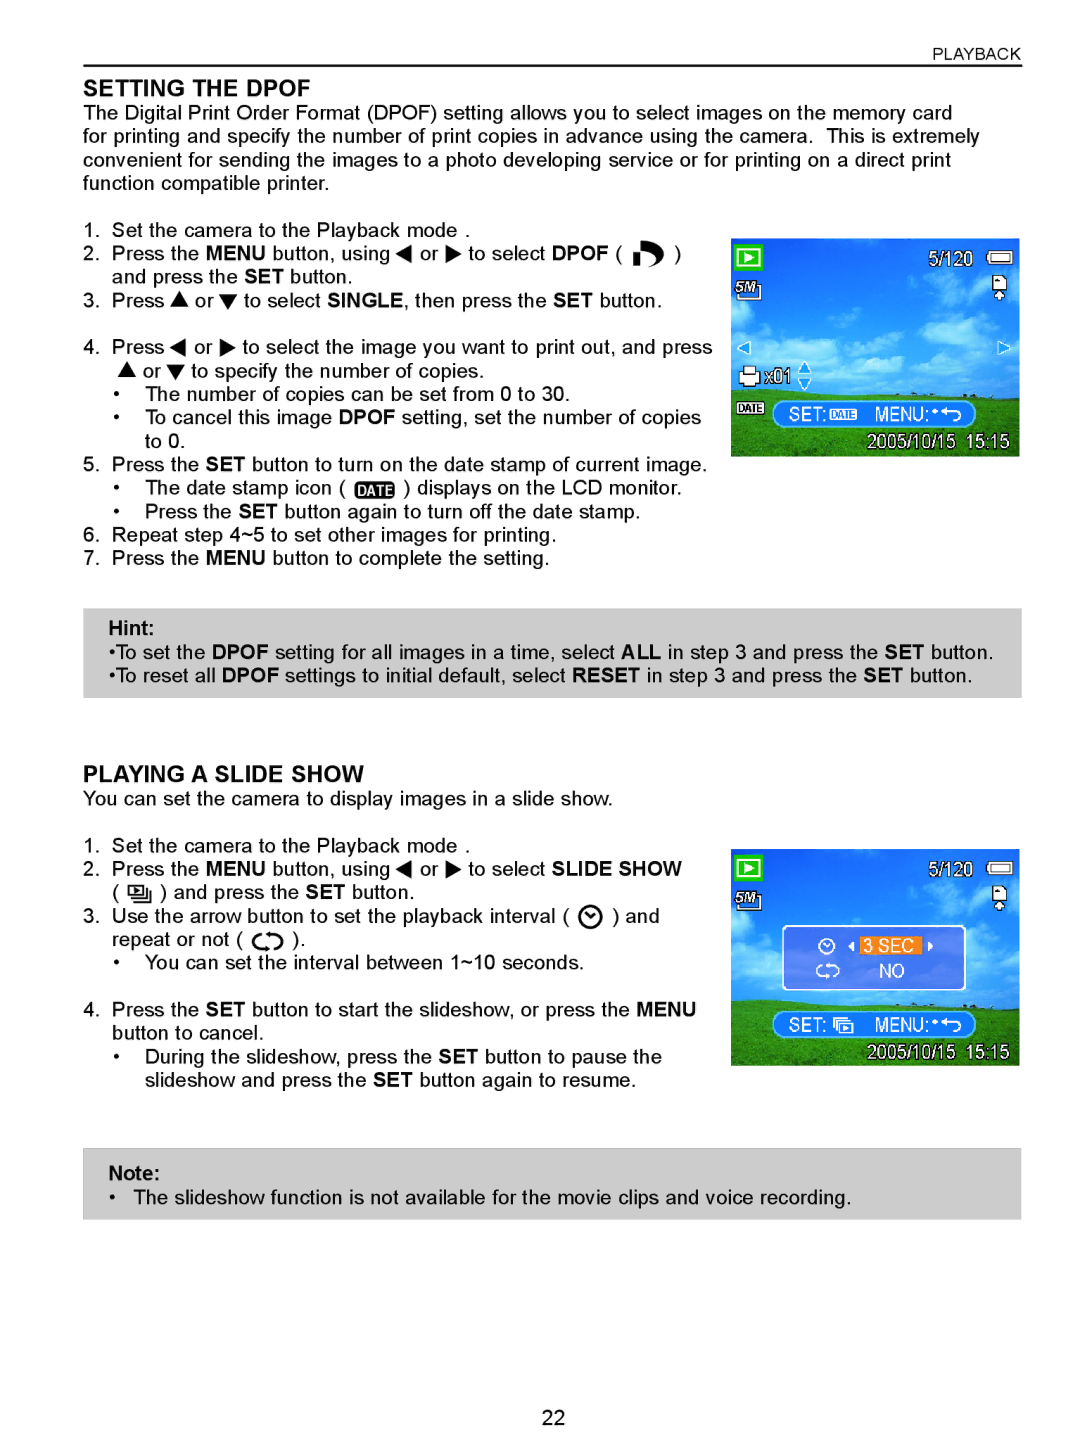
•The number of copies can be set from 0 to 30.
•To cancel this image DPOF setting, set the number of copies to 0.
5.Press the SET button to turn on the date stamp of current image.
•The date stamp icon ( DATE ) displays on the LCD monitor.
•Press the SET button again to turn off the date stamp.
6.Repeat step 4~5 to set other images for printing.
7.Press the MENU button to complete the setting.
Hint:
•To set the DPOF setting for all images in a time, select ALL in step 3 and press the SET button. •To reset all DPOF settings to initial default, select RESET in step 3 and press the SET button.
PLAYING A SLIDE SHOW
You can set the camera to display images in a slide show.
1.Set the camera to the Playback mode .
2.Press the MENU button, using ![]() or
or ![]() to select SLIDE SHOW
to select SLIDE SHOW
( ![]()
![]()
![]() ) and press the SET button.
) and press the SET button.
3. Use the arrow button to set the playback interval ( | ) and | |
repeat or not ( | ). |
|
•You can set the interval between 1~10 seconds.
4.Press the SET button to start the slideshow, or press the MENU button to cancel.
•During the slideshow, press the SET button to pause the slideshow and press the SET button again to resume.
Note:
• The slideshow function is not available for the movie clips and voice recording.
22
