Receiving
Carefully unpack the planer and any loose items from the wood crate and inspect for damage. Any damage should be reported immediately to your distributor and shipping agent. Before proceeding further, read your manual thoroughly to familiarize yourself with proper assembly, maintenance and safety procedures.
Remove the screws that hold the planer to the shipping skid. Remove the protective coating from the table, bed rolls, feed rolls, cutterhead and loose items packed with the machine, including lifting handles and motor pulley. This coating may be removed with a soft cloth moistened with Kerosene. Do not use acetone, gasoline or lacquer thinner for this purpose. Do not use solvents on plastic parts.
![]() Use care when cleaning the cutterhead, the knives are very sharp.
Use care when cleaning the cutterhead, the knives are very sharp.
Installation & Assembly
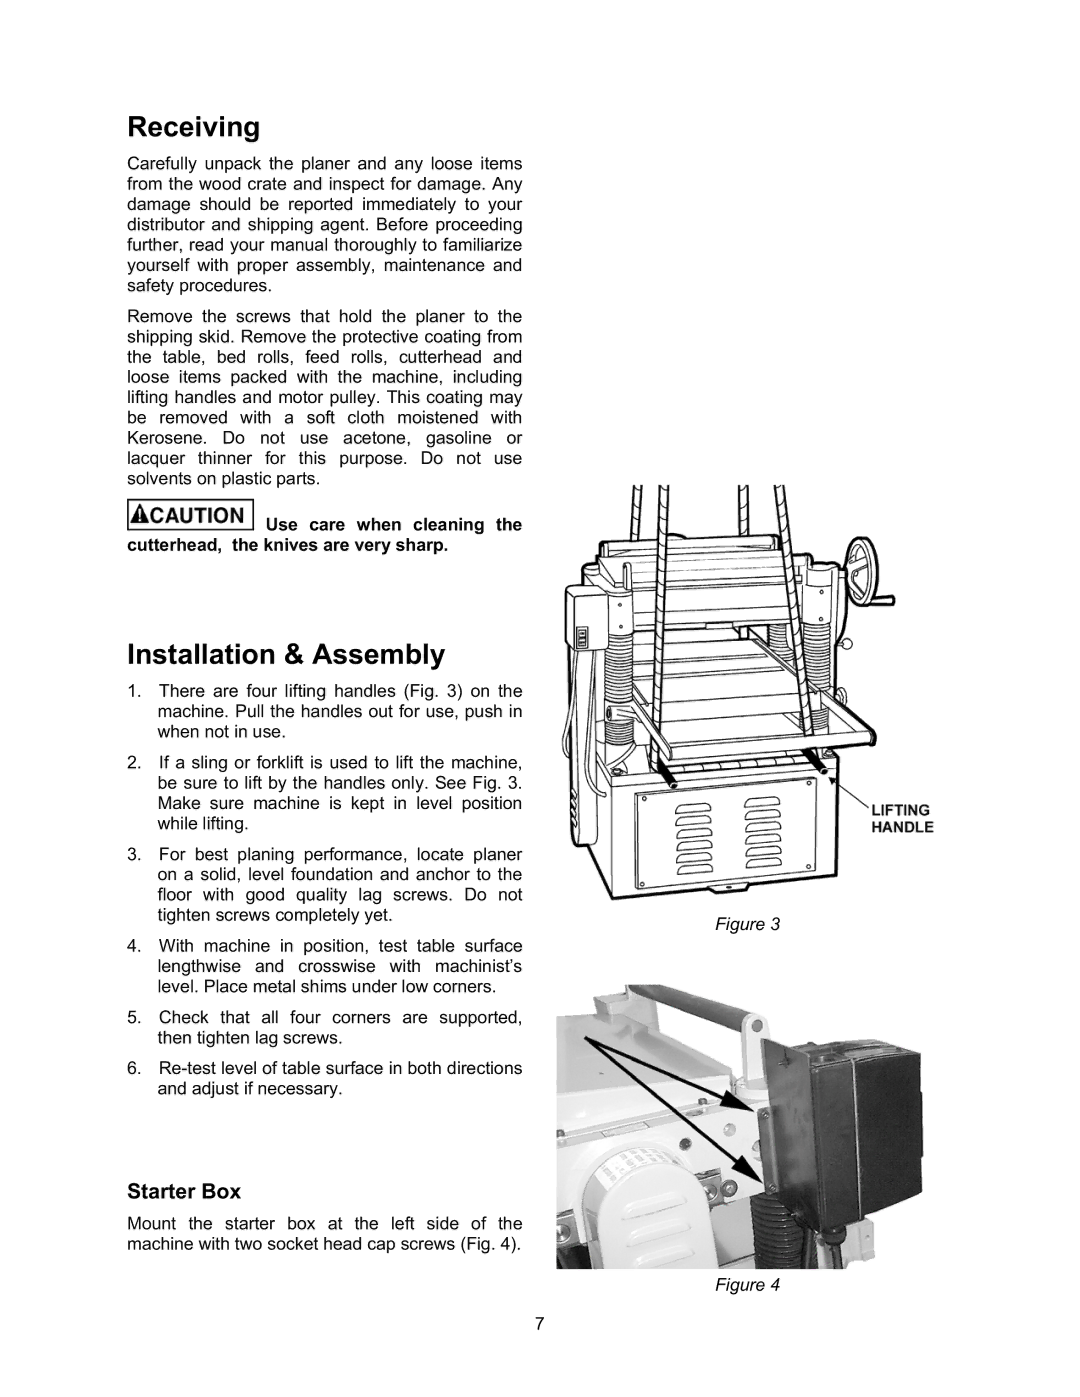
1.There are four lifting handles (Fig. 3) on the machine. Pull the handles out for use, push in when not in use.
2.If a sling or forklift is used to lift the machine, be sure to lift by the handles only. See Fig. 3. Make sure machine is kept in level position while lifting.
3.For best planing performance, locate planer on a solid, level foundation and anchor to the floor with good quality lag screws. Do not tighten screws completely yet.
4.With machine in position, test table surface lengthwise and crosswise with machinist’s level. Place metal shims under low corners.
5.Check that all four corners are supported, then tighten lag screws.
6.
Starter Box
Mount the starter box at the left side of the machine with two socket head cap screws (Fig. 4).
Figure 3
Figure 4
7