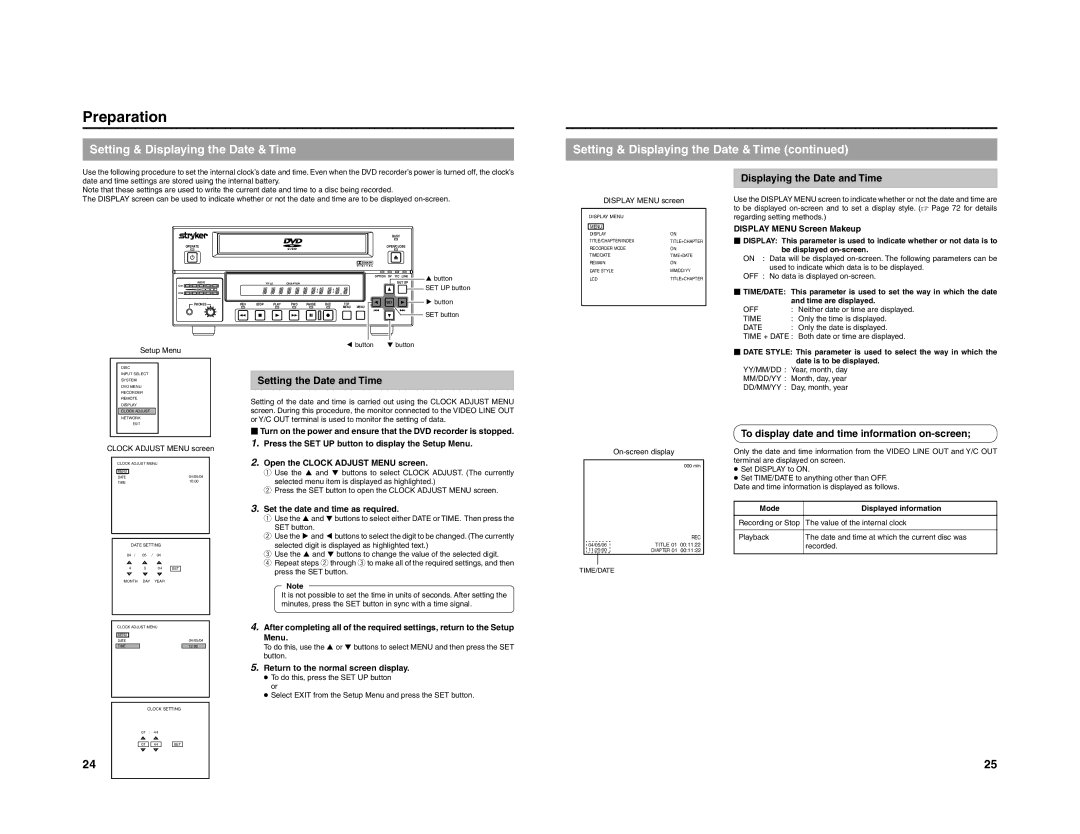
240-020-505 specifications
The JVC 240-020-505 is a versatile multimedia projector that has garnered attention for its impressive features and capabilities. Designed with both home theater enthusiasts and business professionals in mind, this projector seamlessly blends cutting-edge technology with user-friendly attributes.One of the standout features of the JVC 240-020-505 is its high-resolution output. Capable of delivering stunning images in 4K (3840 x 2160), this projector ensures that viewers experience crystal-clear visuals with vibrant colors and rich detail. The incorporation of JVC's proprietary e-shift technology enhances image sharpness and quality, providing an immersive viewing experience that is ideal for movies, presentations, and video games.
The projector utilizes advanced DLP (Digital Light Processing) technology, which is known for its exceptional color accuracy and contrast. This allows the JVC 240-020-505 to produce deep blacks and bright whites, making it suitable for a variety of lighting conditions. Whether used in a darkened home theater or a well-lit conference room, this projector adapts to its environment, ensuring optimal performance.
Another notable characteristic is its connectivity options. The JVC 240-020-505 comes equipped with multiple HDMI ports, allowing users to easily connect various devices such as Blu-ray players, gaming consoles, and laptops. The inclusion of USB ports further enhances usability, enabling direct playback of multimedia content without the need for a separate media player.
Portability is another key advantage of the JVC 240-020-505. Weighing in at a manageable size, this projector can be easily transported between locations, making it a great option for business meetings or outdoor movie nights. The user-friendly interface and remote control make setup a breeze, further enhancing its appeal for both casual users and professional environments.
Overall, the JVC 240-020-505 stands out in the crowded multimedia projector market due to its combination of high-resolution output, advanced DLP technology, versatile connectivity, and portability. Whether you’re looking to elevate your home entertainment system, make a powerful business presentation, or enjoy a cinematic experience in the comfort of your own backyard, this projector is designed to meet a variety of visual needs and exceed expectations. With its impressive specifications and thoughtful design, the JVC 240-020-505 is a worthy investment for anyone seeking premium projection capabilities.

